


How to Create Your First Project on Redmine
Redmine is a web-based, open-source, and free issue tracking and project management tool. Users can manage several projects as well as associated subprojects on Redmine. The Redmine tool features forums, wikis, time tracking, and role-based flexible access control per project.

Redmine also includes Gantt charts and calendars to get help in the visual representation and deadlines of the project. Redmine includes a diff viewer and repository browser that integrates with numerous version control systems.
Managing projects on Redmine is easy. However, if you are new to the tool and do not know how to create your first project on Redmine, the below steps will help you to create your first project on Redmine.
Step 1: Create a Profile
The administrator manages projects, and in some cases, non-administrator users can also manage projects depending on the given permission. It means that you are the admin, and your development team is working on a project.
The first thing you have to do is install the application, register, and create the admin profile. After you sign in, it shows the homepage, which has different options.
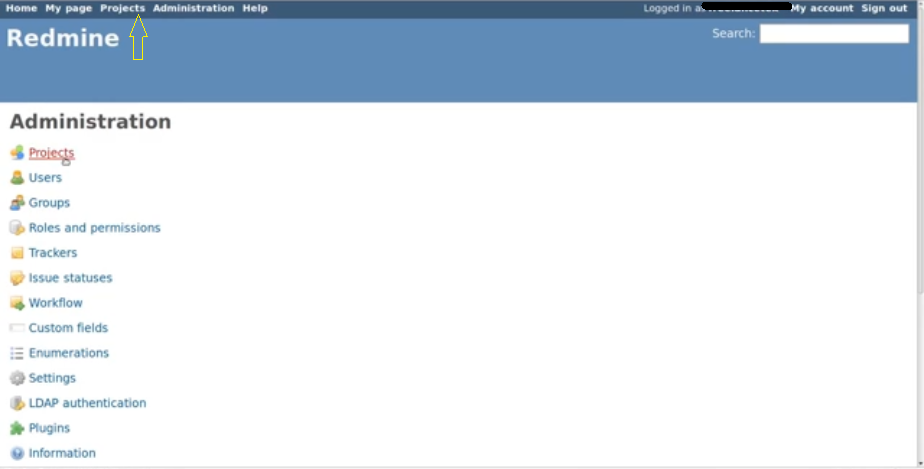
You can click on Projects in the upper left corner or beneath the administration heading.
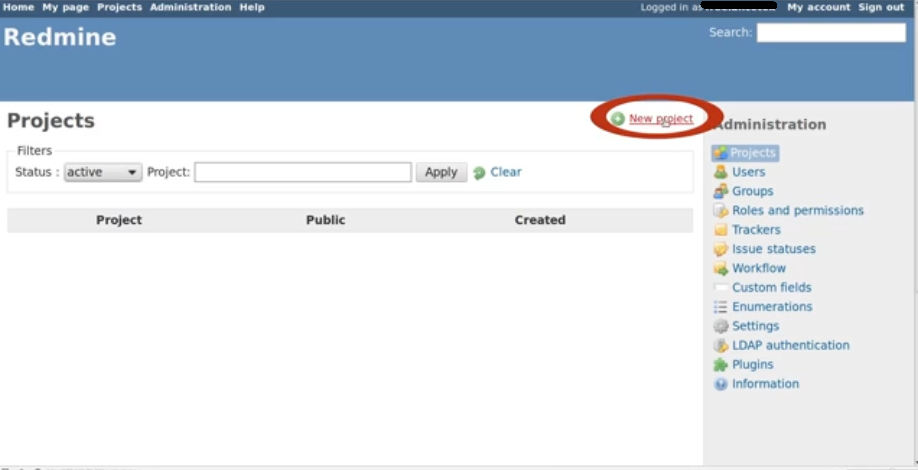
Then, select New Project in the upper-right section as shown in the above image.
Step 2: Add Project Details
The pop-up window or the project page requires you to fill in the required data. The ‘project name’ and ‘project identifier’ are two mandatory fields to fill in. The only box that usually creates confusion for new users is the ‘Project Identifier.’
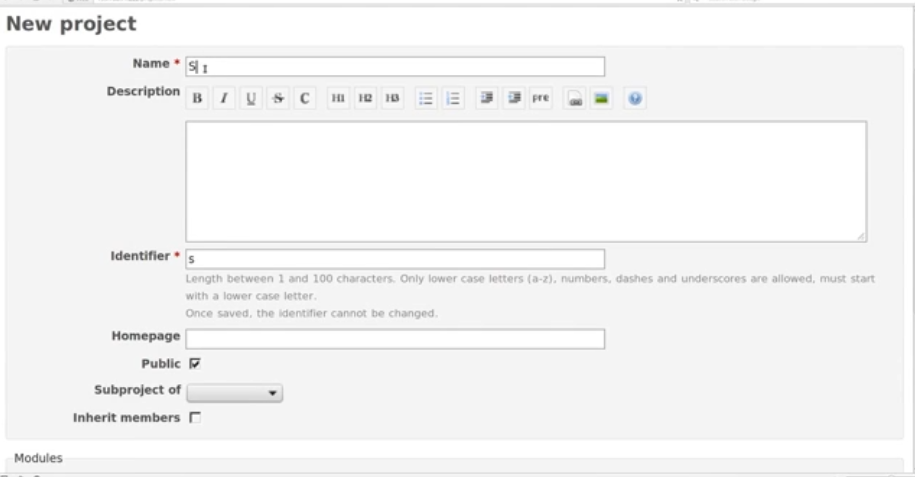

The identifier box is for URLs and is used by Redmine internally. Depending on the project default settings, the value in the ‘Identifier’ may be automatically generated, and it cannot be edited after you save the project. Here is the information about some other additional fields that you need to fill:
- Description: It includes a brief project outline that will appear on the overview page of the project.
- Homepage: It is a link to your project homepage, and it is also shown on the overview page.
- Public: Mark checks to make your project public to anonymous and non-member users.
- Modules: Select the plugins and modules which are to be added to make your project management easy.
- Trackers: Choose trackers you want to use in the project.
- Inherit Members: Check this field to add all the users from the parental project automatically.
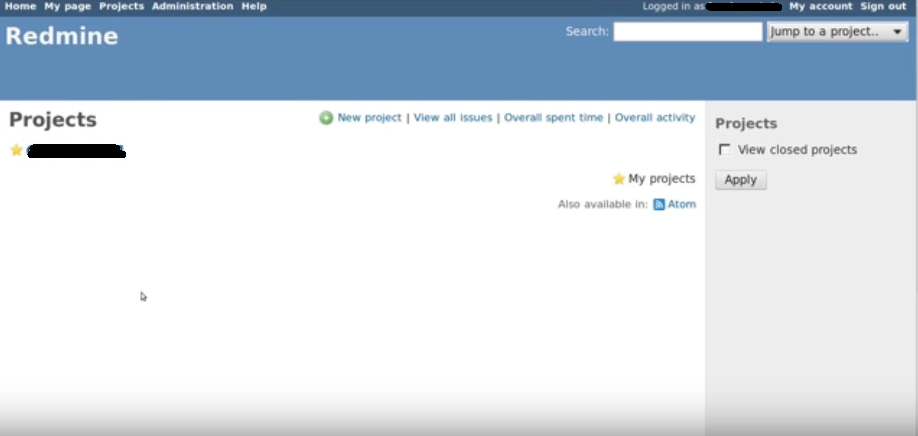
After filling all the required data, click on the ‘create’ or ‘create and continue’ button. So, now you know how to create your first project on Redmine.
Now when you go to the home page, it will show a project as in the below image.
Step 3: Add Some Users
To assign a project to your team, get them registered. By default, users are manually activated. Login as Admin when the user finishes filling out the data on the registration page. Then navigate to the Project: Settings, and now click on Members and then click on New Member.


Step 4: Assign Roles to Users
Once the users are active, assign them the project roles. Admin can assign one or more roles to one user. The default option roles are manager, developer, and reporter. These roles define what each user is allowed to contribute to the project.
Note that there are two separate areas where role assigning affects the permissions. These are:
1. First, the role impacts the permission through the overall project. For example, a user can create a new subproject to manage the Repository, the Wiki, the forums, and in general, anything else related to the project by the permission of the Manager.
On the other hand, the role of the Developer will not be able to delete messages from the Wiki or Forums or cannot edit the Project.
2. Second, these roles can affect the permissions in the project Workflow. In general, there are various states through which a new issue progresses that is from New – In-Progress – Resolved – Closed. The main difference between the roles of a Manager and a Developer is that a Manager is allowed to reject issue but a Developer cannot.
Here ends our tutorial on how to create a project on Redmine.

