


How to run Redmine via Docker with your custom image

Discover the power of containerized Redmine deployment with Docker! This guide walks you through running, migrating, and managing Redmine using Docker containers.

Table of contents
Why switch to Docker Image
Redmine before customization
Plugins and themes
Automated custom Redmine Image creation via GitLab
1. Preconfigured Dockerfile
2. Automated pipeline
3. Easy customization
4. No manual setup required
5. Ready-to-use Images
Uploading your custom Image to Docker Hub
Trimming the Docker Image size
TL;DR
The guide explains how to create a customized Redmine Docker image—starting from the official base, adding plugins and themes via a preconfigured Dockerfile and automated GitLab CI/CD pipeline—and then push the built image to a registry for streamlined, repeatable deployment.
Why switch to Docker Image
Modern containerization techniques, such as Docker, ensure the most stable, reliable and long term sustainable form of deployment of web applications to date. According to the 2024 Stack Overflow Developer Survey, Docker is the most commonly used tool among professional developers (59%).
No need to remain on the old unsupported version just because your original Redmine admin left the company.
So, what are the options?
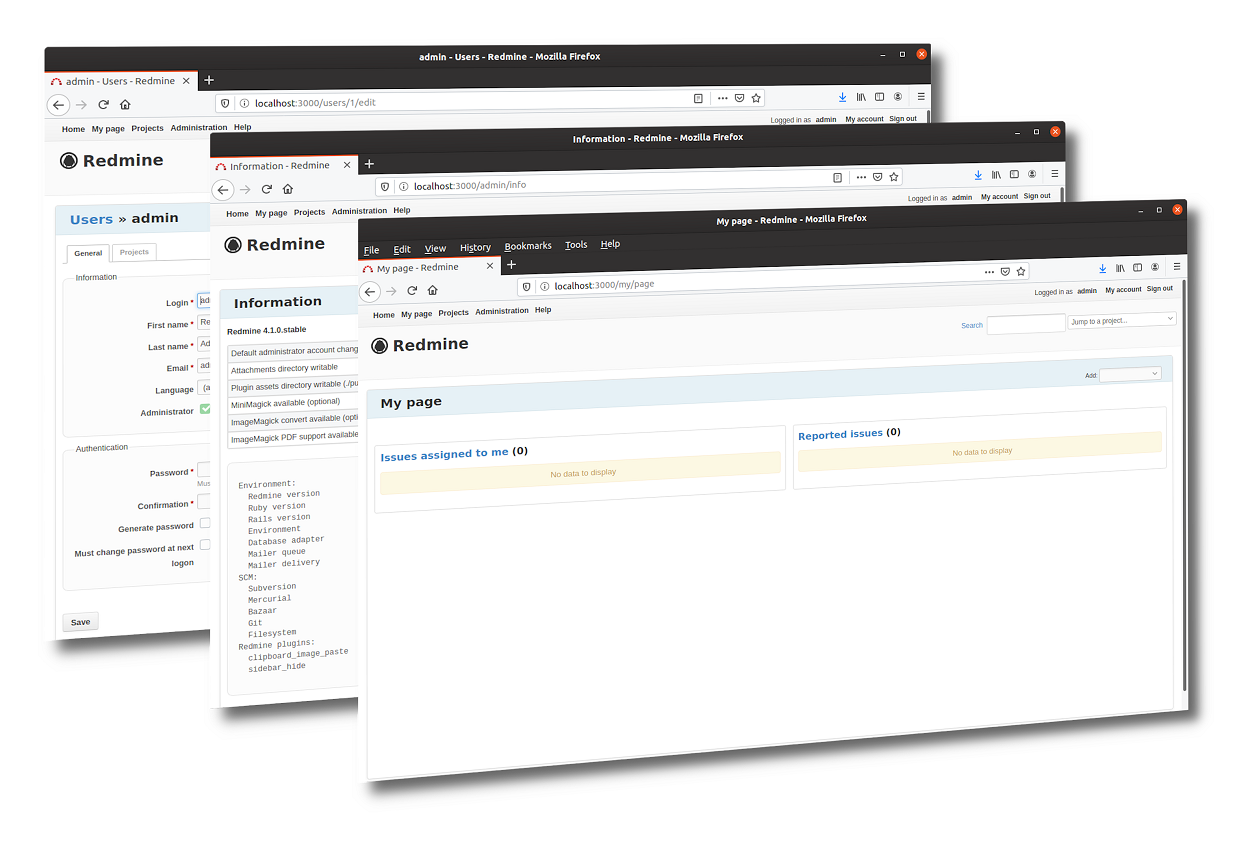
Redmine before customization
Note: Redmine native docker can be found on https://hub.docker.com/_/redmine. Here you may also find good instructions on how to populate an external database and mount external folders (to be able to install plugins).
If you are like me and prefer to directly see the code for building a custom Redmine Docker Image, you can go to github.com/lcofre/redmine and check the Dockerfile.
The Redmine Docker Image is a good starting point, although you probably would want to customize it with plugins and themes of your liking. In this how-to, we will build a Docker Image based on the official one, add some themes and plugins, and upload it to the docker registry.
For simplicity's sake, we won't use an external database but an internal database in the Redmine container itself. For a production environment though, it is advisable to set up a dedicated storage container.
Plugins and themes
We chose a few plugins and themes to illustrate varied ways of adding them to Redmine:
- Hide sidebar, a plugin to allow for more screen space, especially when writing issues
- Paste clipboard, to attach screenshots pasting from the clipboard instead of selecting a file
- A1 and Gitmike, are two themes to change the look of the UI
We are excluding plugins that require a database migration, as you need a pre-existing database. Please comment below if you need to install a plugin that needs migrations, as we have good ideas for you.
Automated custom Redmine Image creation via GitLab
Instead of writing and maintaining your own Dockerfile and manually installing plugins or themes, we’ve created a GitLab repository that automates the entire process. This means you no longer need to worry about each step to build or configure a custom Image—our repository has you covered.
Here’s how it helps you:
1. Preconfigured Dockerfile
The repository includes a Dockerfile that starts from the official Redmine base Image and adds commonly used plugins, themes, and dependencies (such as Git and RMagick) right away.
2. Automated pipeline
A GitLab CI/CD pipeline is in place so that every time you push changes or open a merge request, the pipeline automatically:
- Installs required system packages
- Installs Ruby gems
- Clones plugin and theme repositories into the correct Redmine folders
- Builds and tags the final Docker Image
3. Easy customization
If you want more plugins or themes, simply edit the configuration in the GitLab repository. You can add or remove items as needed. The CI pipeline takes care of re-building and testing.
4. No manual setup required
Because the pipeline handles everything, you no longer need to manually install dependencies or worry about each plugin’s requirements. Just work in GitLab, commit your changes, and let the automation do the rest.
5. Ready-to-use Images
Once the pipeline finishes building, the final Docker Image is pushed to your GitLab registry (or wherever you’ve configured it). You can then pull and run that Image directly.
This approach streamlines the entire process—from “idea” to “running container.” Feel free to clone or fork our GitLab repository, modify it to your requirements, and enjoy a hands-free experience creating your very own custom Redmine Image.
Redmine after customization
Uploading your custom Image to Docker Hub
The Image you just built is available to your local environment only. What if you want to make it available to others, let's say to everyone? Of course, you can upload the Dockerfile and related files to a git repo, and the ones interested can build the Image themselves.
But Docker also allows you to upload the built Image to their registry. For that, create an account in hub.docker.com and also create a repository for your Image. Then login in the terminal like this
- docker login
- tag your Image so it can be uploaded to your repo
- docker tag my-redmine:latest lcofre/redmine:latest
- and push it like this
- docker push lcofre/redmine:latest
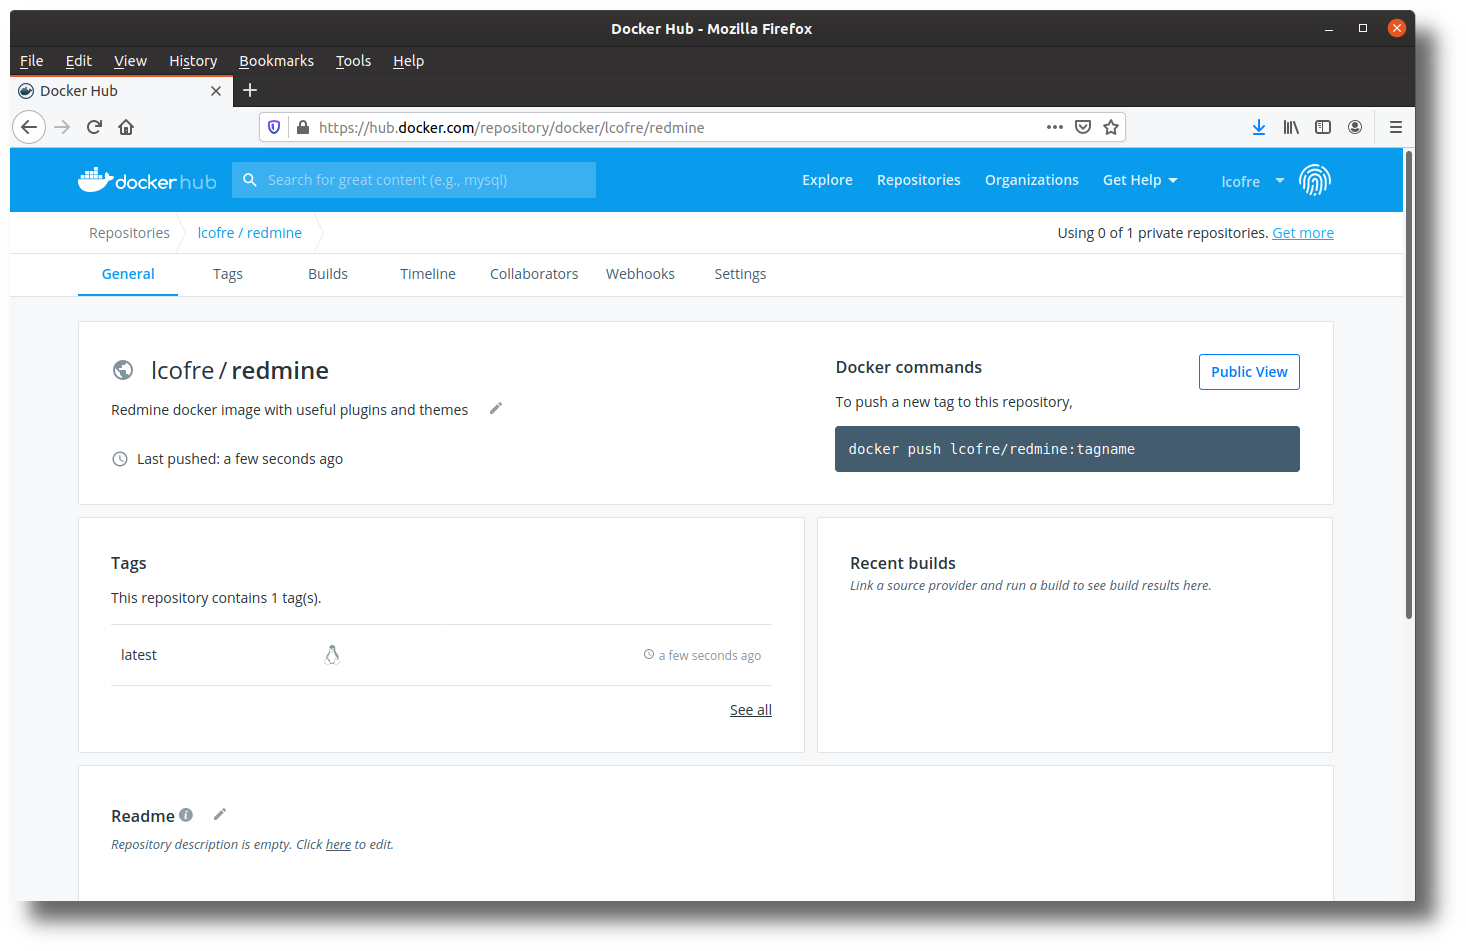
The Docker Image in the Docker registry
Now anyone can try out your Image by doing
docker run -it -p 3000:3000 --name my-redmine lcofre/redmine
That's it! This is how you go from a standard Redmine installation to a personalized version accessible in the Docker registry.
Trimming the Docker Image size
You'll find that the Dockerfile in the repo joined many lines into one. This is a Docker recommendation to make smaller Images. You can find that advice and others in https://docs.docker.com/develop/develop-images/dockerfile_best-practices/.
Another recommendation to reduce the final size of the Image is to use the alpine version of Redmine
FROM Redmine:alpine
Alpine is a different linux distribution. Instead of using apt to install packages you need to use apk.
One last tip: the packages we installed with apt in the Dockerfile are not needed anymore after the Image is built. You can follow the best practice of using multi-stage builds.
The practice of keeping a small size Docker Image helps especially when scaling up the number of instances, but also reduces the attack surface on your Image.

The ultimate Redmine upgrade? Easy.
Get all powerful tools for perfect project planning, management, and control in one software.
Frequently asked questions
Related articles

Redmine 6 is out: Is it worth updating?
The open-source project management tool Redmine has released its version 6, bringing several technical updates and improvements. Let's look at what's new regarding this Redmine upgrade.

How Docker improves the security of on-premises solutions
Easy Software is pleased to announce official support of on-premises solution via Docker solutions. This article focuses on the security benefits. I strongly believe you will find them worth the smaller effort of migrating from the legacy solution.

Versions of Ruby and their maintenance
Easy Redmine is closely tied with Ruby and (of course its versions). Let's dive deeper into how its regular updates and powerful frameworks like Ruby on Rails keep it at the forefront of web development and find out what’s next for this dynamic language.

