


How to Install Redmine on Amazon Web Services (AWS) – Ubuntu 18.04 LTS – Part 2
Using this method, you can have a fully operational Redmine server with just a few clicks and no command-line interaction.
Prerequisites
Before starting the process, make sure the following prerequisites are met:
- You have an Amazon Web Services Account with admin privileges.
- You have a domain name for your Redmain application such as redmine.mydomain.com.
- You have access to the DNS configuration for your domain.
Let’s go for it.
- Open your Lightsail Console, select your AWS region and click on “Create instance”.
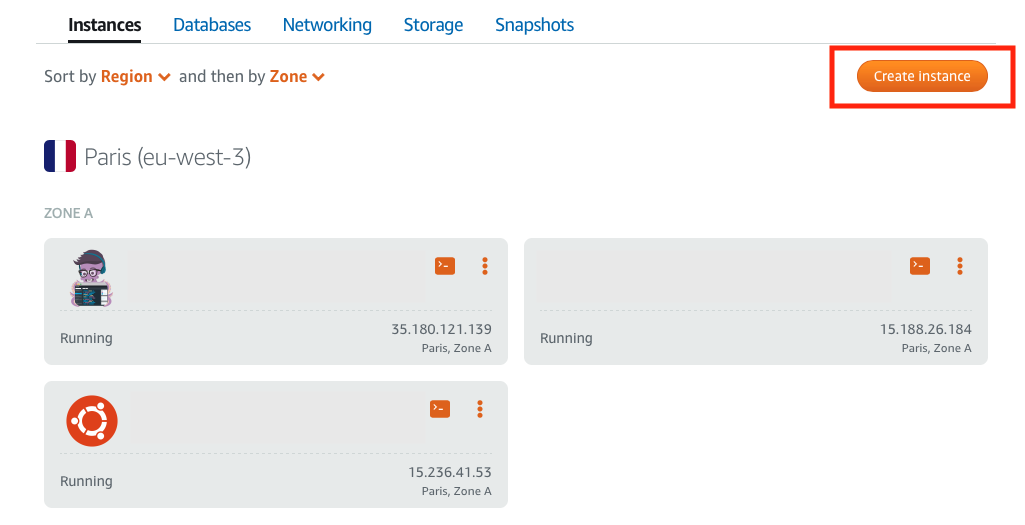
Lightsail Console. New Instance.
- Select your preferred platform and application blueprint. In our case, we should select:
- Platform: Linux/Unix.
- Blueprint: App + OS / Redmine
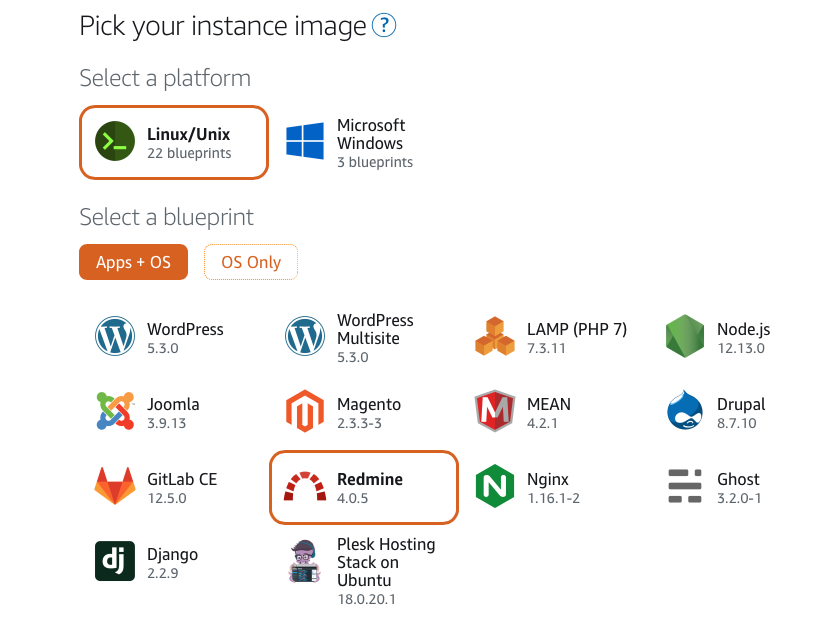
Platform and Blueprint Selection
- Choose your pricing plan. The two main factors to consider are:
- Storage: If you are going to upload big files into your Redmine application, go for one of the top plans (320Gb or 640Gb). Otherwise, you can select a medium or low plan.
- Server performance: Server performance is determined by the combination of your instance memory and the number of CPUs. If you expect a high usage of your Redmine application, go for high-performance instances.
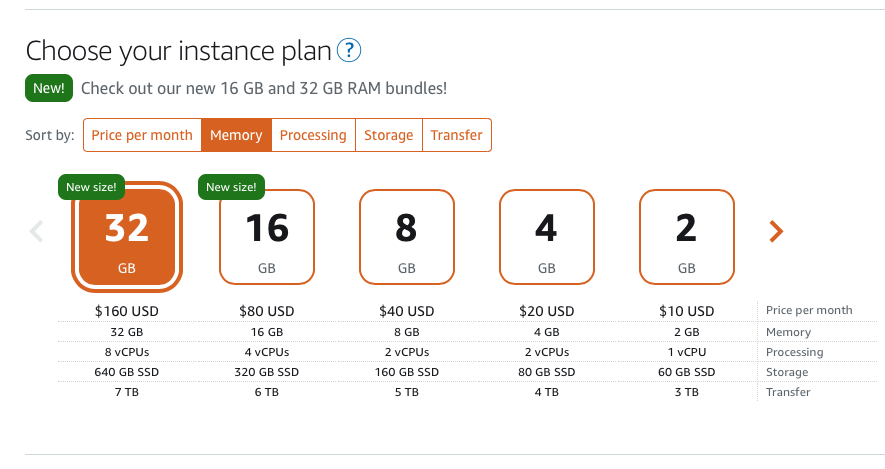
Lightsail Plan Selection
- Provide a name for your Redmine server and click on “Create instance”
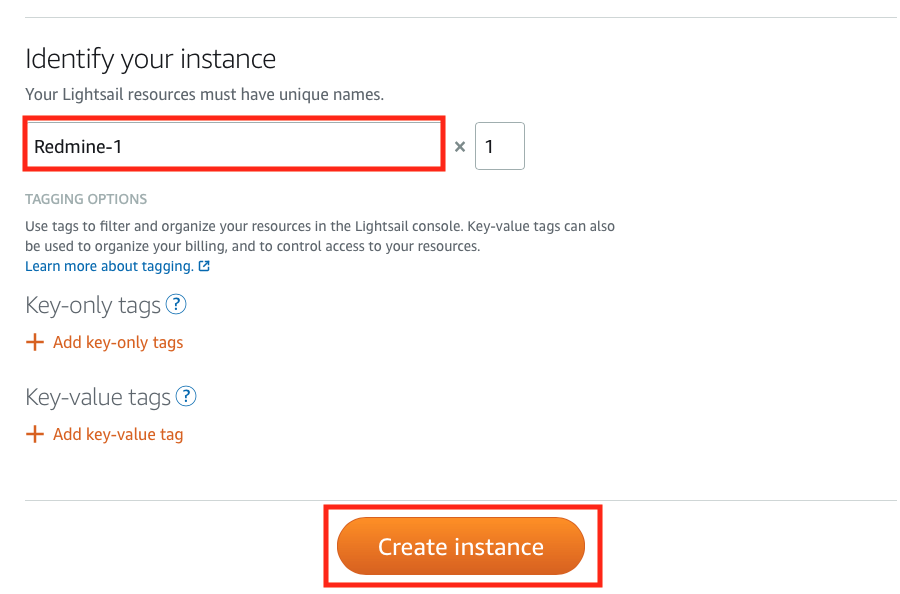
Choose a Name for Your Instance
This will trigger the Redmine instance creation process. Once your instance is ready it will be shown at the Lightsail Console.
- Configure your DNS server. Add an entry for the Remine domain name pointing to the public IP address of your newly created instance.
You can find the public IP address at the Lightsail Console. 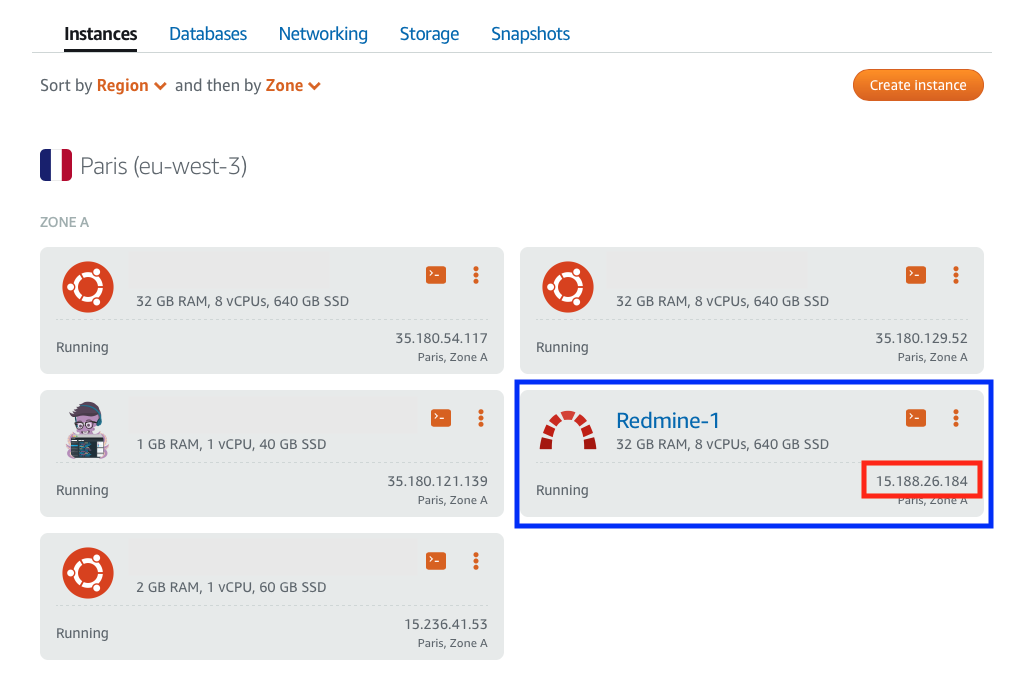
Lightsail instance public IP address
- Get the Redmine admin password. To do so, connect to the Redmine instance by clicking on the terminal icon.
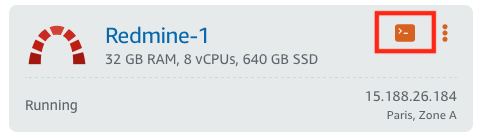
Terminal access to Lightsail instance
Type the following command at the command prompt:
cat $HOME/bitnami_application_password
The admin password will be displayed.
- Open your web browser and type your Redmine domain name at the address bar.
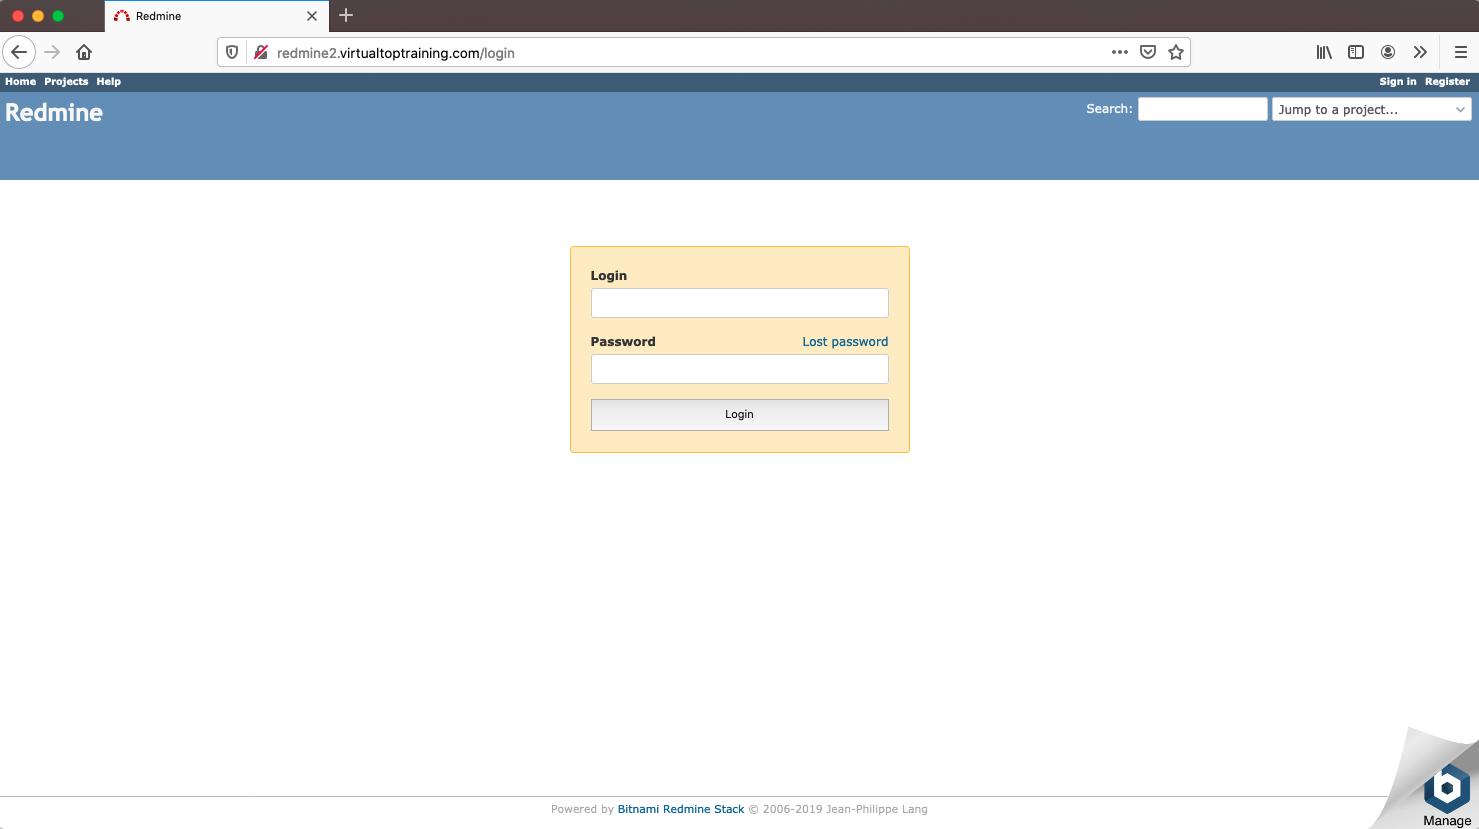
Redmine Login Screen
- Log into your Redmine, using the following credentials:
Username: user
Password: <password displayed by the previous command>
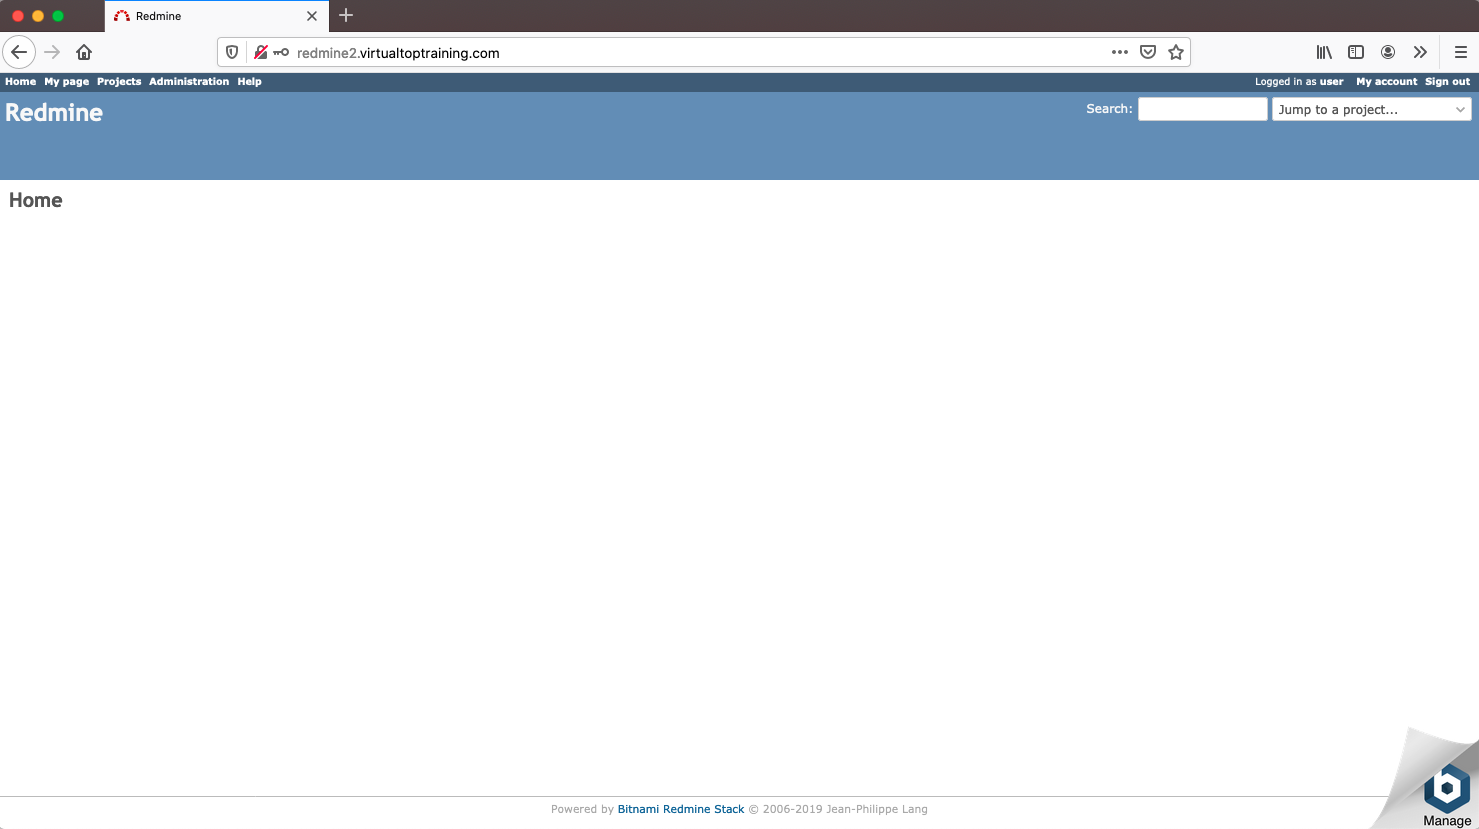
Redmine Home Screen
Congratulations! Your Redmine is ready!

The ultimate Redmine upgrade? Easy.
Get all powerful tools for perfect project planning, management, and control in one software.

