


Redmine in Kubernetes – Part 2: Installing Redmine
This is the second part of the series about deploying Redmine into Kubernetes. In this article, we will provide instructions on how to deploy a reliable installation of Redmine.

Recounting Part 1
By now you must be looking forward to the installation of Redmine on Kubernetes. After all, that’s what you came for, right?
In Redmine in Kubernetes – Part 1: Preparing environment, we installed the Ingress Controller, a component to redirect internet requests inside your cluster, and we created a DNS domain, redminek8s.ddns.net. Now we only need to configure HTTPS and we are ready to deploy Redmine.
HTTPS with cert-manager
Although we could keep our Redmine as HTTP, HTTPS has become the standard for websites, so much that most browsers warn you of a security issue when HTTPS is not being used by a website.
Typically enabling HTTPS is not a trivial task, as you need to buy a certificate and upload it to your site, renewing it after a certain time, and repeating the process. Cert-manager automates all this, including the renewal of certs, and even obtains free certificates. You can see more information on their site, but I’ll explain all you need to know next.
Install cert-manager
Execute the following steps to install cert-manager in your cluster:
helm repo add jetstack https://charts.jetstack.io && helm repo update
helm install cert-manager jetstack/cert-manager --set installCRDs=true
First you add the repository where cert-manager is, and then you install its latest version.
Connect to the Certificate Authority
Now we need to instruct cert-manager to connect to the Certificate provider of our choosing. We will use LetsEncrypt, a free certificate authority. Create this file first (remember to replace <your-email-address> with a real email address) and name it cluster-issuer.yaml
apiVersion: cert-manager.io/v1alpha2
kind: ClusterIssuer
metadata:
name: letsencrypt
spec:
acme:
server: https://acme-v02.api.letsencrypt.org/directory
email: <your-email-address>
privateKeySecretRef:
name: letsencrypt
solvers:
- http01:
ingress:
class: nginx
Then apply it to your cluster with
kubectl apply -f cluster-issuer.yaml
Congratulations! The file above is the first kubernetes configuration we write and apply to the cluster. You may have noted that it shows how to connect to LetsEncrypt, but it also describes the Ingress Controller we created in Part 1 (The class: nginx at the end) This type of configuration has some lines with spaces to indicate dependency of some properties to others. Keep those spaces as shown to ensure the file is read and applied properly.
Now your cluster is HTTPS enabled. Whenever we install an application we can instruct it to work with HTTPS and voilà! The whole process of getting the certificate will be done automatically behind the scenes.
Installing Redmine
This is what we were all waiting for. We can install Redmine in a few different ways, but by far the most convenient one is to use Helm. As we already did before, first we add the repository were Redmine is
helm repo add bitnami https://charts.bitnami.com/bitnami && helm repo update
But this time instead of installing right away we will create a configuration file, to indicate some custom behaviour we want Redmine to have.
We will separate all configurations on their own section but you put them all in the same file, one after the other. Call the file values.yaml.
All Helm applications have a values.yaml file with all possible configurations that can be made to the application. When we create our own values.yaml we define the changes we want. Any value we don’t include in our file will be left as it is in the default file.
All default values can also be found on the helm application page, https://hub.helm.sh/charts/bitnami/redmine. Go ahead and check all the configurations.
First Admin user
RedmineUsername: adminUser
RedminePassword: <my-password>
This step is as necessary as easy to understand. It’s our first user on Redmine, the one we will use to log in for the first time.
When Redmine is installed you will be able to access it with this user to configure your brand new installation.
PostgreSQL database
By default our Helm installation will require a mariadb database to be created. We will instead configure our installation to use PostgreSQL. You need to also add at least a password to access this database, as you can see below
databaseType: postgresql
mariadb:
enabled: false
postgresql:
enabled: true
postgresqlDatabase: Redmine
postgresqlUsername: Redmine
postgresqlPassword: <some-safe-password>
We need to explicitly tell our installation that we don’t want MariaDB to be installed along with the configuration for the PostgreSQL database.
DNS name configuration
The configuration below is the other side of the DNS configuration we did in Part 1. As you can see we enable TLS, the protocol behind HTTPS, and set the hostname we used when creating our DNS record:
ingress:
enabled: true
certManager: true
hostname: redminek8s.ddns.net
tls: true
annotations:
kubernetes.io/ingress.class: nginx
cert-manager.io/cluster-issuer: letsencrypt
Also in the last two lines we link our application with the Ingress Controller and with the Cluster Issuer we created before.
Now we can deploy Redmine with our custom configuration:
helm install Redmine -f values.yaml bitnami/redmine
That line is similar to other helm install lines we used before, but this time we provide a custom values.yaml. This is the way to customize any Helm application.
We need some more patience still, as the creation of the application takes some time. You can execute this command to check for the status of your application containers:
kubectl get pods --watch
The command will return something similar to this:
NAME READY STATUS RESTARTS AGE
. . .
redmine-999c68dd9-x7h2k 1/1 Running 0 6m40s
redmine-postgresql-0 1/1 Running 0 6m40s
You have to wait until the status for both containers is Running and all are ready 1/1, which in my case took about 6 minutes.
Now all is ready to open the browser and go to our new deployment:
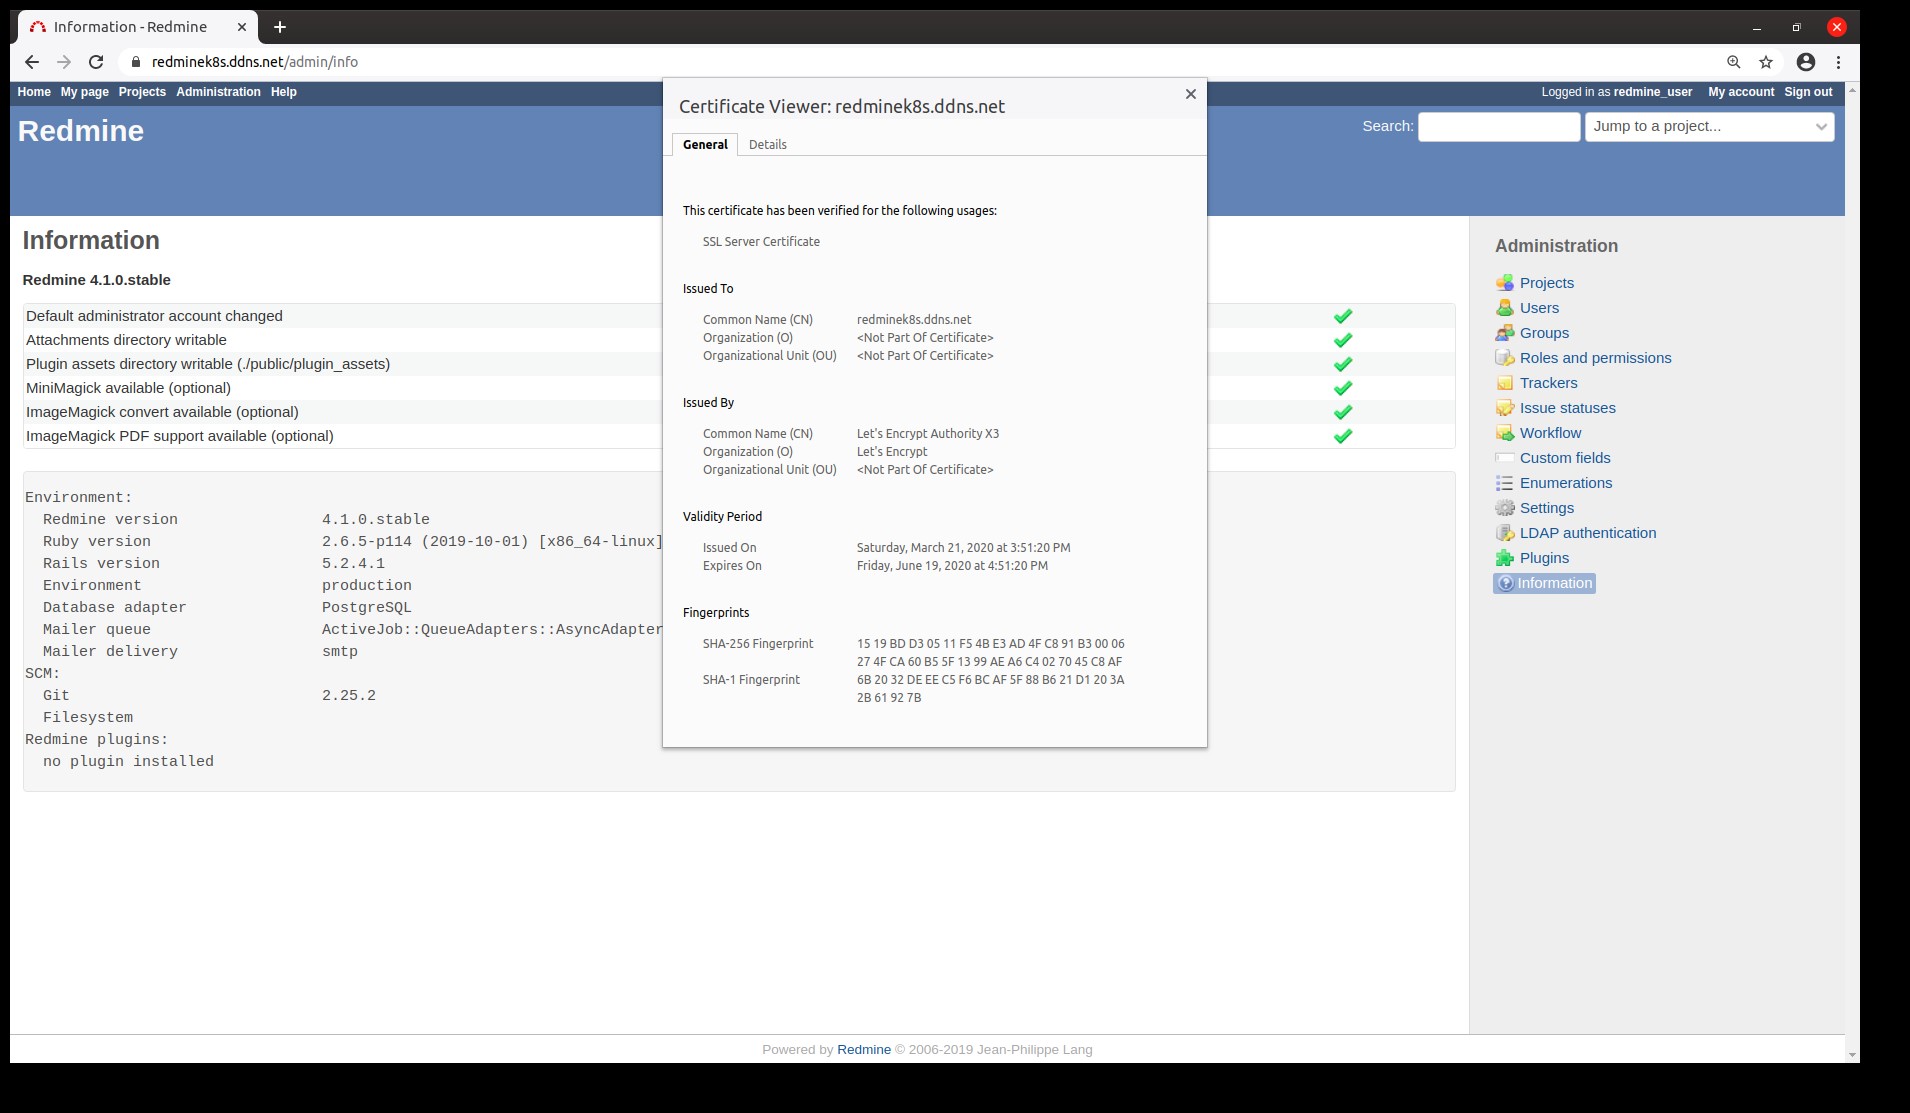
Redmine is ready
Wrapping up
Kubernetes is a complex tool to deploy applications, but we navigated through that complexity with the help of Helm (no pun intended) and deployed a reliable installation of Redmine.
You can find a summary of this how-to in the following git repo: https://github.com/lcofre/redmine-on-k8s. Feel free to compare with your files if you get stuck.
We left some concepts out of the discussion because they were complex or the explanation was cloud-specific. Among them are the Liveness and Readiness of your application, incoming mails configuration, and scaling out to handle more load. Please let us know below what interests you the most so we can discuss it in a future how-to.

The ultimate Redmine upgrade? Easy.
Get all powerful tools for perfect project planning, management, and control in one software.

