How to Install Redmine on Mac OS X
Compared to Windows PC, using the Redmine application on Mac OS X provides you with a more streamlined user interface. This is precisely why people prefer to install and use Redmine on their Mac OS X system.

However, before you carry out the actual installation, you have to go through the installation prerequisites.
Prerequisites for Installation
- Install OS X/Xcode Developer Tools
- You can either get XCode by registering for a free account and downloading from: https://developer.apple.com/downloads/
- Install the OS X MySQL and all the linked LibrariesDownload http://www.mysql.com/downloads/mysql/ and choose the latest 64-bit version
- Run installation package. This will promptly install in / usr / local / mysql / binRun MySQLStartupItem.pkg file to make use of Graphical User Interface to start your server’s startup automatically.
- Open MySQL.prefPane and carry out installation for all the users. This provides GUI for stopping and starting
- Set root password for MySQL’s new installation. You can do this from the command line:
mysqladmin -u root password NEWPASSWORDInclude MySQL to path. In terminal:
sudo touch /etc/paths.d/mysql
sudo nano /etc/paths.d/mysql
In the editor , type the following: /usr/local/mysql/bin . After this click save and then exit.Put in startup options to tell MySQL daemon and client to connect to local server. In terminal:
sudo nano /etc/my.cnf - Include the following as appropriate in the editor:
[mysqld]
socket = /tmp/mysql.sock
[client]
socket = /tmp/mysql.sock
- The next step is to Install the MySQL binaries. You can directly download from http://www.opensource.apple.com/other/MySQL-55.binaries.tar.gz
- sudo tar -xzvf ~/Downloads/MySQL-55.binaries.tar.gz -C ~/Downloads
This code will generate a root.tar archive that you also have to extract
sudo tar -xzvf ~/Downloads/MySQL-55.binaries/MySQL-55.root.tar.gz -C /
At this point, tar ought to list the several files placed in suitable locations all through the system- Carry out install of Phusion Passenger ( a gem that takes care of Ruby on Rails applications and makes them easy to access on server)
sudo gem install passenger
sudo passenger-install-apache2-moduleThe installation of the apache2 module installation will ask you to include multiple lines to the apache configuration file. The file is /etc/apache2/httpd.conf for the standard Lion Server. The lines to include are as follows:
- Carry out install of Phusion Passenger ( a gem that takes care of Ruby on Rails applications and makes them easy to access on server)
LoadModule passenger_module /Library/Ruby/Gems/1.8/gems/passenger-3.0.12/ext/apache2/mod_passenger.so
PassengerRoot /Library/Ruby/Gems/1.8/gems/passenger-3.0.12
PassengerRuby /System/Library/Frameworks/Ruby.framework/Version/1.8/usr/bin/ruby@
- The next step is the building and installation of Passenger Pref Pane
cd ~/Downloads
git clone https://github.com/Fingertips/passengerpane/
cd passengerpane
xcodebuild
(If you are not able to locate xcodebuild, it might be in /usr/bin/ xcodebuild)
Carry out installation of the preference pane. Check in ~/Downloads/passengerpane/build/Release, and click on Passenger.prefPane for installation.
Installation of Redmine
After you have taken care of the prerequisites, you can start with the Redmine Installation. Observe the following steps to install Redmine on the Mac OS X 10.7 Lion Server.
- Step 1:
Check Redmine 2
cd /Library/WebServer/Sites/
Create sites directory if it does not exist (sudo mkdir /Library/WebServer/Sites)
sudo git clone https://github.com/redmine/redmine
- Step 2:
Configure Passenger and open up /Library/WebServer/Sites in Finder
In System Preferences, begin Passenger preference pane
Move redmine folder to the Passenger
After setting "Address" to something such as redmine.local, click on "Production"
Enter any pen name for the site ( for example: your.server.com/redmine)
- Step 3
Setup Database With redmine database and user, setup the database
mysql -u root -p
( When you are prompted, enter the MYSQL root password)
Next enter this (detailed below) into MySQL. Replace any password of your choice for MY_PASSWORD:
create database redmine character set utf8;
create user 'redmine'@'localhost' identified by 'MY_PASSWORD';
grant all privileges on redmine.* to 'redmine'@'localhost';
flush priviledges;
exit
- Step 4:
Configure Redmine
cd /Library/WebServer/Sites/redmine
sudo mkdir tmp public/plugin_assets
sudo chown -R _www:_www tmp public/plugin_assets log files
sudo chmod -R 755 files log tmp public/plugin_assets
sudo cp config/database.yml.example config/database.yml
Edit the database.yml, for example
production:
adapter: mysql
database: redmine
host: localhost
username: redmine
password: MY_PASSWORD
socket: /tmp/mysql.sock
Observe the same for configuration.yml if necessary
- Step 5:
Install the required gems
sudo gem install bundler
Ensure you are present in the redmine directorycd /Library/WebServer/Sites/redmine:
sudo bundle install --without development test
- Step 6:
Establish the defaults
sudo rake generate_secret_token
If you face any problems at this stage, try again by making use of the command "sudo port install mysql5-server mysql5".
sudo RAILS_ENV=production rake db:migrate
sudo RAILS_ENV=production rake redmine:load_default_data
Enter the language you want (for example: en for English) when you are prompted for it and then press enter.
Bear in mind you might receive the warning message "Please install RDoc". This message does not show to prevent installation that is successful. Instead of generate_secret_token, use generate_session_store for redmine 1.4.
- Step 7:
restart web-server

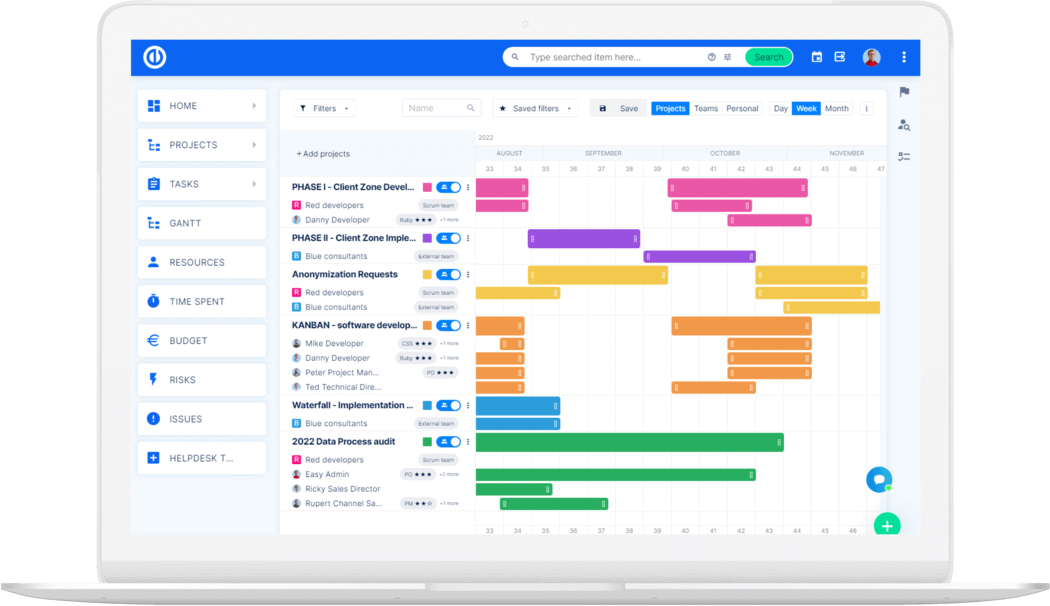
The ultimate Redmine upgrade? Easy.
Get all powerful tools for perfect project planning, management, and control in one software.

