How to Install a Plugin in Redmine Smoothly
Developers have crafted a broad array of plugins around Redmine that boost the core's functionalities. Read on to learn how you can install a Plugin in Redmine smoothly.

First Step
Copy-paste the directory of your plugin in “# {RAILS_ROOT}/plugins”. If you are using GitHub as the source to directly download the plugin, you can do this by changing the directory of your plugin and executing a command such as a git clone git://github.com/user_name/name_of_the_plugin.git.
Second Step
Install needed gems for plugins with the command: bundle install --without development test
Third Step
The final step in plugin installation is to restart your Redmine application.
You will now be able to observe the plugin list by going to Administration-> Plugins. The next step is to configure this plugin (newly installed) if it needs to be configured before you can use it.
Installing Redmine Plugins on Linux
When it comes to installing Redmine plugins on Linux, most of these plugins are quite simple to install and do not alter the data in the Redmine database. However, it is strongly recommended that you make a complete backup prior to installation. What people usually do is simply copy-paste the plugin (unarchived ) to the Redmine->plugins-> folder. However, some of the plugins might need particular database tables and/or Ruby gems
Here are the common steps for installing any Redmine plugin on Linux. You have to execute all the commands from the Redmine’s root folder (/var /www/redmine). This root folder includes the “config.ru” file.

Step 1: Head Over to Redmine App Root Folder
cd /var/www/redmine
Step 2: Copy and Unarchive the Redmine plugin
cp [plugin_name]-x_x_x-pro.zip plugins/
cd plugins
unzip [plugin_name]-x_x_x-pro.zip
Step 3: Installation of needed gems
cd /var/www/redmine
bundle install --without development test --no-deployment
Step 4: Migrating tables of the plugin
bundle exec rake redmine:plugins NAME=[plugin_name] RAILS_ENV=production
Step 5: Restarting Redmine
touch tmp/restart.txt
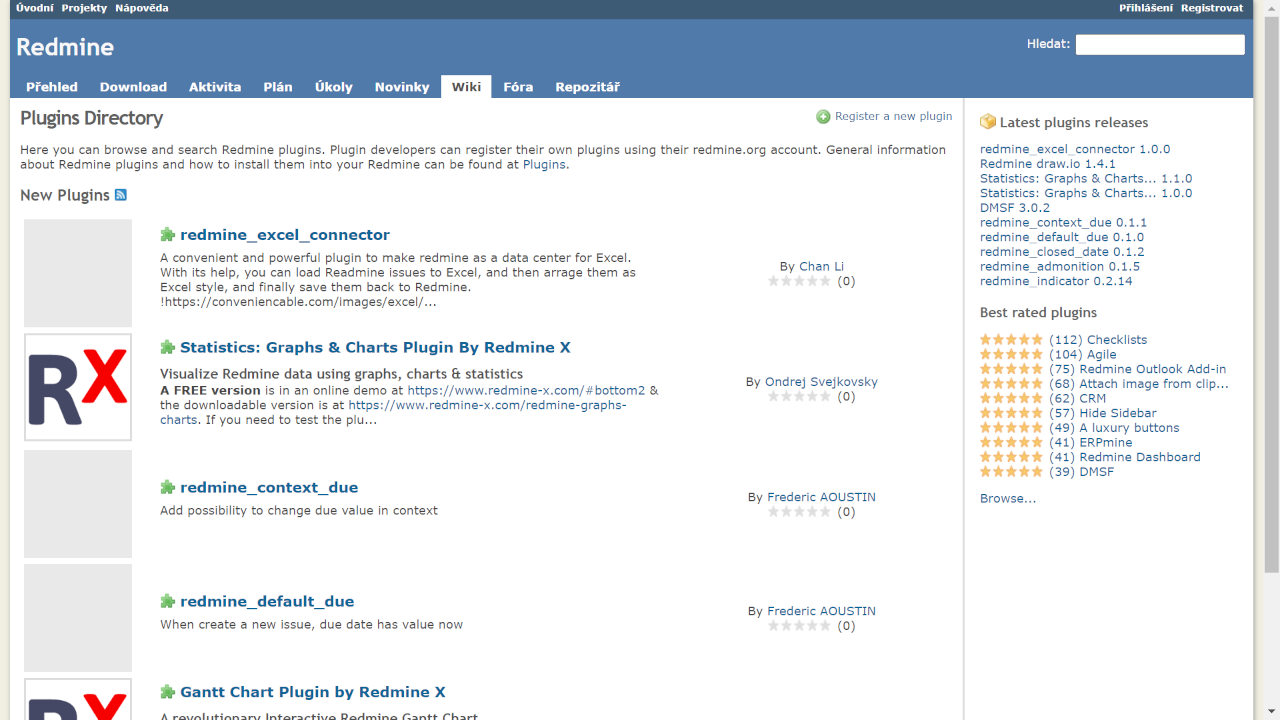
You can find a comprehensive list of all the available Redmine Plugins in the Plugin Directory. Presently, there are over 600 plugins in the official Redmine directory.
Upgrading Plugins in Redmine
Our plugin’s light version has a structure of database similar to that of PROs. What this means is that there is no need for you to migrate the database if you have the identical version number of pro and light plugins. However, it is recommended that prior to installation, you create a full backup.
These are the common steps for the upgradation of any plugin (once again, you should execute all the commands from the Redmine root folder/var/www/redmine.
Step 1: Delete the plugin’s light version
cd /var/www/redmine
rm -fr plugins/[plugin_name]
Step 2: Copy and unarchive the pro plugin version
cp [plugin_name]-4_0_0-pro.zip plugins/
cd plugins
unzip [plugin_name]-4_0_0-pro.zip
Step 3: Install the needed gems (same as above)
Step 4: Migrating tables of the plugin (same as above)
Step 5: Restarting Redmine (same as above)
Related articles
Redmine 5.0: Is It Worth Upgrading?
Redmine 5.0 is the latest version of the popular open-source project management software. Since this is a major version, upgrading to it is of course more technically demanding than upgrading to any minor version. But – is it worth upgrading at all? Let’s see.
The Top Redmine Plugins to Better Your Project Management
You can modify and adjust Redmine to fit the needs of your project team to a considerable extent. To that end, it is in your best interest to use some of the best available Redmine plugins to squeeze even more juice out of Redmine!

The ultimate Redmine upgrade? Easy.
Get all powerful tools for perfect project planning, management, and control in one software.


