


Release notes for version: 13.7.0
Technological stack
This section is important for Server solution. Cloud users need not worry about any of this.
- OS: Debian 11 on amd64 architecture
- Redmine: upgradable from version 5.1.1
- Ruby: 3.1.4
- Bundler: 2.3.7+
- Rubygems: 3.3.x
- Database: Percona/MySQL 8.x
- redis-server: 5+
- NodeJS: 18.8
- Docker engine: 24.0.5
- Docker compose: 2.24.0
Please note that before installing Easy Redmine 13.6 and higher, you need to update your Ruby to 3.1.4. A guideline for Ruby updates is available here.
Before every application upgrade, please carefully refer to all release notes between your existing version and the new version - there may be critical technical or functional changes explained.
Gantt (+ Resource management) - independent of a misleading setting
Previously
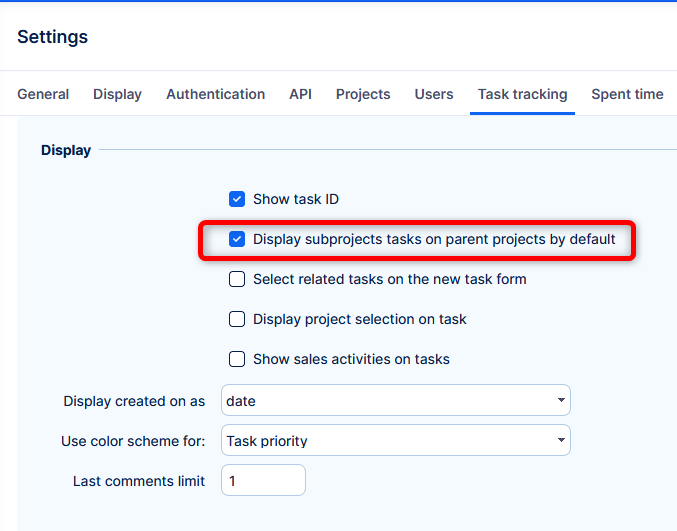
Global setting Display subprojects tasks on parent projects by default took effect for Gantt => Tasks were shown directly under the top project. Then after expanding subprojects, the tasks would be shown again under its project - duplicite.
This behaviour was confusing and unfriendly.
Now
Global setting Display subprojects tasks on parent projects by default is not used by Gantt => tasks are only shown within the subprojects in Gantt view.

"Export all columns" limited to 200
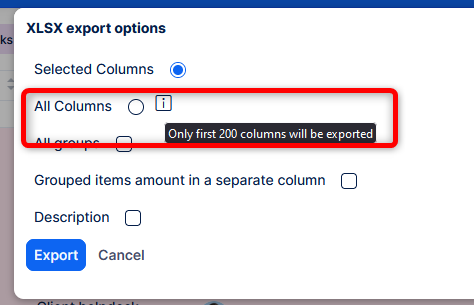
Option in exporting lists - All columns is now limited to 200 columns. This adjustment has been carefully considered to optimize the balance between comprehensive data export and the hardware and software capabilities.
Exports above 200 columns are considered corner situation and has to be solved on case-by-case basis.
Scrum boards polishing
Further improvements on the usability of Scrum boards, this time various pop up windows.
Help desk users - permission for other tickets
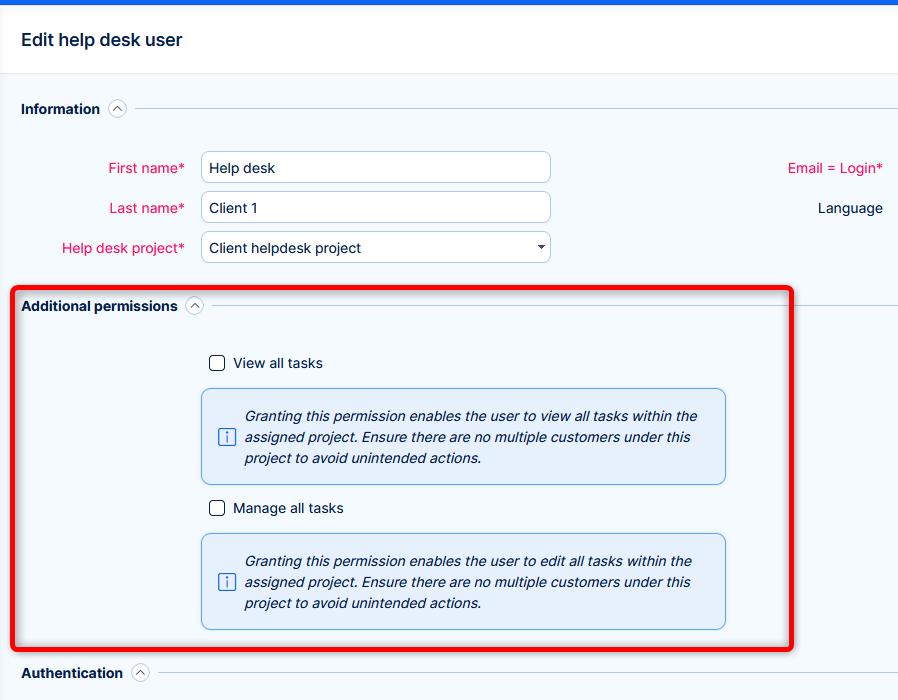
Added two permissions for a help desk user (accessible at the Help desk user profile).
- View all tasks = Allows the help desk user to see all created tickets under the same project
- Manage all tasks = Allows the help desk user to Edit specific fields from already created tickets (Title, Description and also add a new attachment; but not edit the old one).
Use case
A client has a special project for their tickets in your Help desk. There are more users logging into the help desk portal and submitting tickets on behalf of this client. One of these users needs to see all the submitted tickets, because his role requires to evaluate the service that you deliver.
Asset and configuration management changes
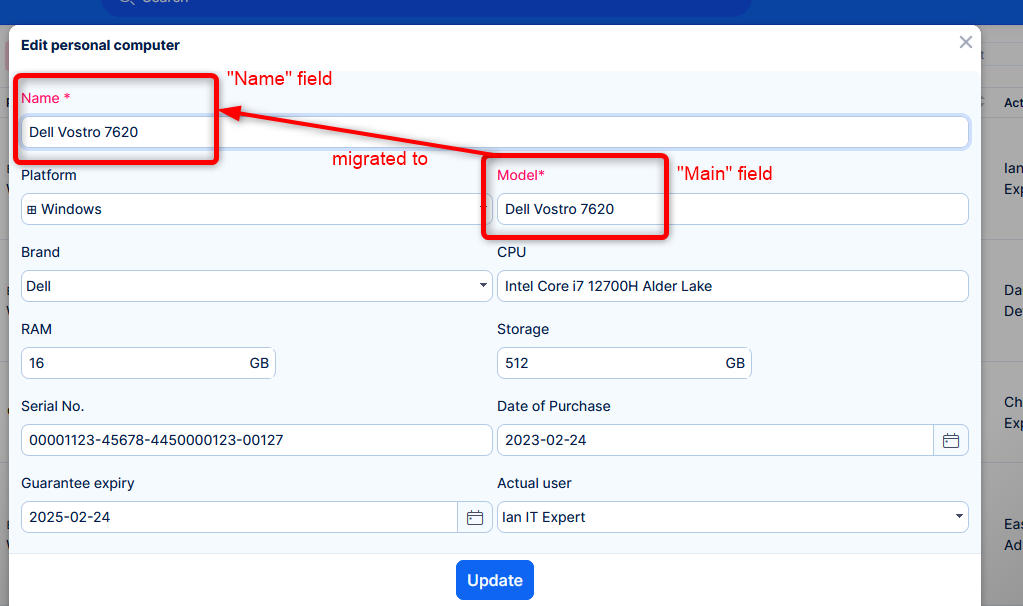
Native name field
Previously, you had to create every field for assets manually, one of them you needed to mark as Main.
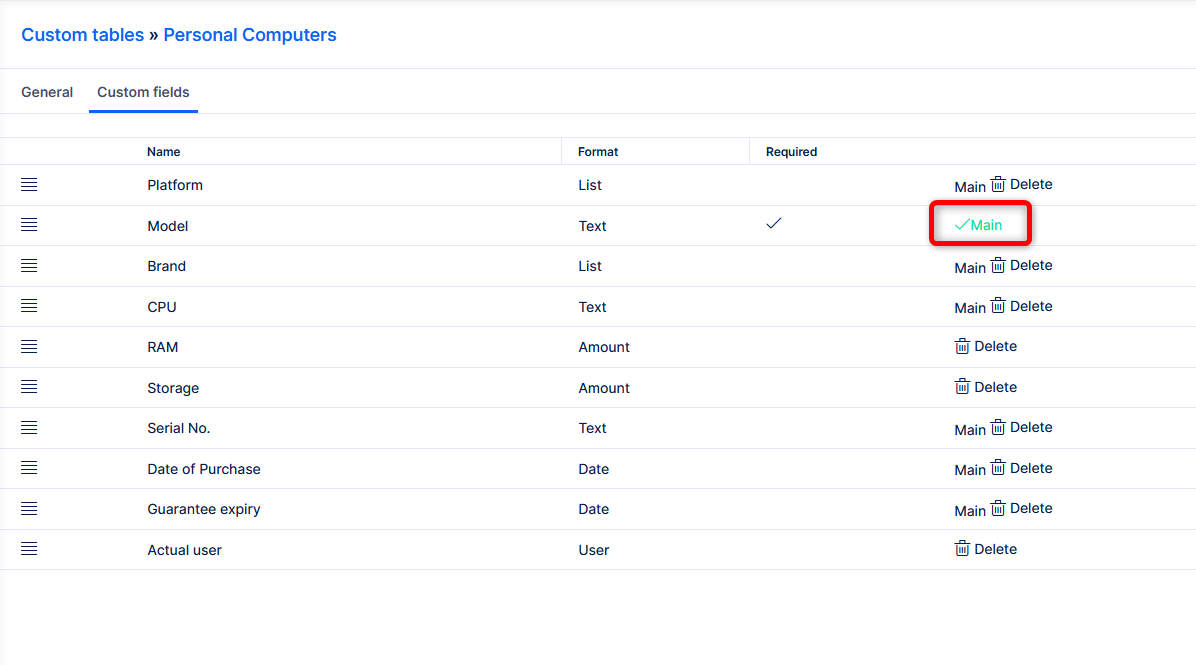
Now, due to performance optimization, there is a native field Name, which is activated automatically for all Assets.
How it works
When you create a new asset, the field Name will always be activated automatically - it will not be possible to have "empty" assets.
When you upgrade from an older version to 13.7 and higher, the existing assets you've already had will receive this new field. Content from the Main field will be automatically migrated to Name. You will have two fields representing the same information, which is a safe approach for you to decide when to permanently switch to this new field and inform your users.
Before deactivating the old Main field, please first check:
- Default filter and saved filters - the Name column needs to be shown
- Dashboard widgets - in case of ad-hoc set widgets on any dashboard, you should add the Name column

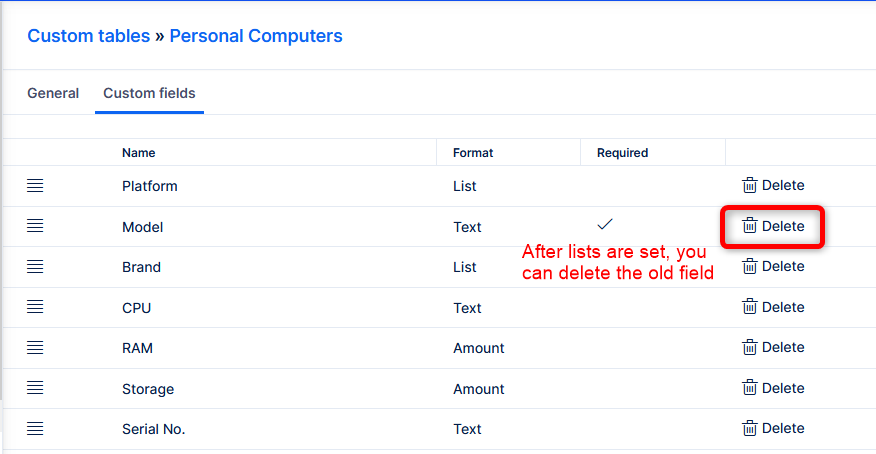
This is a one time step for the sake of stability and performance. Thank you for understanding.
Trends widget
It is now possible to view ACM data in the widget Trends.
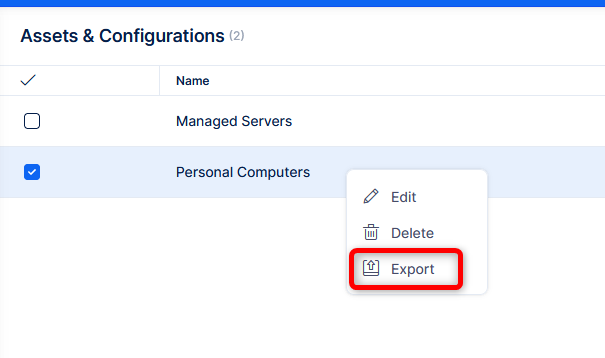
Export/import custom tables
In case you prepare some Assets structure in a test environment, and then want to migrate to production, it is easy to export and import the configuration. We will also be preparing some presets for you to download and import.
To export, right click on the custom table:
Import button is in the right side of the custom tables.
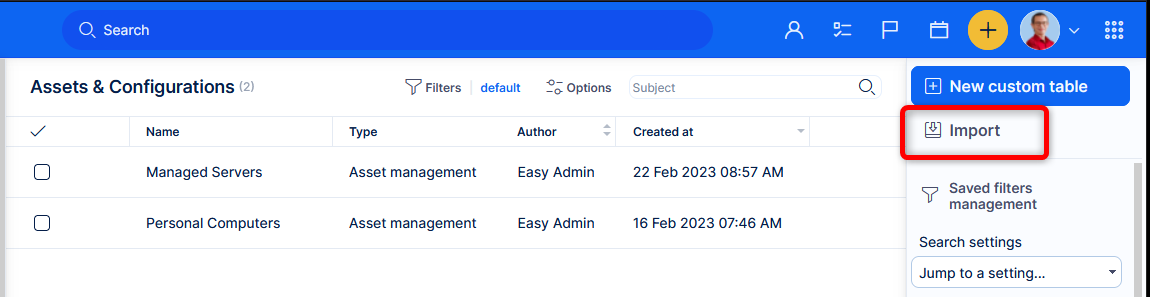
Please be aware that this only works for the table configuration, not the actual data within. It exports the structure of custom table Personal computers, with all the fields and the possible values. But not the personal computers you added to the database.

