


Migrate to Docker
Intro
Since mid-2024, Easy Redmine has a native Docker solution (= officially supports deployment via Docker). It brings enormous advantages, as we list in environment requirements and in a specialized article.
Here you will find the guide to migrate from your existing (legacy) installation into a new Docker environment in a simplified form.
A detailed and up-to-date manual is available in the file docker/README present in your application package.
The principle
We are practically talking about data restoration into a newly started Docker instance with Easy Redmine application.
Preparation
- Think about how and when you will be switching DNS and IP address(es) between existing and new application
- Adjust your plan based on the allowed downtime of production
- Try a test migration - at least to find out how long will the data transfer take (attachments copying is usually the longest part)
- You don't want new data in the old application after migration started => make sure that the existing application is not accessible by users before you start DB dump and files copying.
Steps
1) Preparing the Docker application
- Log in Client zone
- Download the Docker "package"
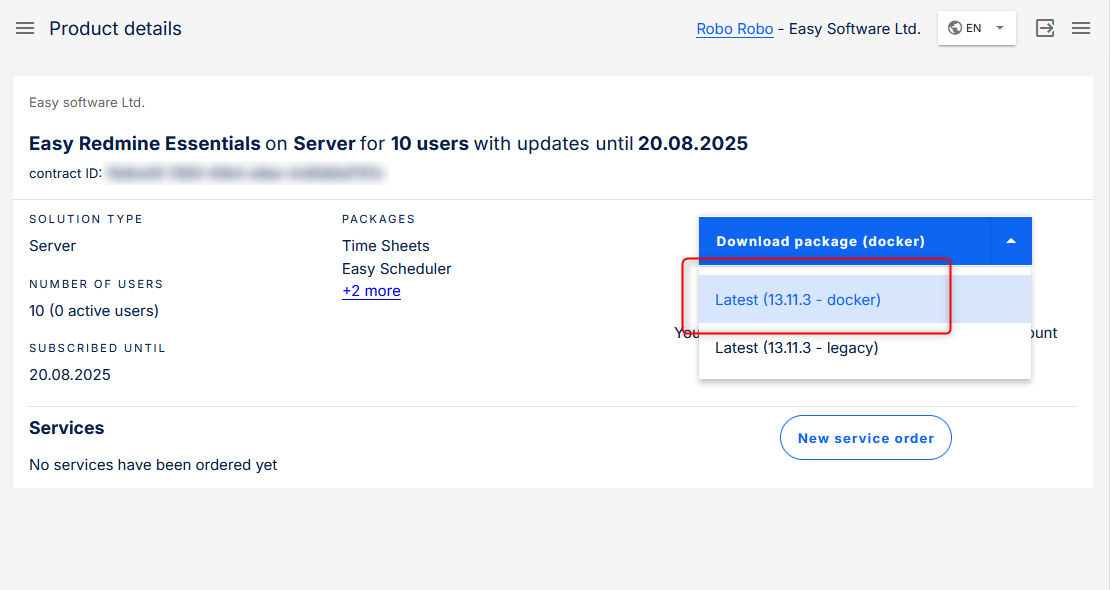
- The package contains every explanation for every step that follows. It is maintained regularly, which is the reason why we are not listing it in this article.
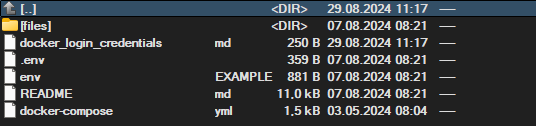
- Login credentials to docker registry, which contains an image with your purchased solution
- A very detailed and precise README manual to prepare your environment
- Configuration files and examples for an easier start
- Prepare your environment with the help of the resources above
- Log in to the source of your ER Docker image and run a few commands to download and launch it
- Try to open the login page of the application just to make sure that it is able to run
- Before the migration, you will need to stop the application
docker compose down
If all went well, and the new app is ready, you can get to know the new environment and docker system before working with production data.
2) Preparing the data to migrate
- Ensure you can perform and have access from the legacy installation:
- database backup = database dump (e.g. restore.sql) compatible with recent Percona (as of December 2024, it is Percona 8) in sql or sql.gz (as per https://hub.docker.com/_/percona)
- backup of attachments (files directory)
3) Database restoration
- Place your database dump file (restore.sql) into a folder named docker-entrypoint-initdb.d in the db container, which executes SQL scripts during container startup.
- Destroy the existing db container and its associated volumes:
docker compose down -v db
- Start containers. During startup the db container will execute restore.sql file automaticaly.
docker compose up -d db
You can monitor the logs for progress:
docker compose logs -f db
- Wait until the db container is ready / restore is finished.
4) Attachments migration
- Copy your legacy application files into the files folder, defined in the docker-compose.yml file:
cp -R /path/to/legacy/files/* ./files/
- Make sure to set necessary permissions for files folder
sudo chown -R 5000:5000 ./files
- Run migrations only
docker compose run --rm app install
5) Post-Migration Steps
- If there were no errors, you can start the application
docker compose up -d
If any extra commands are needed (for example, when migrating from Redmine or performing specific tasks from the standard Easy Redmine installation guide), you can utilize the following pattern to run commands within the app container:
docker-compose run --rm app rails 'your command'
You are doing the right thing
While this whole operation may seem like an unnecessary obstacle (especially for admins less experienced with Docker mechanisms) it has undisputable value in the long run. Seamless updates and upgrades => regular security fixes => easier utilization of ever improving modern technologies.
A detailed and up-to-date manual is available in the file docker/README present in your application package.

