


How to set up a HelpDesk project
This how-to is based on a video tutorial which you can find Here
In order to keep you tickets in order, is good to have different projects set up.
To set up a Helpdesk project particularly, first thing is to set up a basic project. Which you will then add to helpdesk
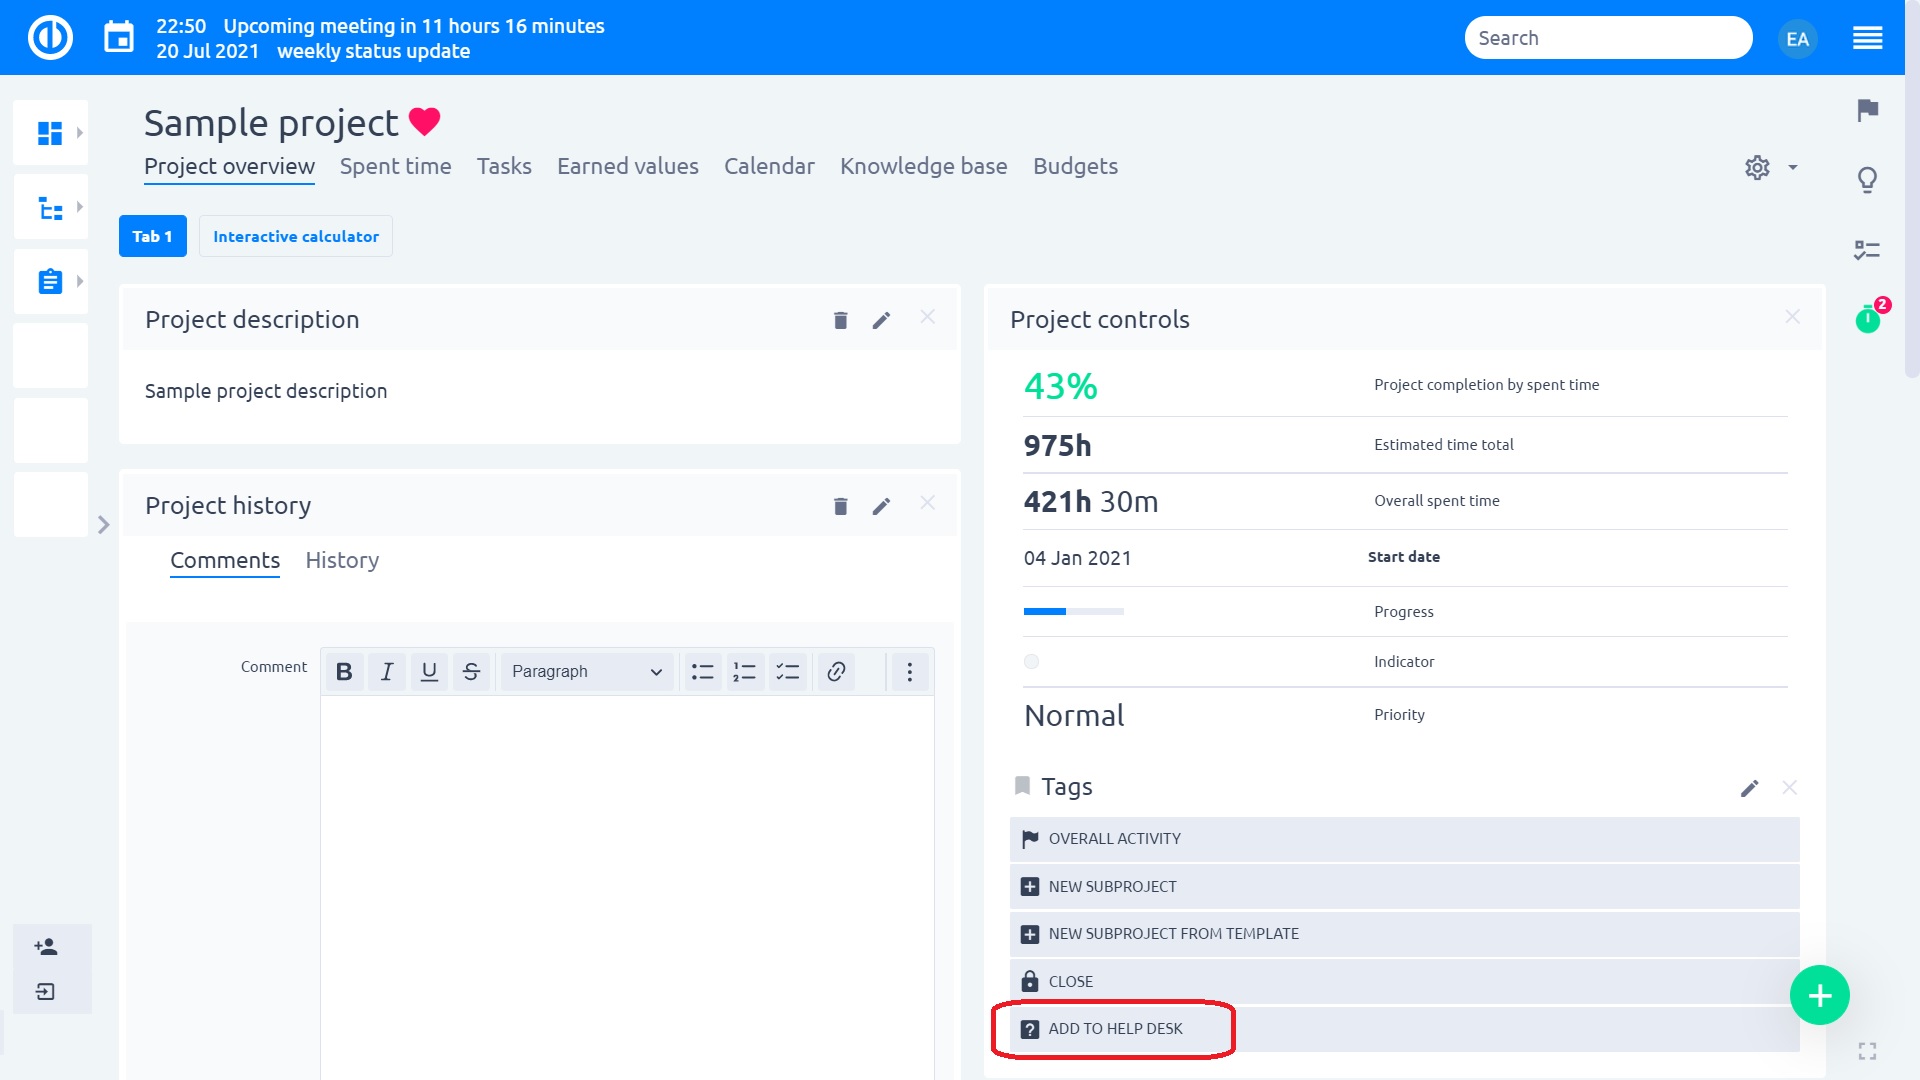
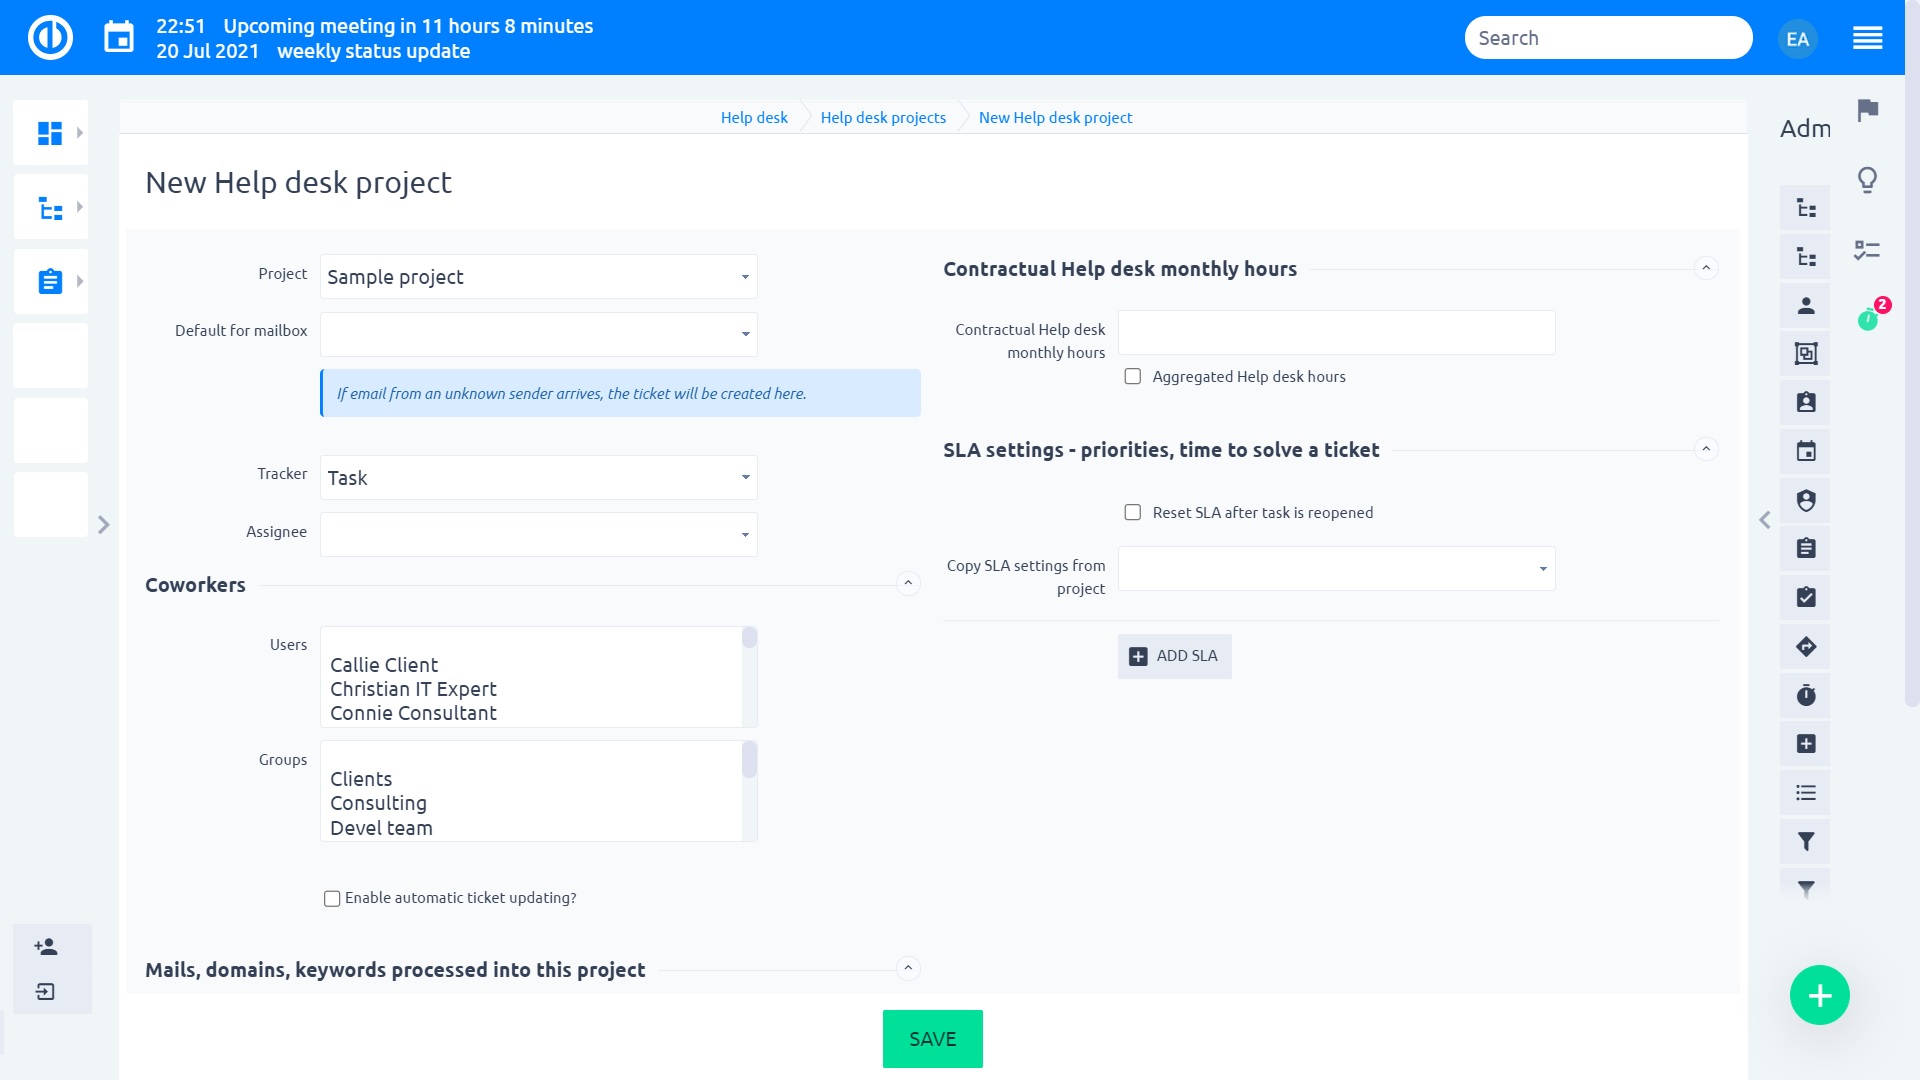
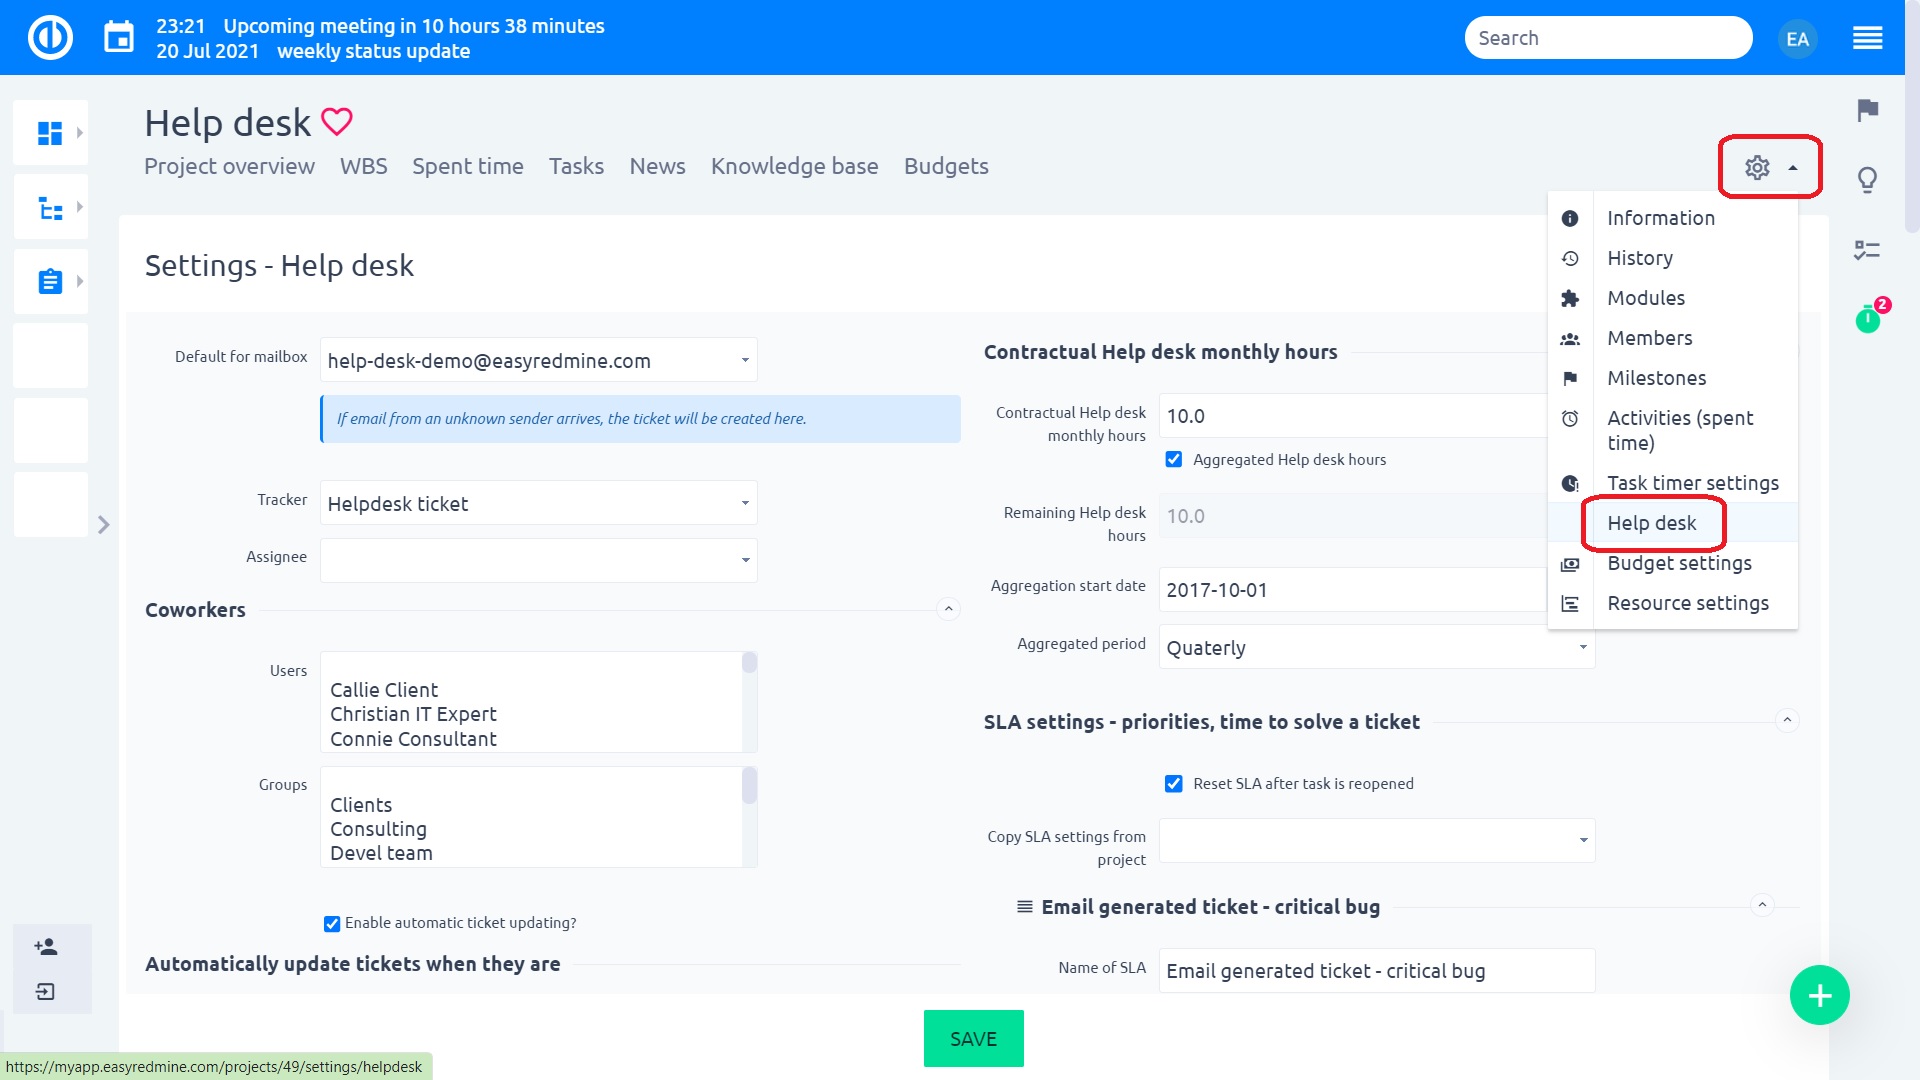
After clicking this, The Settings of the helpdesk will open
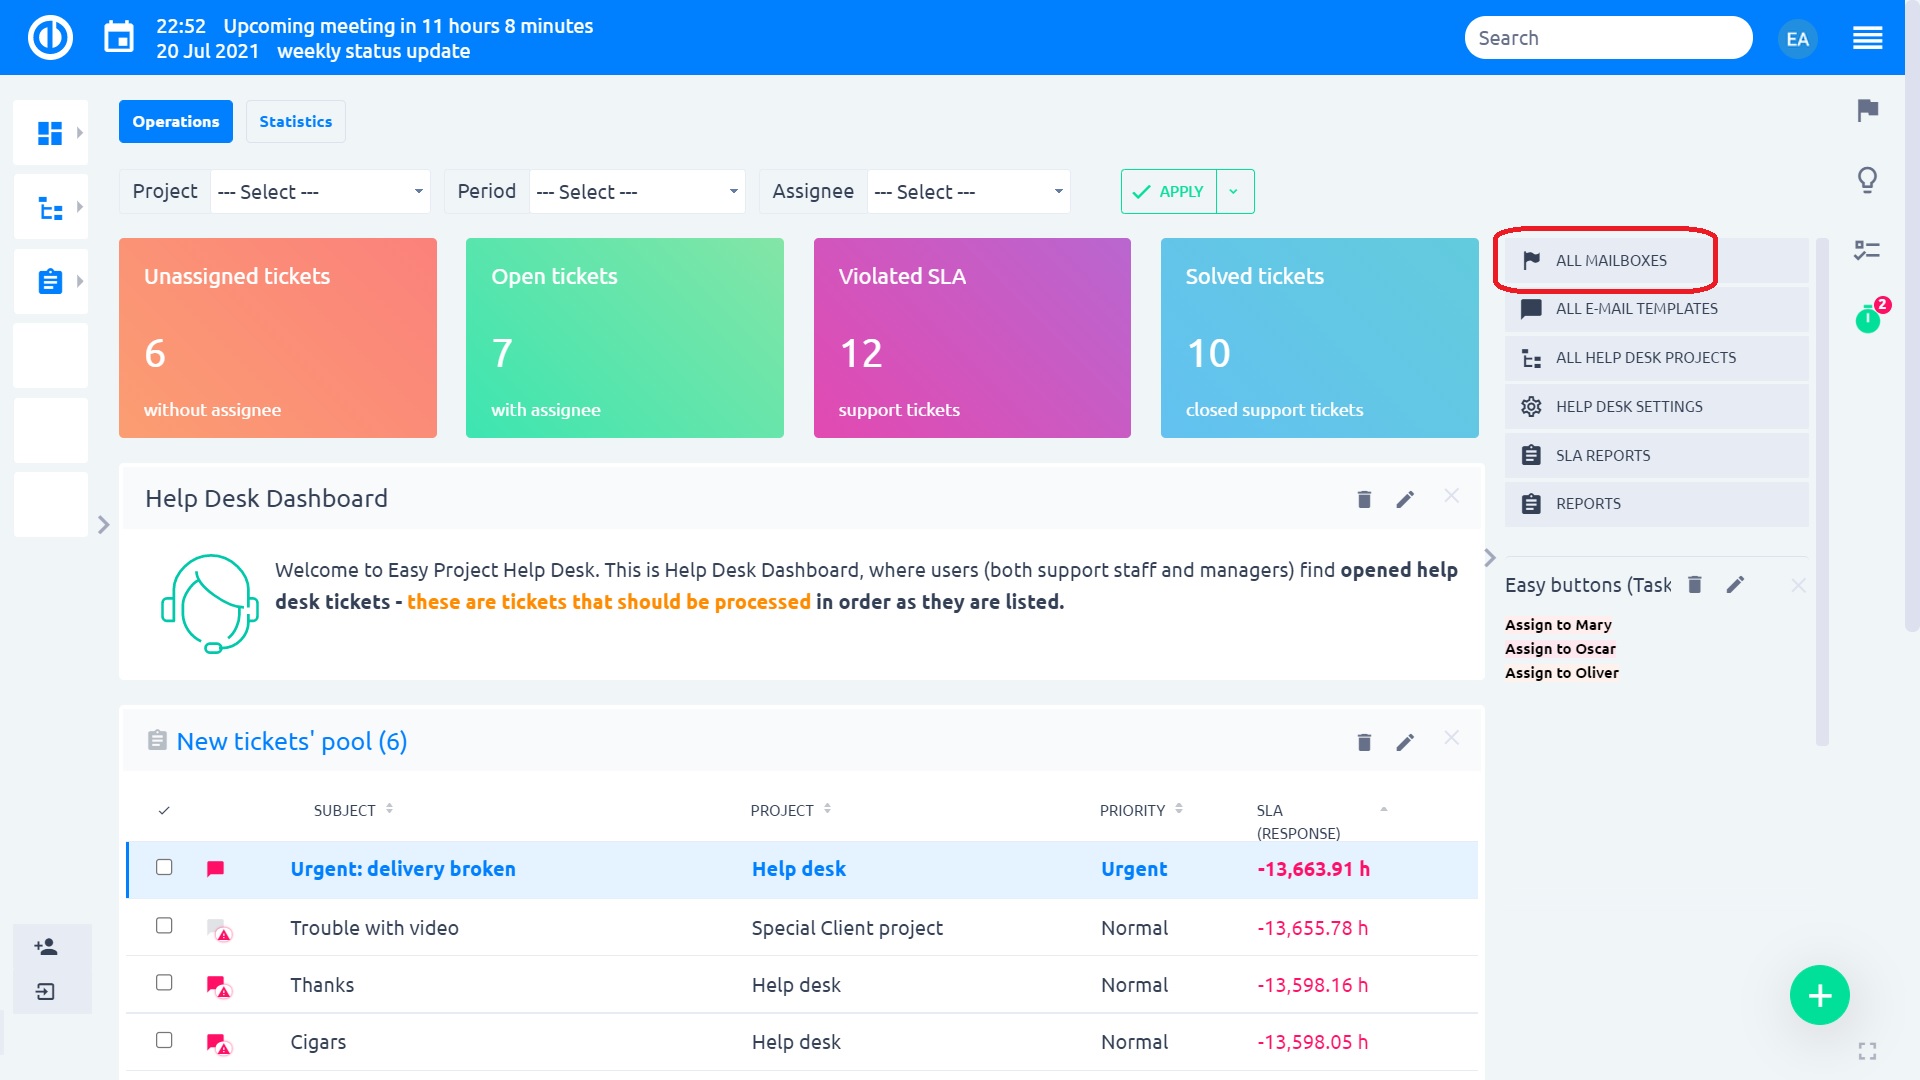
You will be able to set a default mailbox, which you can create like this: Go to administration >> helpdesk >>all mailboxes and click on Add mailbox
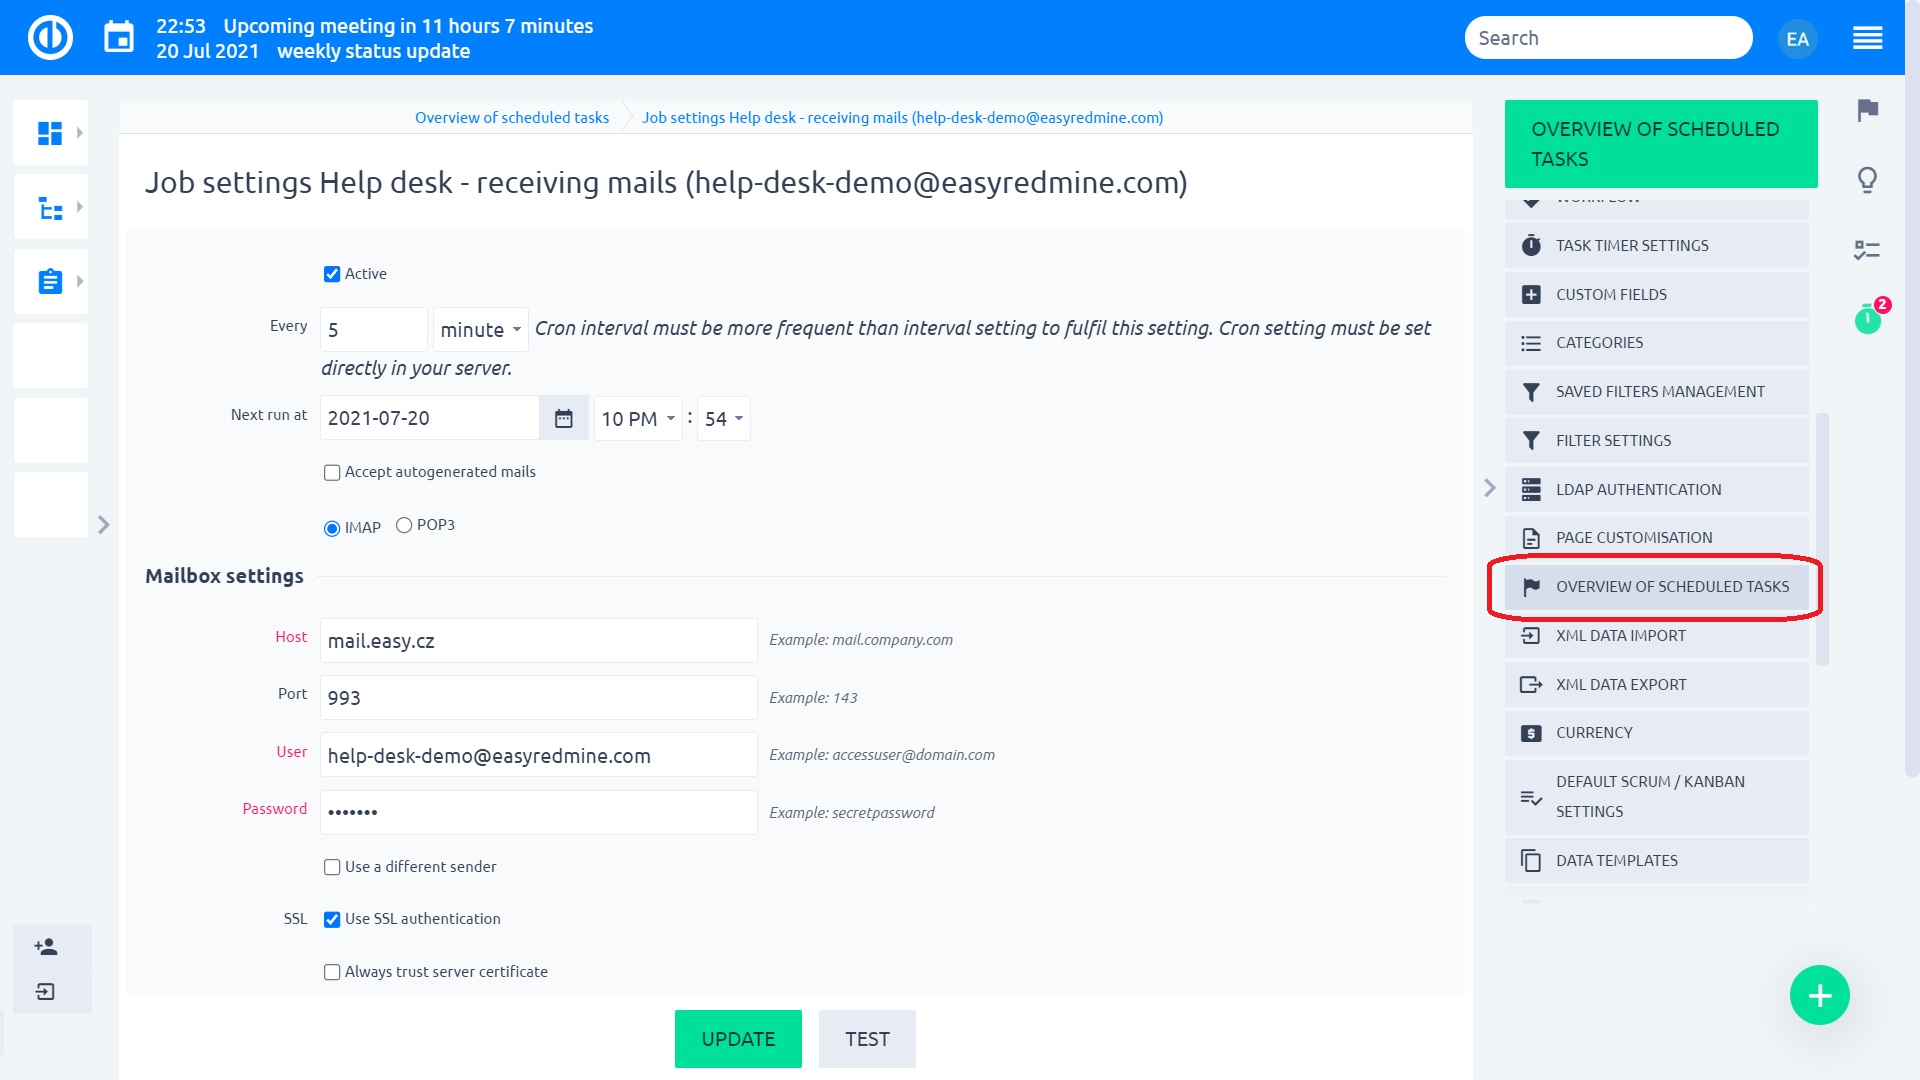
You will fill in all the important information and click save:
After this, the mailbox will show up in the settings. Only one project can be assigned to a specific mailbox.
You can choose a tracker if an assignee should be assigned, and you can add coworkers, who will get notifications about the tickets.
Further, you will be able to set how many Contractual hours does a certain client have.
And of course from what email or domain do you want this project to be filled. you can add keywords or domains directly.
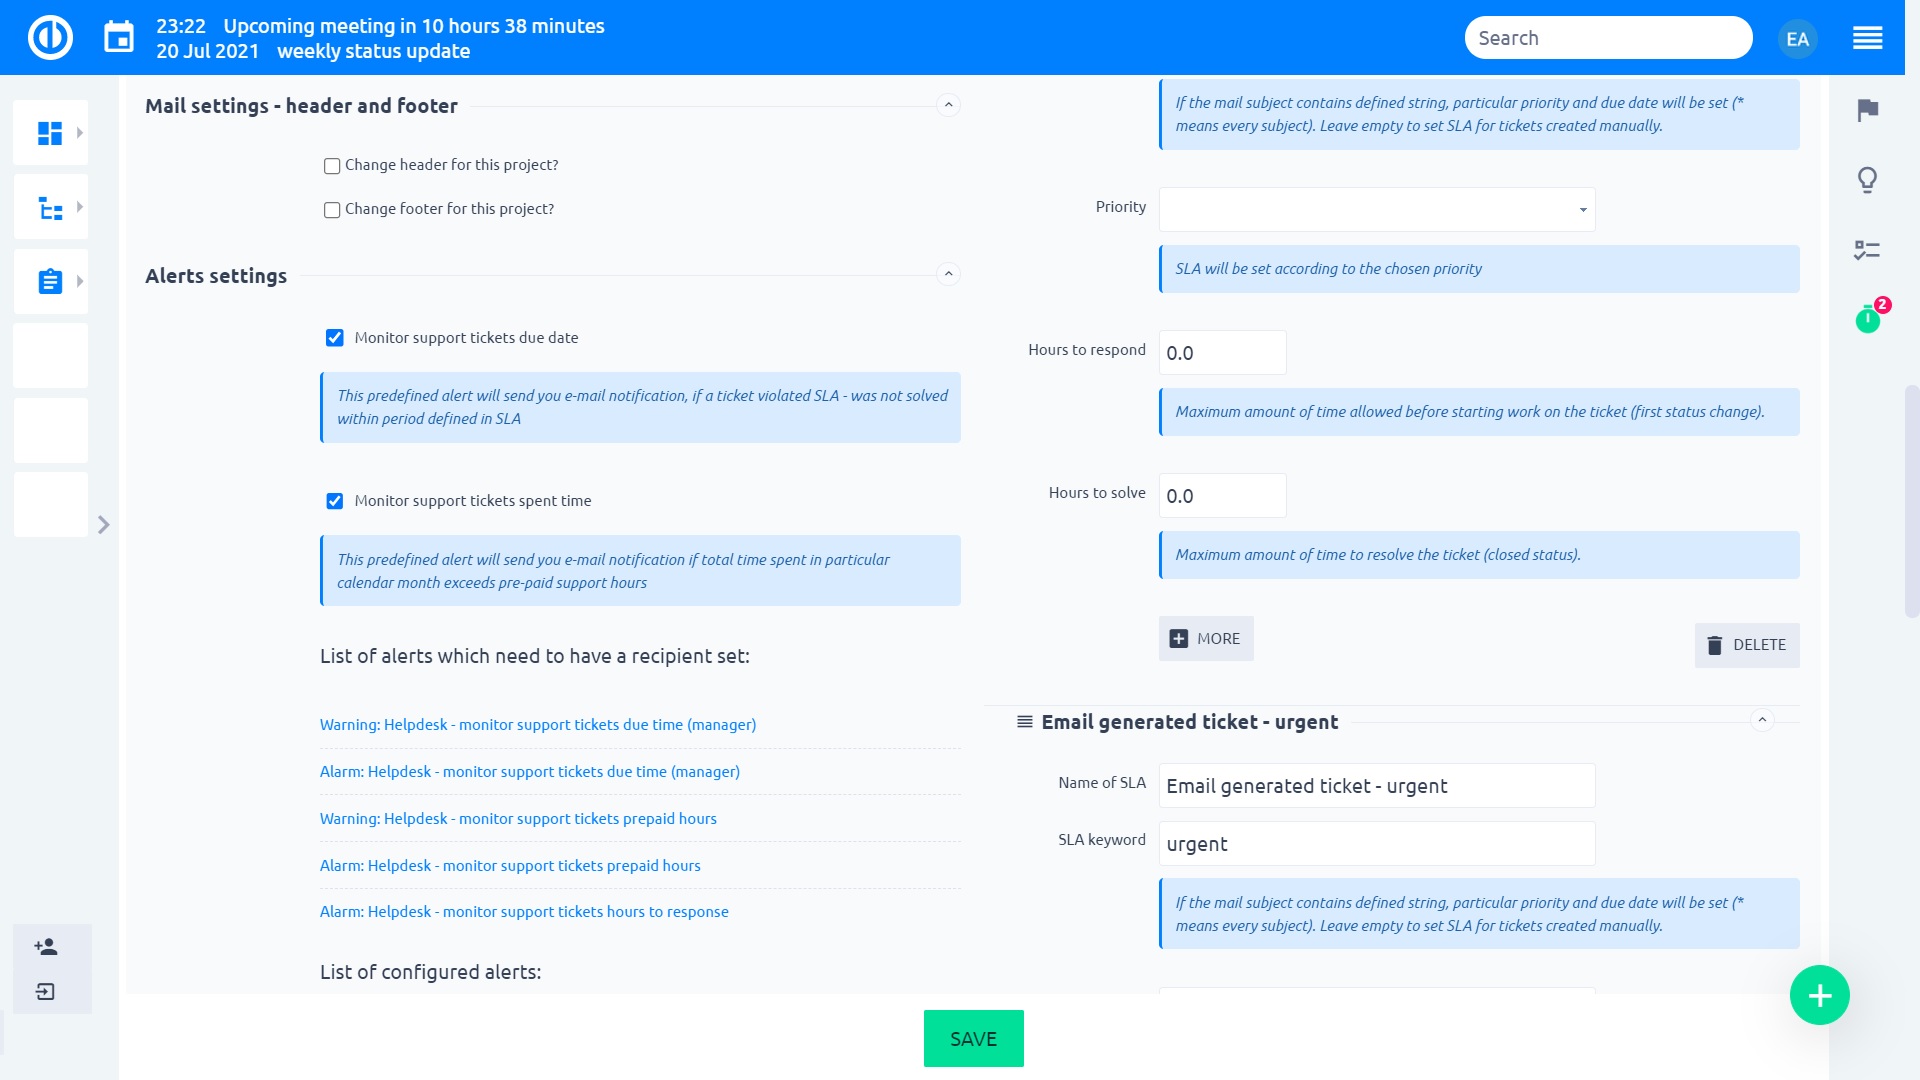
SLA can be set, so you can make sure, that the tickets are answered correctly.
If you want, you can adjust header and footer f the email from this project, and, of course, set alerts, so you are notified if any ticket is left behind.
After you set everything correctly, you will see this in the project sidebar.
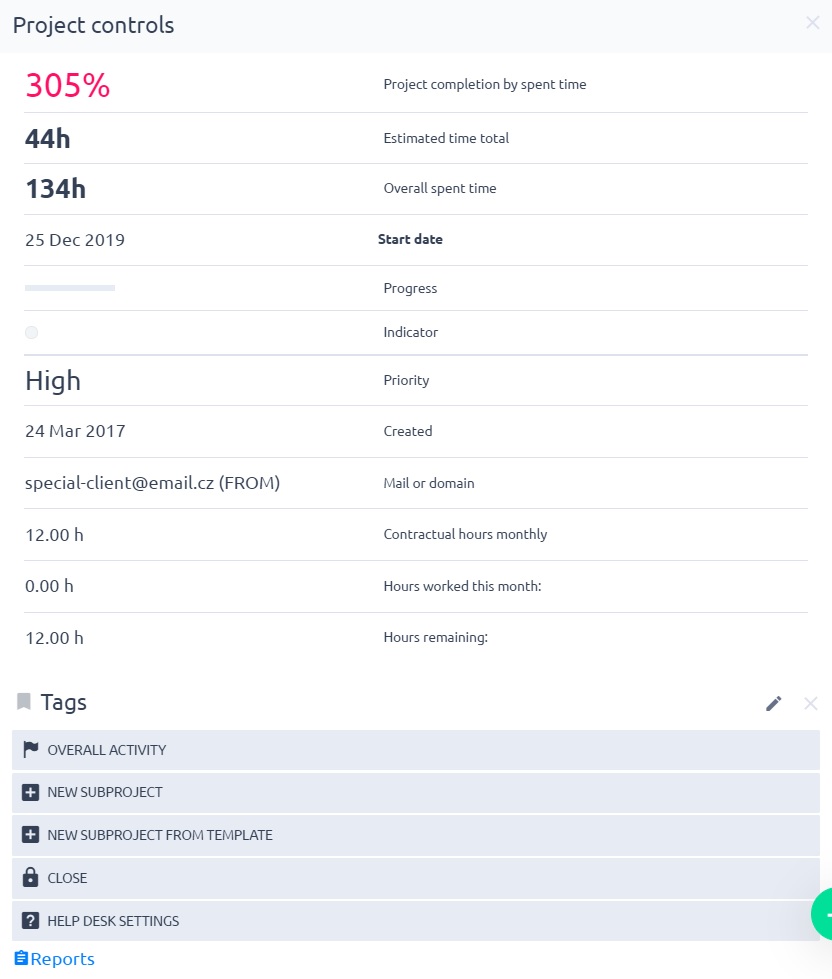
You can see everything pretty summed up.
If set everything according to this, you will have your clients tickets sorted out and you will know exactly what is happening.
If you want to adjust the settings, you can get there from the sidebar, or through the project settings and tab Helpdesk.

