


GitLab integration
0 Introduction of GitLab integration
GitLab Integration is an add-on that can be added to any of the three Easy Redmine plans.
The purpose of the plugin is to aggregate important data from GitLab in Easy Redmine in order to help with reporting, evaluation, and presentation of development activities, thus supporting decision making from the side of stakeholders who are invested in the software development projects and processes of the company.
Its capabilities include a very simple initial connection with your GitLab instance (both self-hosted or cloud versions). When the connection is established, Easy Redmine will show the most crucial items from GitLab in configurable and filterable lists (similar to a task list). These entities are:
- Repositories
- Merge requests
- Commits
- Tests
including their most important attributes.
A key element of the integration is that Easy Redmine does NOT copy the repositories physically. The code remains in GitLab.
1 Establishing connection
Firstly, you need to have an access token from a user in GitLab, with proper permissions.
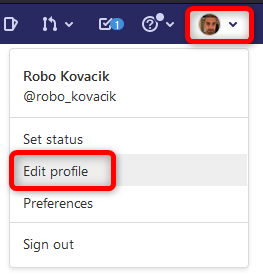
- Select a user via whom Easy Redmine will be accessing GitLab. This may be a special user that no person logs by, for example, er_integrator
- Edit profile of this user
- Go to Access tokens, select all permissions and Create personal access token
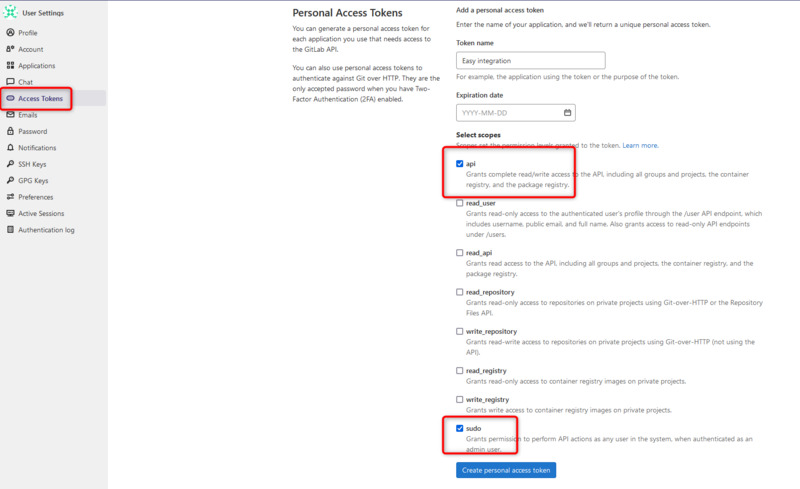
- Copy this token

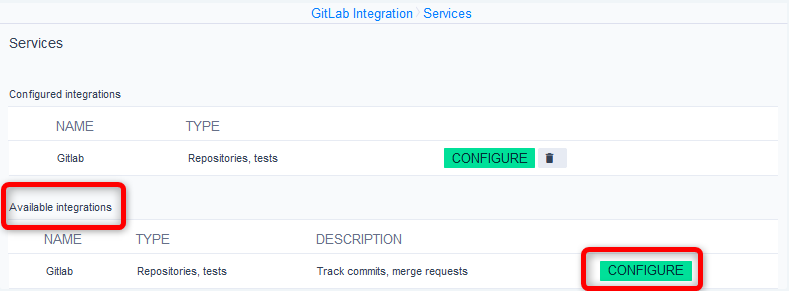
Now, you can go to Easy Redmine and enter the vital info - Go to Admin >> GitLab integration >> Find Available integrations and hit Configure
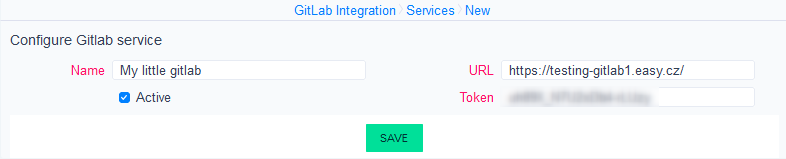
- Give your connection a name, enter the URL, and the access token you generated earlier.
Note: In case of cloud, e.g. https://gitlab.com/my-little-gitlab , just enter https://gitlab.com/ without the sub-url. No need to worry, you can only see projects that the user with access token can see. If you set all your projects as private, no one else will be able to see them.
- Save
- That's it! Connection is done.
Everything else in done automatically in the background. In particular
- Easy Redmine fetches all projects/repositories of which the user with access token is a member
- In these repositories, webhooks are created => so that info about new commits, merge requests and tests will be sent to Easy Redmine
1.1 Connection troubleshooting
Problem A
I don't see any repository from this GitLab instance
Due to unforeseeable circumstances, it may happen that the aforementioned operations will not be carried out successfully. As a result, you may not see any repository from this GitLab instance in Easy Redmine.
In such case, you are able to import the repositories manually, with just a few clicks.
- Go to Admin >> Gitlab integration >> Configured integrations >> Click on the name
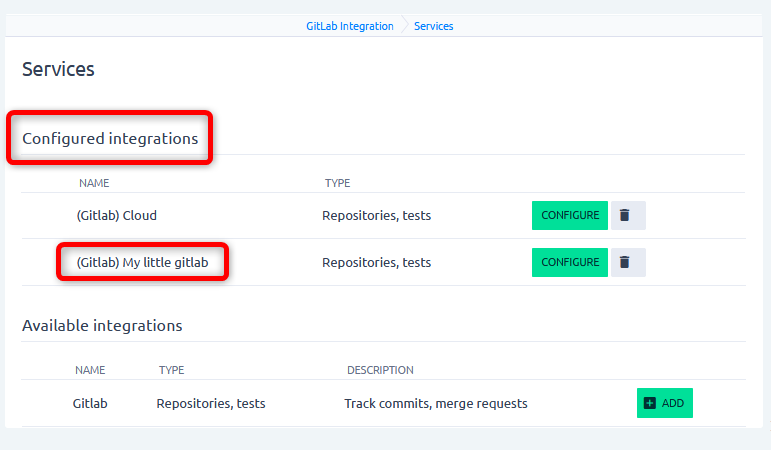
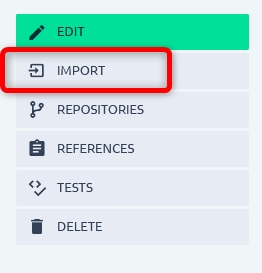
- In the side menu, click Import
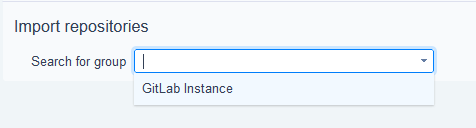
- Select the group
With self-hosted GitLab, there will be a group representing the whole instance. As in the example from screenshot.
With cloud GitLab, you will see all public groups and will probably have to search for your group. The field is autocomplete, so search is quick and easy.
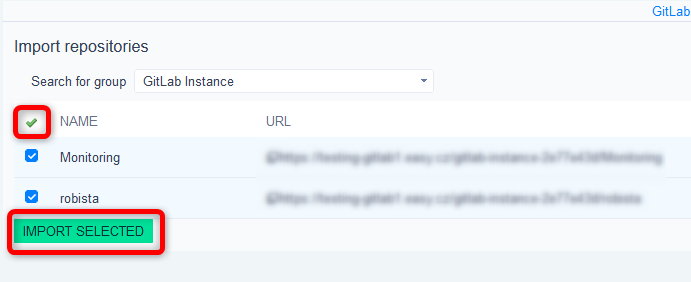
- After selecting it and clicking away you see the list of found projects/repositories
- Select all and hit Import
Problem B
Repositories were found, but my new commits, merge requests and tests are not added into Easy Redmine
New data from GitLab are sent to Easy Redmine via webhooks configured in GitLab. Under normal circumstances, they are created automatically. You can verify this in your GitLab project >> Settings >> Webhooks
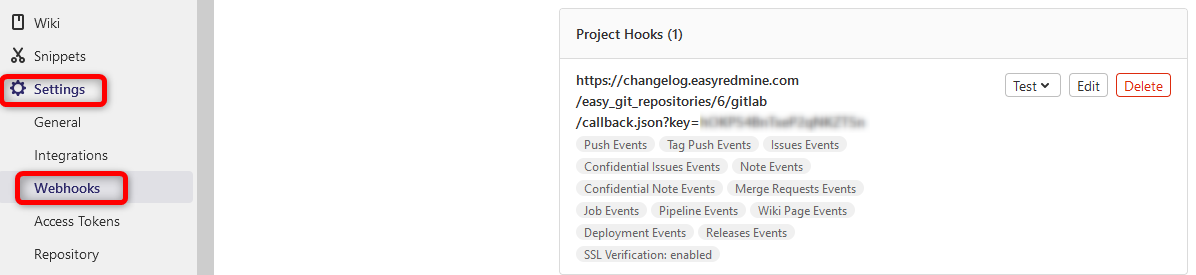
If there is no webhook with the link to your application, you will have to create it. Again, this is a simple operation.
- Go to Admin >> Gitlab integration >> Configured integrations >> Click on the name
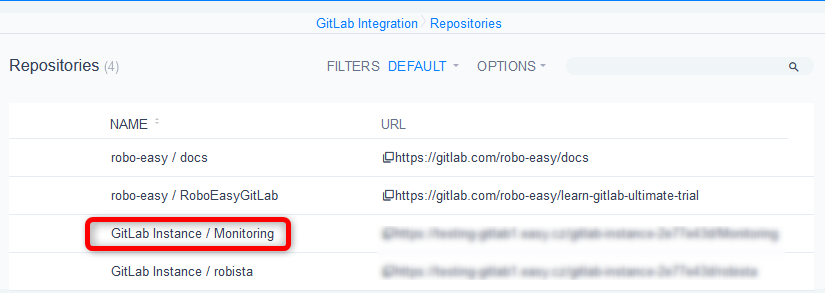
- In side menu, click on Repositories
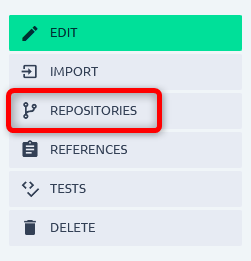
- Click on the name of one
- Click on Register all integrations
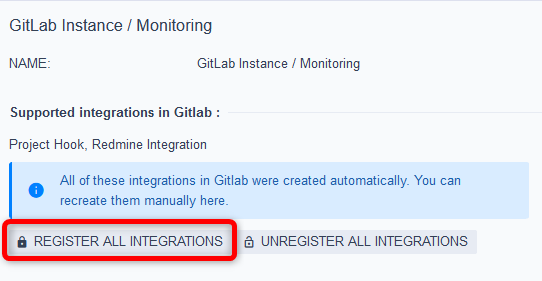
This will manually force creation of the webhook in the correct form.
2 Referencing keywords
Now that the general connection is configured, you already have information from GitLab in Easy Redmine and you may utilize it. However, to take full advantage of the integration, there are a couple more settings. Some are already preset and you can merely check them.
It is possible to connect particular commits or merge requests to particular tasks, and even log time this way without having to visit Easy Redmine. This is done by so-called referencing keywords. When you use them in the commit message or merge request name in combination with task ID, it will create a link between the task and the GitLab item. The most common examples are refs #1234 or closes #1234
In most cases, you will find a few pre-set referencing keywords. Here is how to work with them.
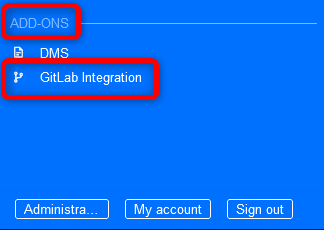
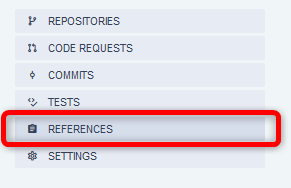
- Go to More menu >> GitLab integration >> References
- Create or edit a reference
- The whole form contains tooltips to help you navigate your way through them
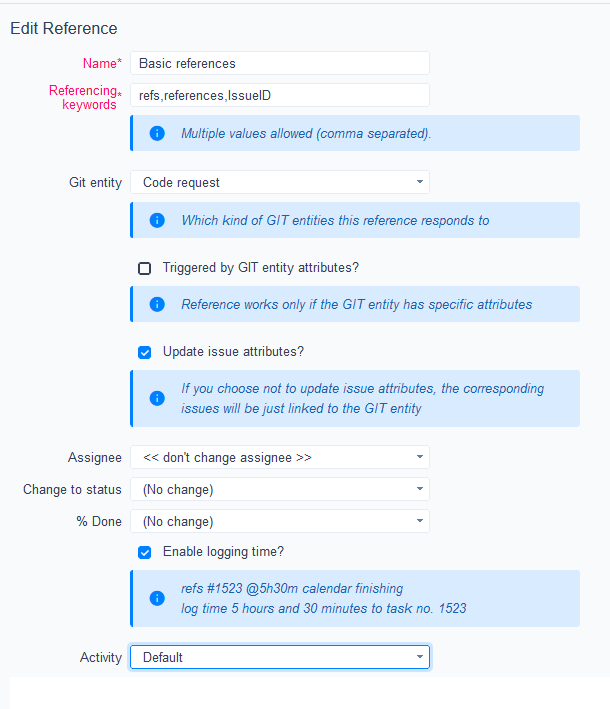
The most important rules to remember are:
- Task must be identified in form #ID , e.g. #1234
- Logging time (if allowed) is always entered as @XhYm , e.g. @1h30m
- On commits, the referencing keywords need to be entered in the commit message
- On merge requests, the referencing keywords need to be entered in the name of the merge request
3 Users mapping
Since we are dealing with integration of two different applications, they each have different sets of users. All user attributes on GitLab related entities (author of commit, reviewer on merge reqeust, etc.) in Easy Redmine + spent time logged via referencing keywords, should be connected to real users. So, how actually are users from GitLab mapped to Easy Redmine?
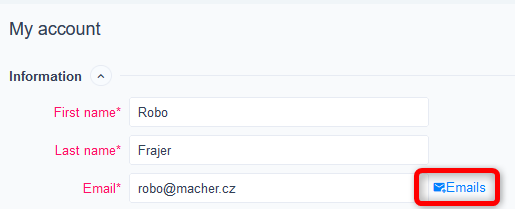
Nothing scientific here, users are simply mapped via the email in both user profiles. Please make sure that your developers have idenical emails in both GitLab and Easy Redmine.
If, for any reason, one user can't unify the emails in both applications, there is the option to enter additional email in Easy Redmine in the user profile -> enter the GitLab email here.
4 How it works
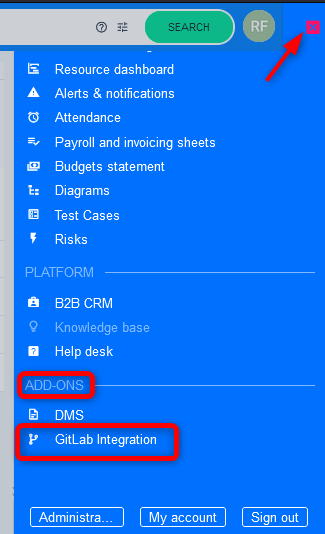
Finally, we are reaching the fun part. What the integration actually does for the users. Access the main page/dashboard of GitLab integration via More menu (top right) under section Add-ons.
You will find a customizable page in a default state, which you can later tune to your needs.
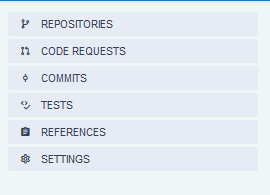
It also includes a menu to list entities or enter settings. As mentioned in the introduction, Easy Redmine gathers and displays 4 crucial entities from GitLab. Let us take a closer look at each of them.
4.1 Repositories
The repositories list is functionally the least interesting, although truly necessary. A useful filter worth mentioning is called Service, which you will use if you have various GitLab instances connected and you need to search only through some of them.
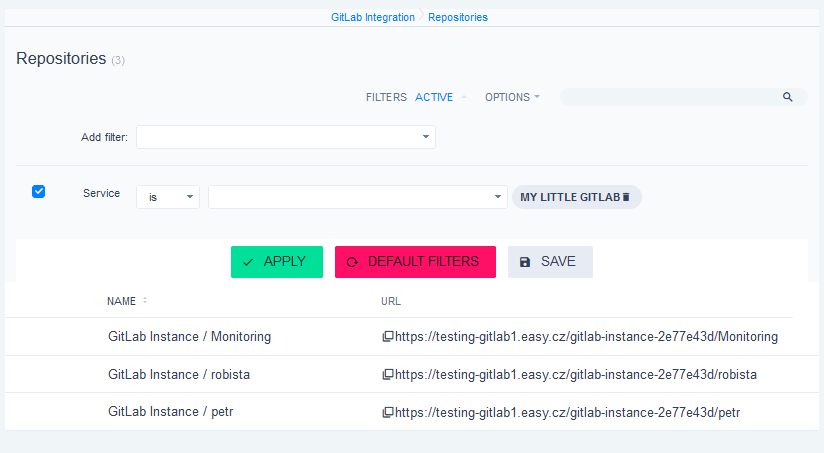
Name of the repository contains also name of its group.
Detail of repository
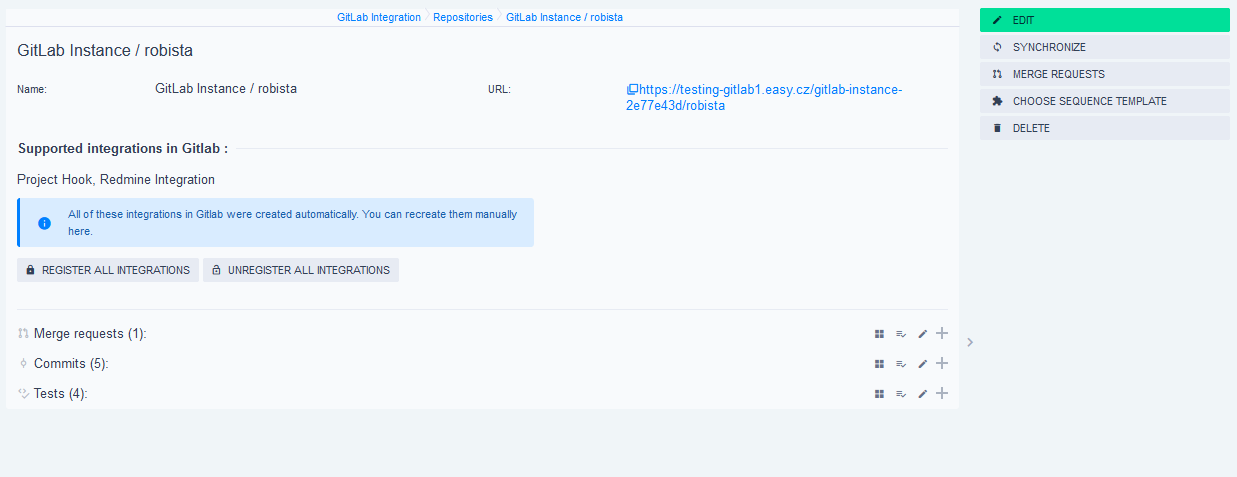
Notes:
- (Un-)Register all integrations were described in chapter 1.1. It will create/delete webhooks in the GitLab project.
- Edit - manually change some attributes. There is no reason other than advanced debugging to edit any attributes of the repository in Easy Redmine.
- Synchronize - downloads all current data from the repository.
- Merge requests - lists all merge requests in this repository.
- Choose sequence template - still in development, please give us more time to polish this robust tool.
4.2 Merge requests (Code requests)
We should clarify why there are two names. Merge request is the term used in GitLab. Other tools have different names for it, for example Pull request. The integration mechanism of our tool is written in a general way, so that we can expand support to other Git platforms. Therefore, in the application and images you may find label Code request, which is a general term that can be applied to Merge requests or Pull requests.
Merge request is a rich entity (stores all the important attributes) which allows to create nice listings, reports and charts above them directly in Easy Redmine.
Detail of merge request
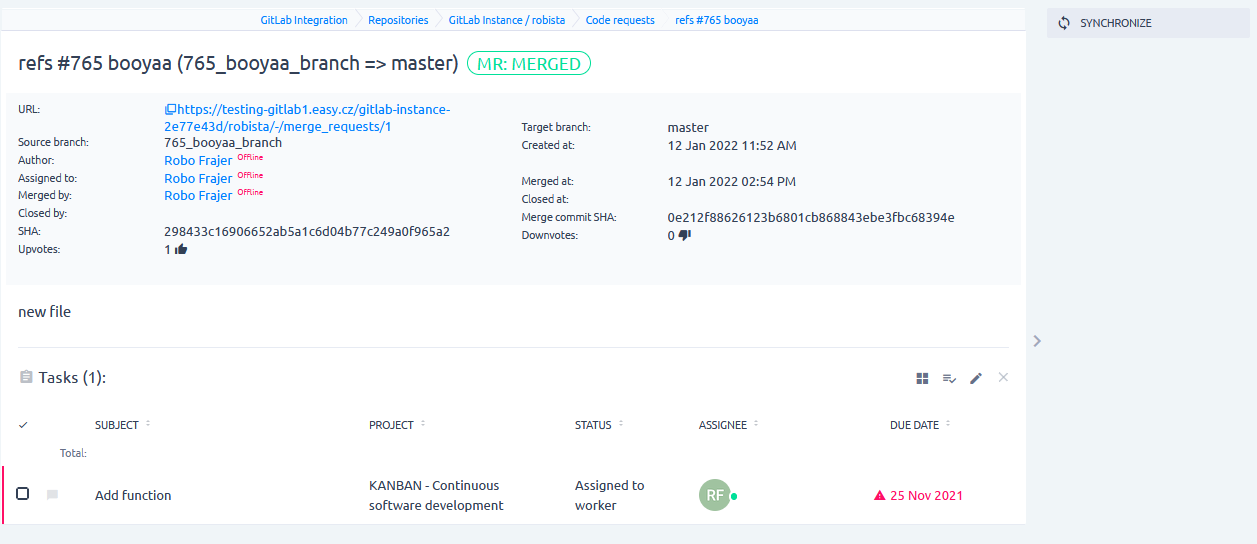
Notes:
- Name of the merge request contains the referencing keyword "refs" followed by the task ID with hash #765 - that's why it was linked to task 765
- Clicking on Synchronize will update all data of this MR from GitLab
- All attributes can be shown on list of merge requests
- All attributes except SHA can be used as filters on merge requests' list/report/chart
- Merge request list also contains attributes of tests (CI/CD) related to it, most importantly - Test status
4.3 Commits
Similar to merge requests, the list of commits also provides vast reporting possibilities. The commit list also contains attributes from tests.
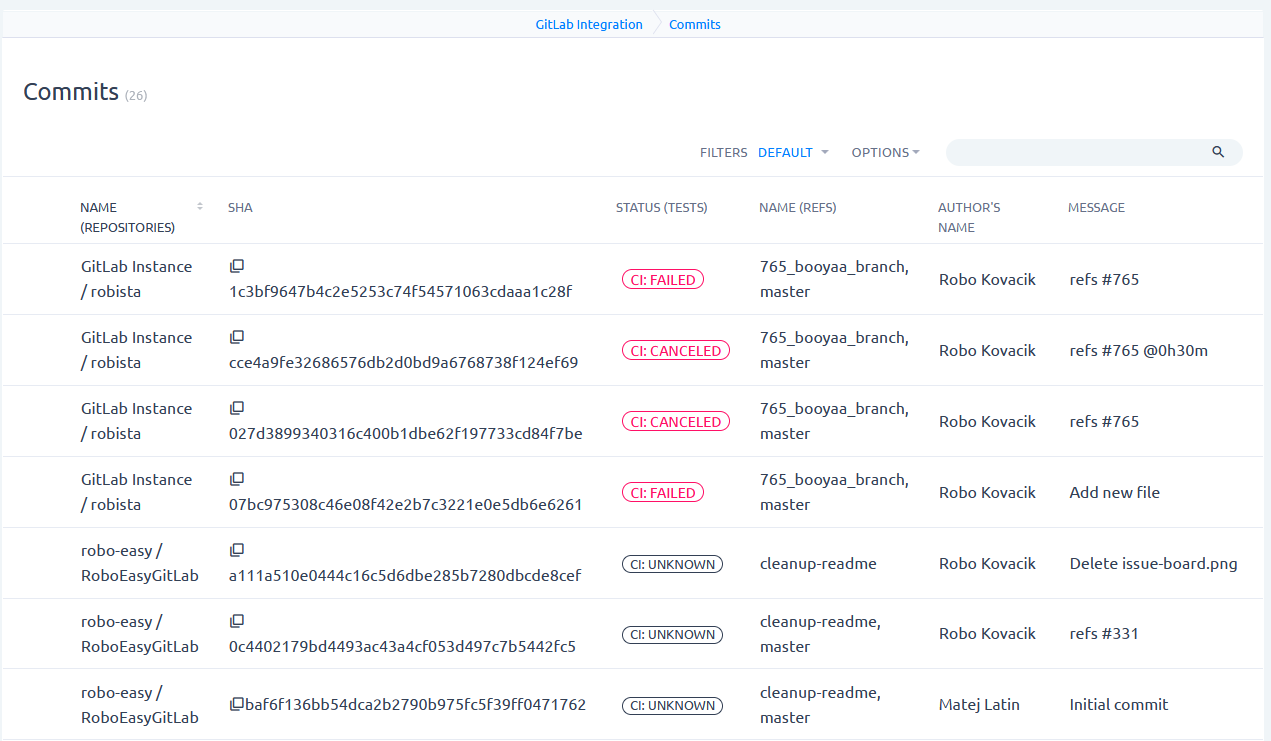
Commit doesn't have its own detail view in Easy Redmine. There is simply no need for it. By clicking on URL (or SHA), you will be directed to its detail in GitLab.
4.4 Tests
They were mentioned in relation to the entities above. Tests also have their own list to generate various reports. Probably the most common use will be live view of tests on the critical repositories, such as release candidates.
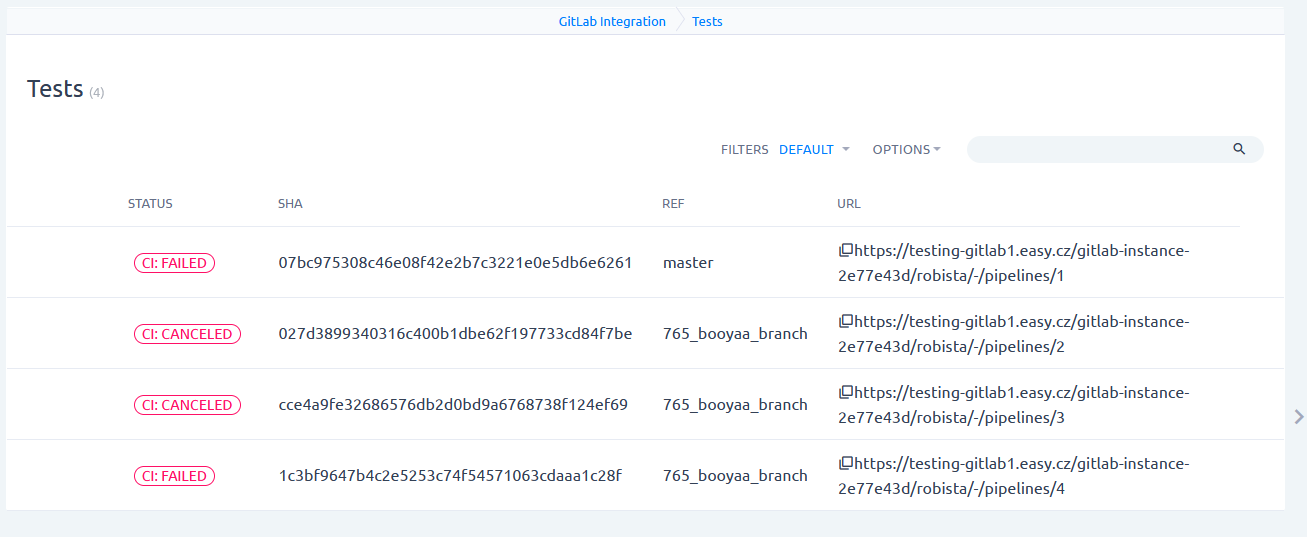
Test also do not have their own detail view, clicking will take you to GitLab.
4.5 Synergy - view from task
Let us take a look at how it all goes together.
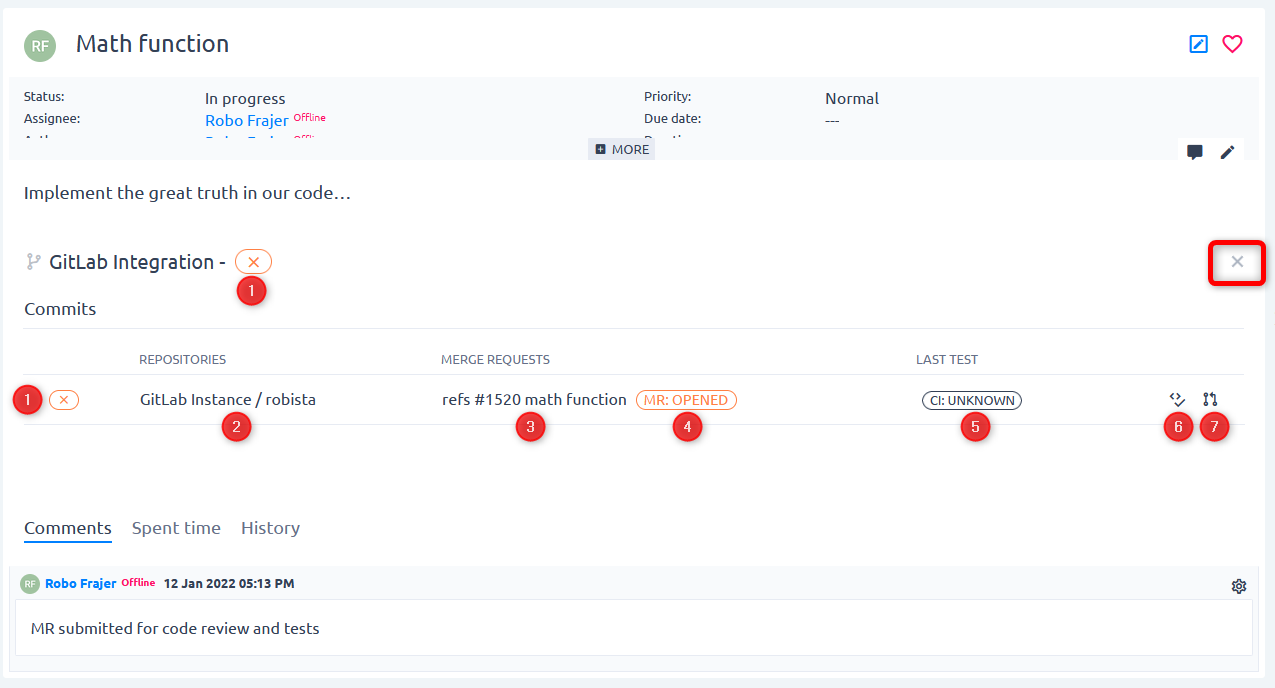
1 Overall status of GitLab entities related to this task. It may contain various combinations of colors (red, orange, green) and icons (check mark, cross). The best one is, of course, green check mark in green frame 
The combination depends on status of merge request(s) and test results related to commits and merge requests. Its purpose is to show at first glance how the "technical" progress of this task is going, useful especially for QA or delivery managers.
2 Name of repository(ies) into which the changes referring to this task were commited. By clicking on the link you will be directed to the list of these commits.
3 Name of merge request(s) referring to this task. By clicking on it you will be directed to the detail of the MR in Easy Redmine.
In case there are only commits refering to this task but merge request is missing, this value is empty.
4 Status of each merge request. By clicking on it you will be redirected to the merge request detail in GitLab.
In case there are only commits refering to this task but merge request is missing, this value is empty.
5 Result of the last test run in the merge request. By clicking on it you will be directed to the pipeline in GitLab. It is not clickable in Unknown status (pipeline doesn't exist).
In case there are only commits refering to this task but merge request is missing, the value shows last test result run on the last commit.
6 Run test manually - Click to run the pipeline manually (takes you to GitLab).
7 Click to create a merge request. Useful when you only have a set of commits, but are missing the MR (takes you to GitLab).
4.6 Create branch from task
(Note: Feature available from 11plus.6.0)
Some users find it handy to create a branch directly from the task.
The button can be found in the More menu on the task detail
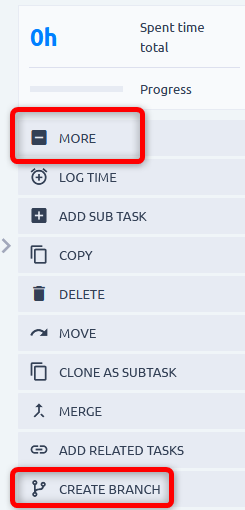
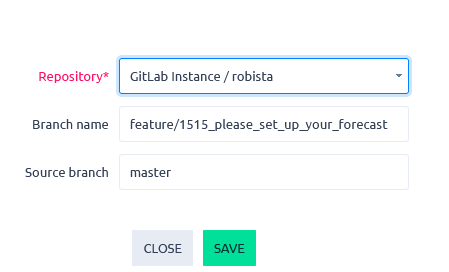
Choose the repository in the autocomplete field. Branch name is prefilled with task ID and subject, but you can change it. Source branch is prefilled by master
You will see the branch as a tag under Gitlab integration section on the task. It is clickable and leads to the branch in GitLab.

5 Permissions
There are currently two permissions.
- View - Access the Add-on from More menu
- Manage - edit the dashboard

The global configuration is accessible only to Easy Redmine admin.

