


Timesheets
Introduction
Weekly and monthly timesheets
Corner situations
Introduction
Timesheets can be opened via the Global menu or you can use URL: clientsdomain/easy_timesheets
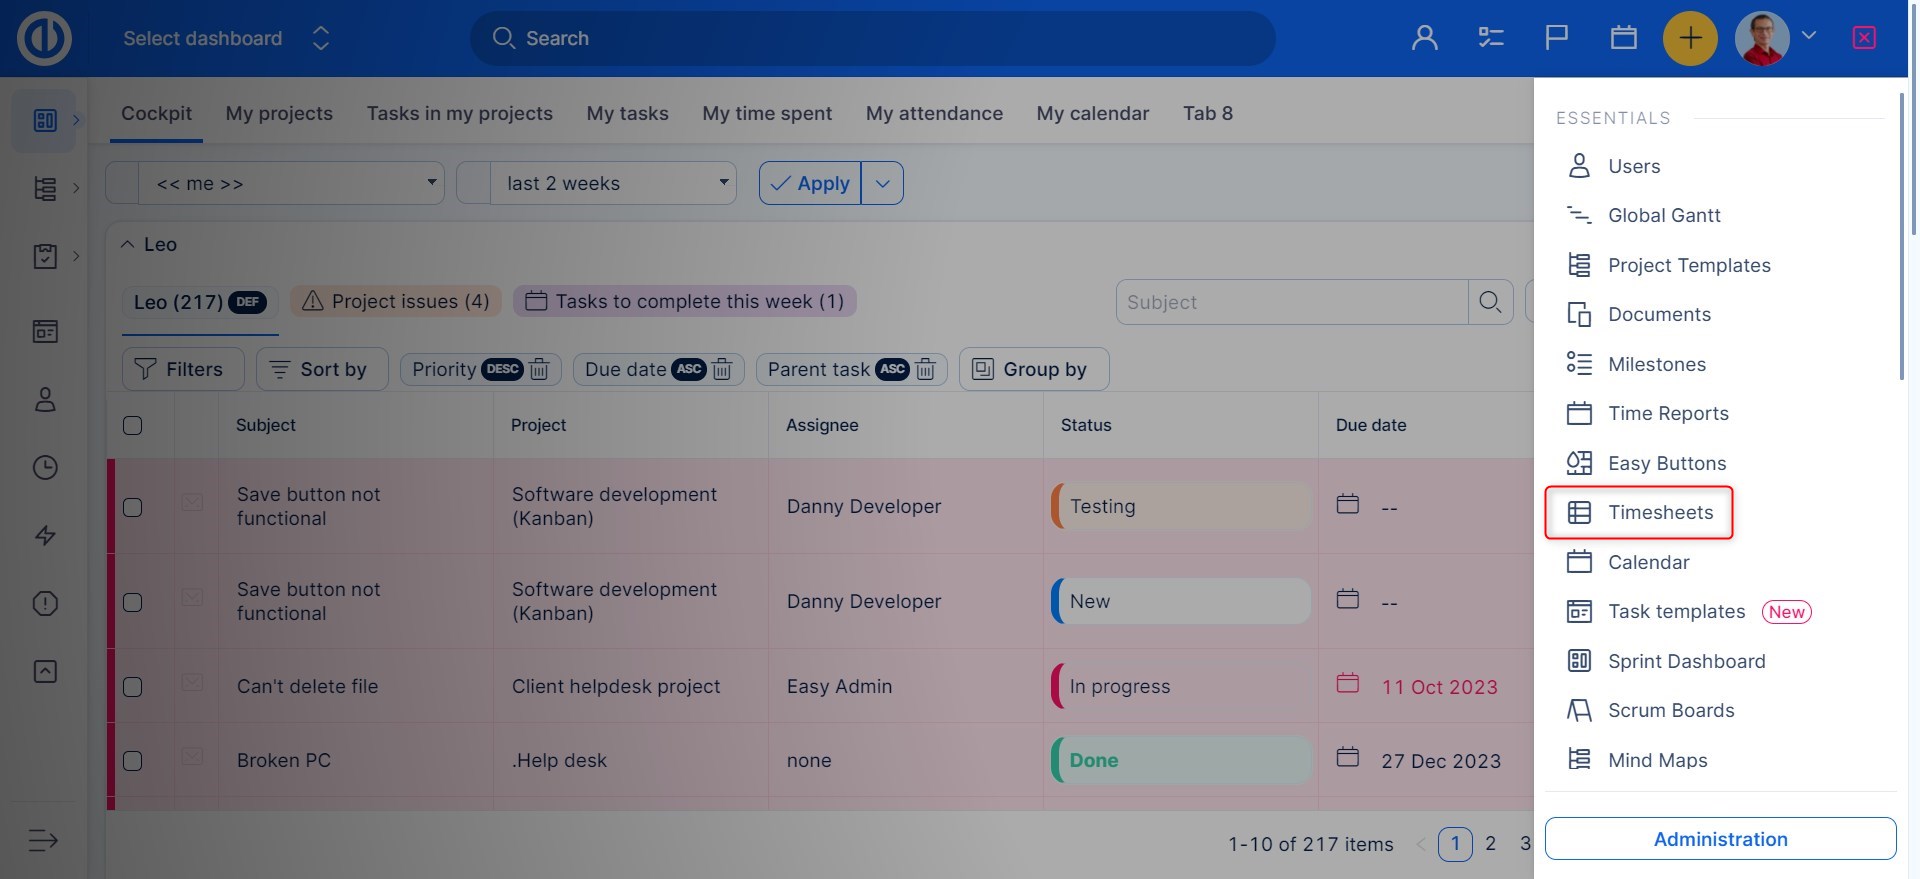
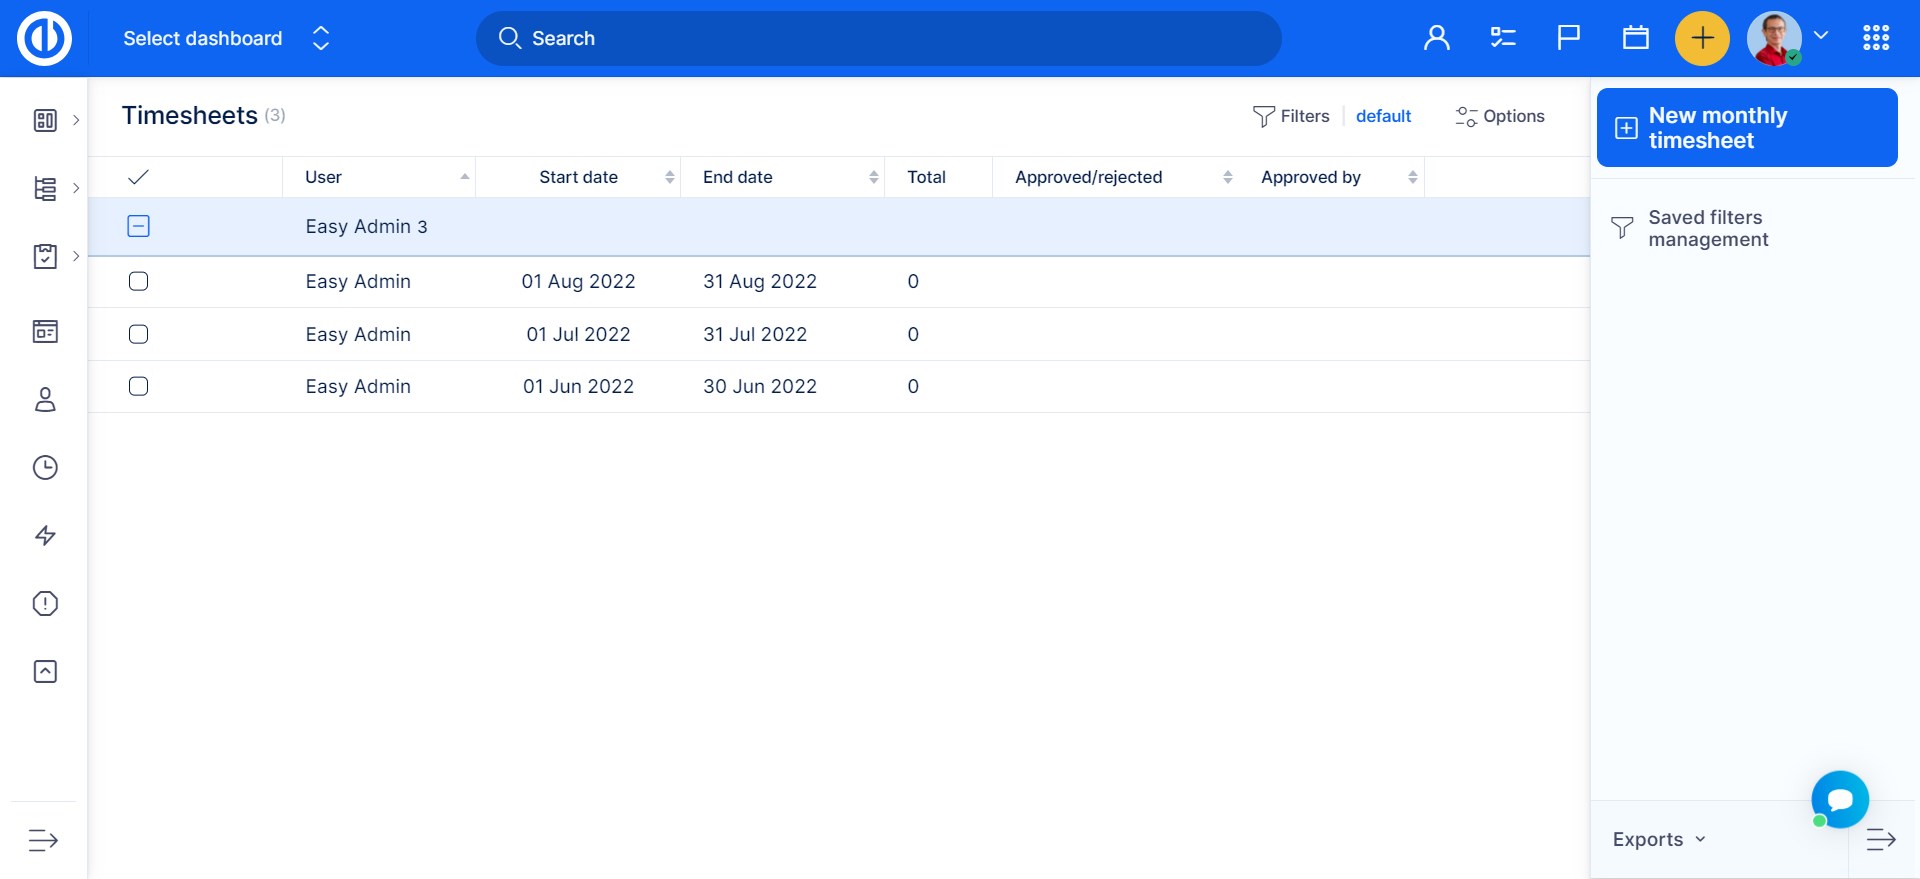
If you are a manager you will be able to see timesheets of your workers, if you are a worker, you will see your own timesheets. Of course, it can be set differently in the Roles and Permissions. By clicking the "New timesheet" button on the right, you will get a pop-up like this.
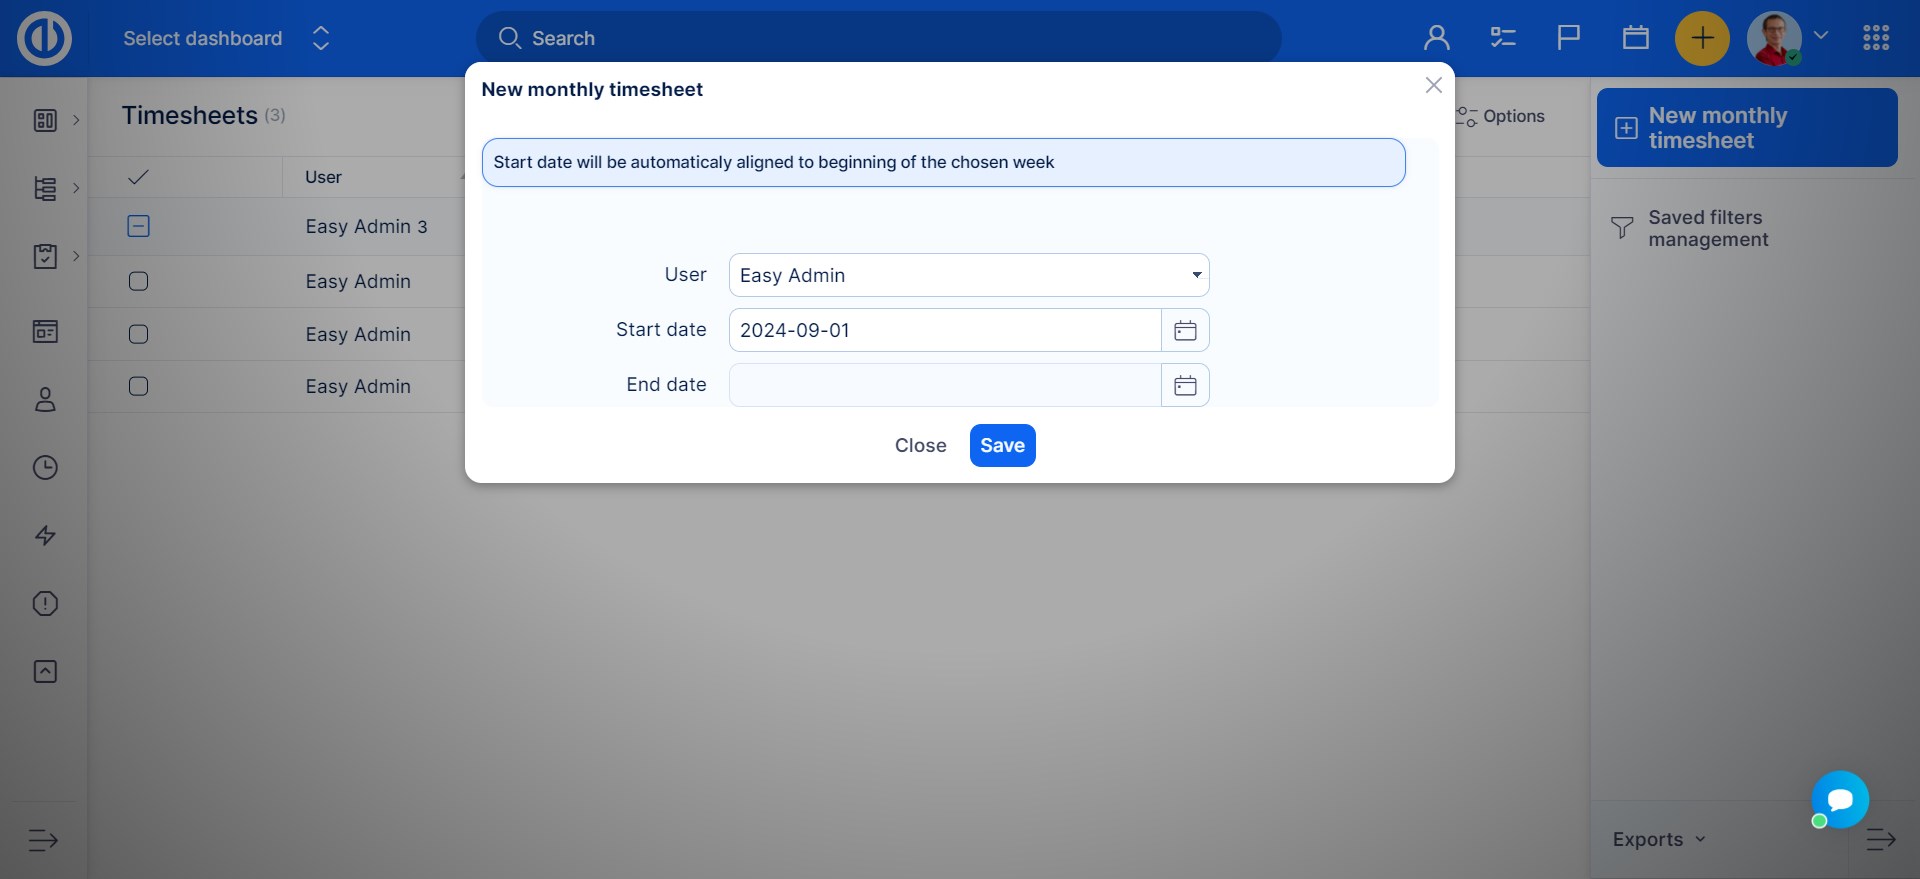
Here you can fill in your name and a timespan for which you want the time sheet to be created. This is a blank timesheet,
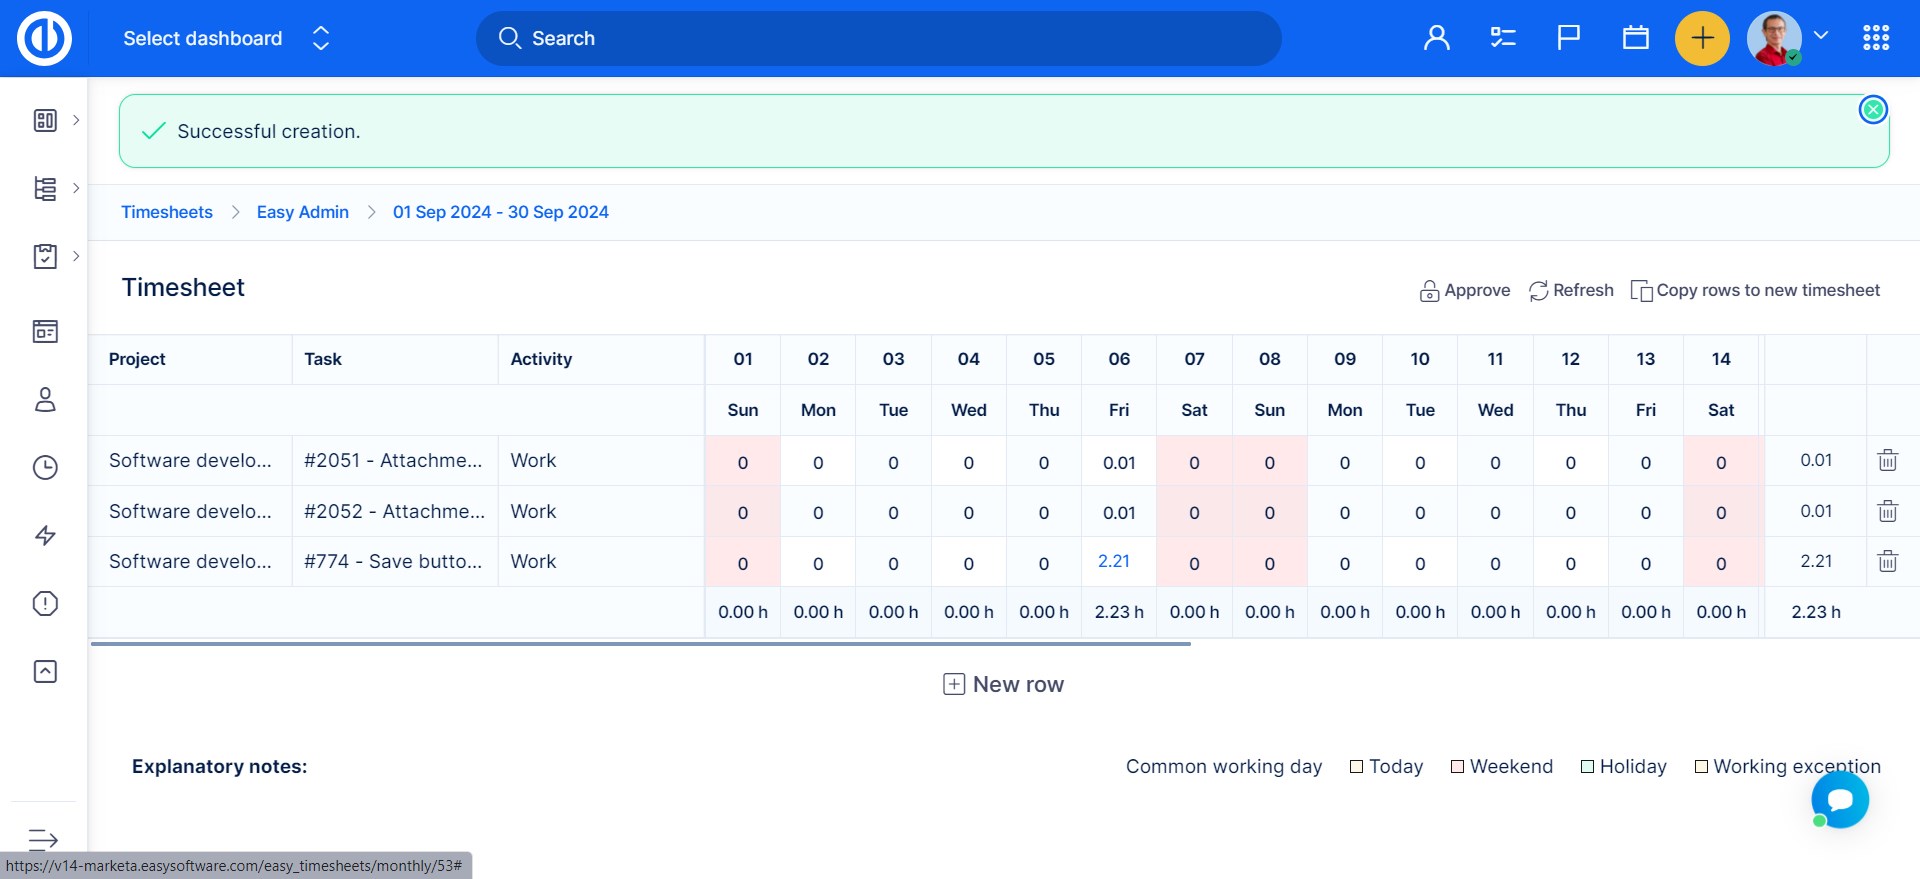
By clicking the plus button at the bottom, you will add a new line, that you can then fill in.
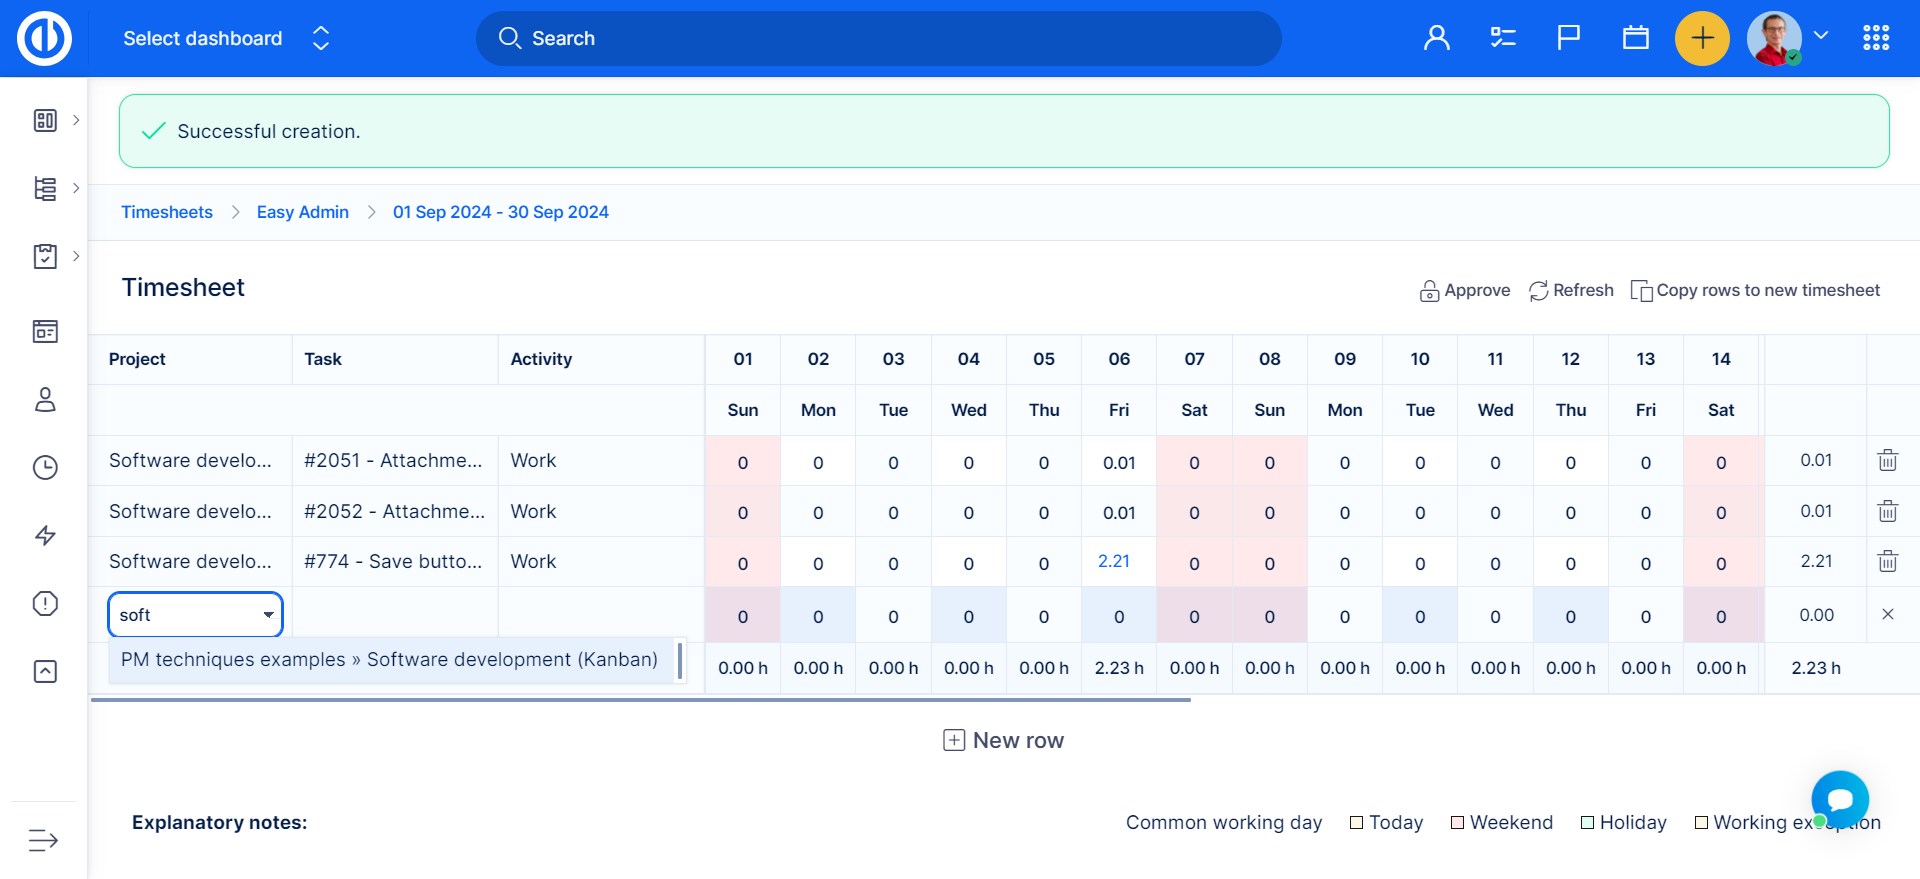
You can fill in the project, particular task, and type of activity and for each work day, you will fill in, how many hours you´ve spent on it.
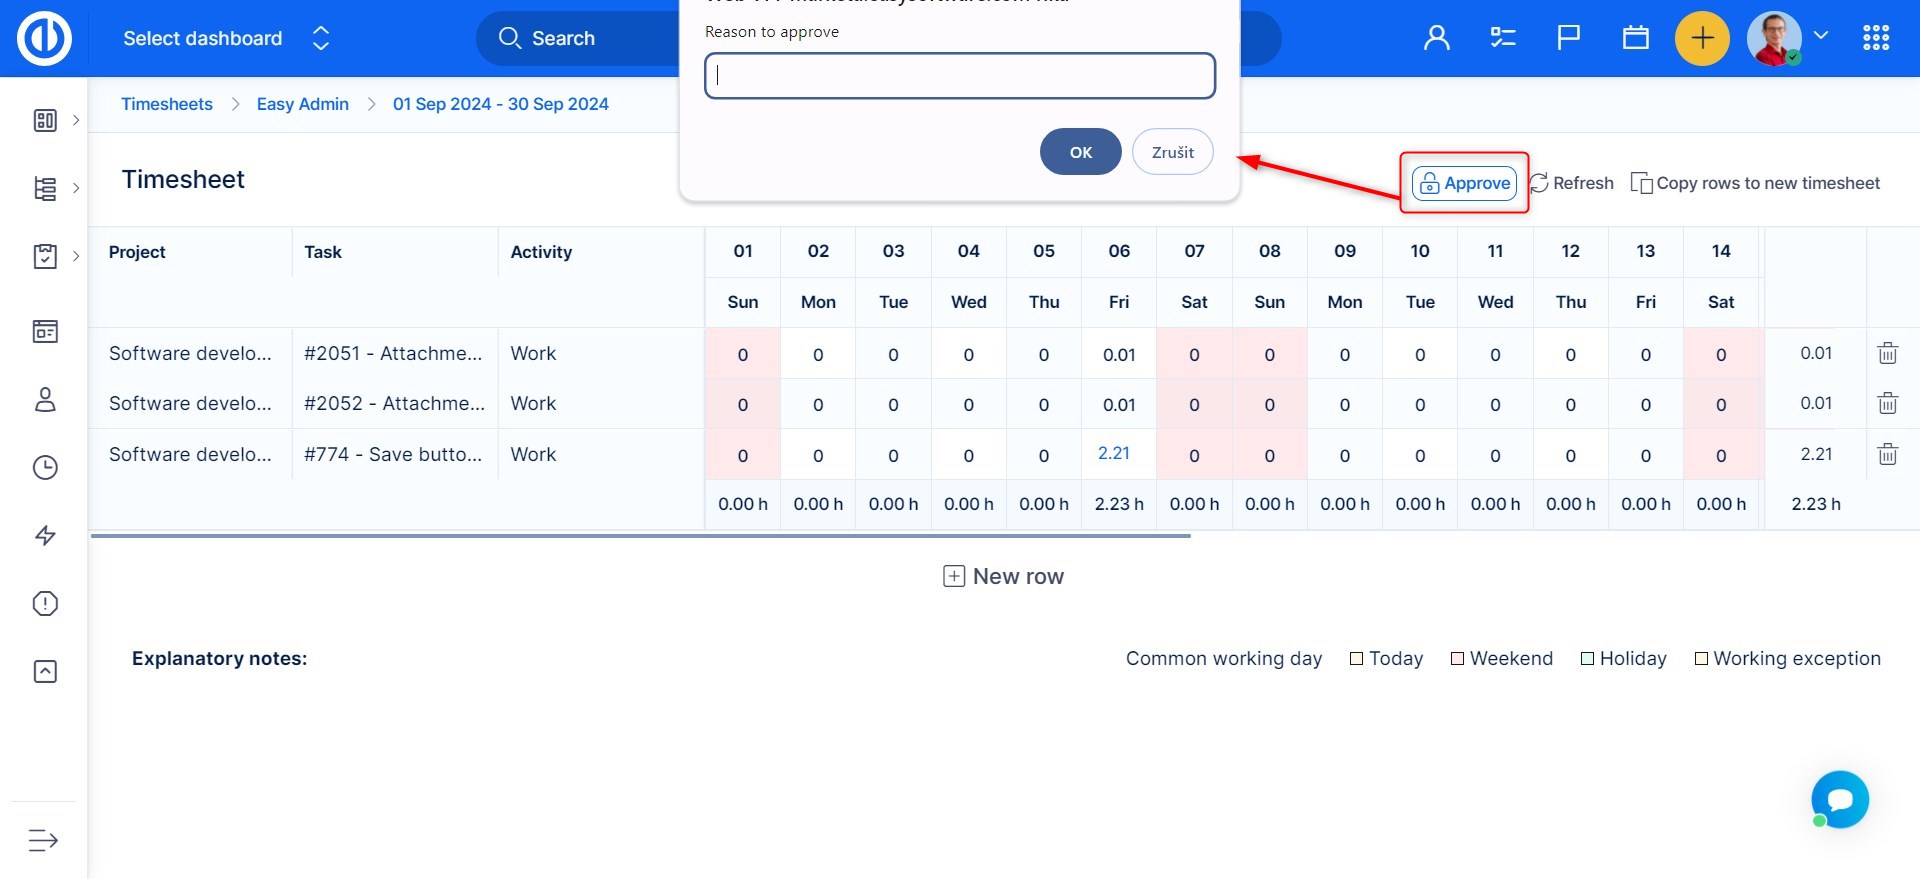
On the right, you have a sum for the week and on the bottom sum for the day. After filling in the timesheet, it can be locked and sent to the supervisor. Who can then approve it?
Approved timesheet cannot be edited by the worker anymore.
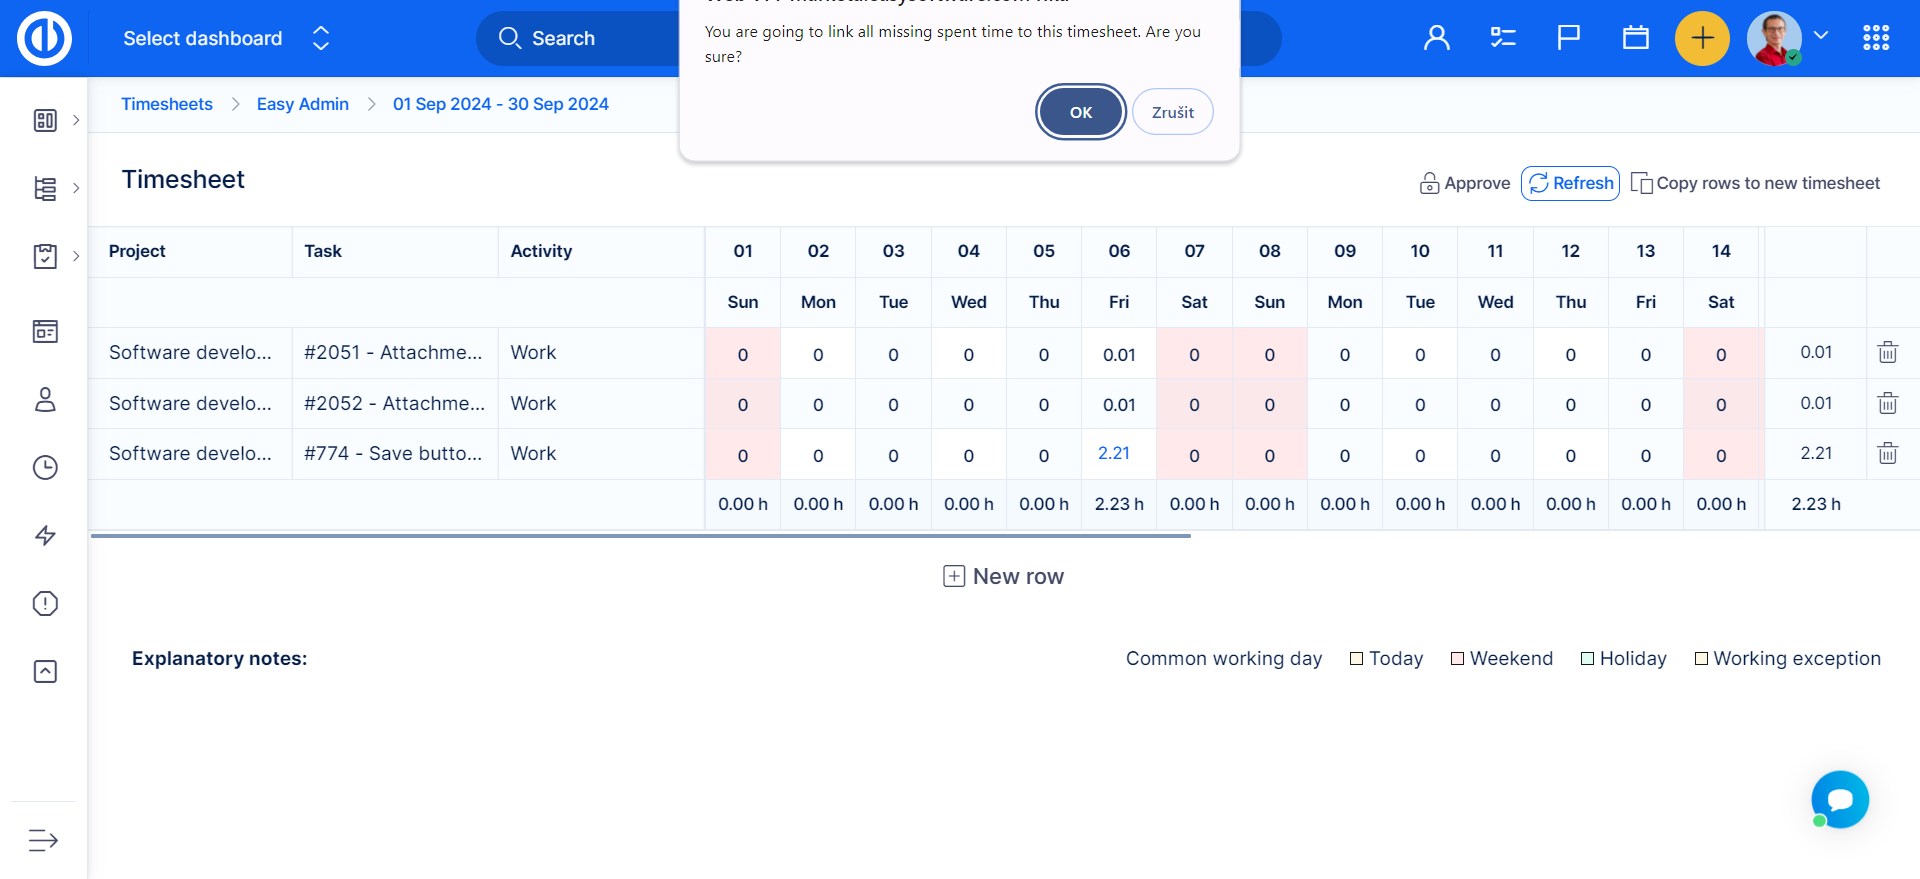
User is able to reload spent time data in Timesheets with “Refresh” button in context menu or on each specific timesheet, so that they will reflect the actual spent time data.
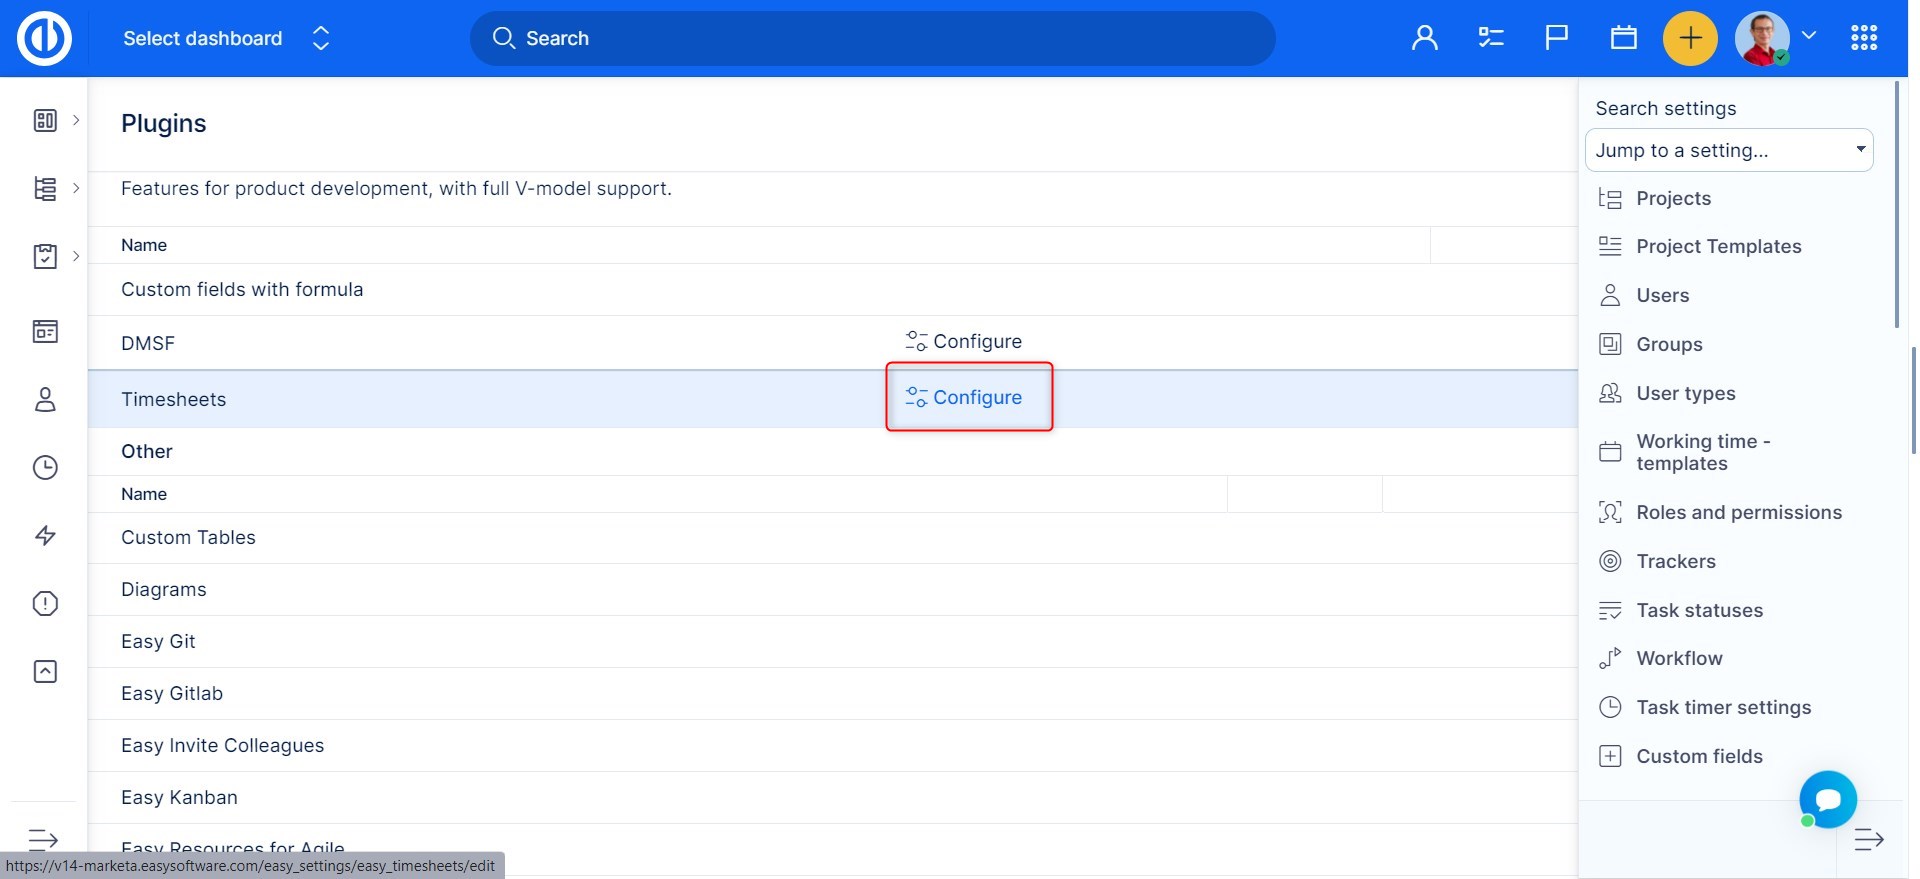
In Administration >> Plugins - Add-ons >> Time sheets - configure you can set automatic creation of timesheets for specific User Types, Groups and Users.
Weekly and monthly timesheets
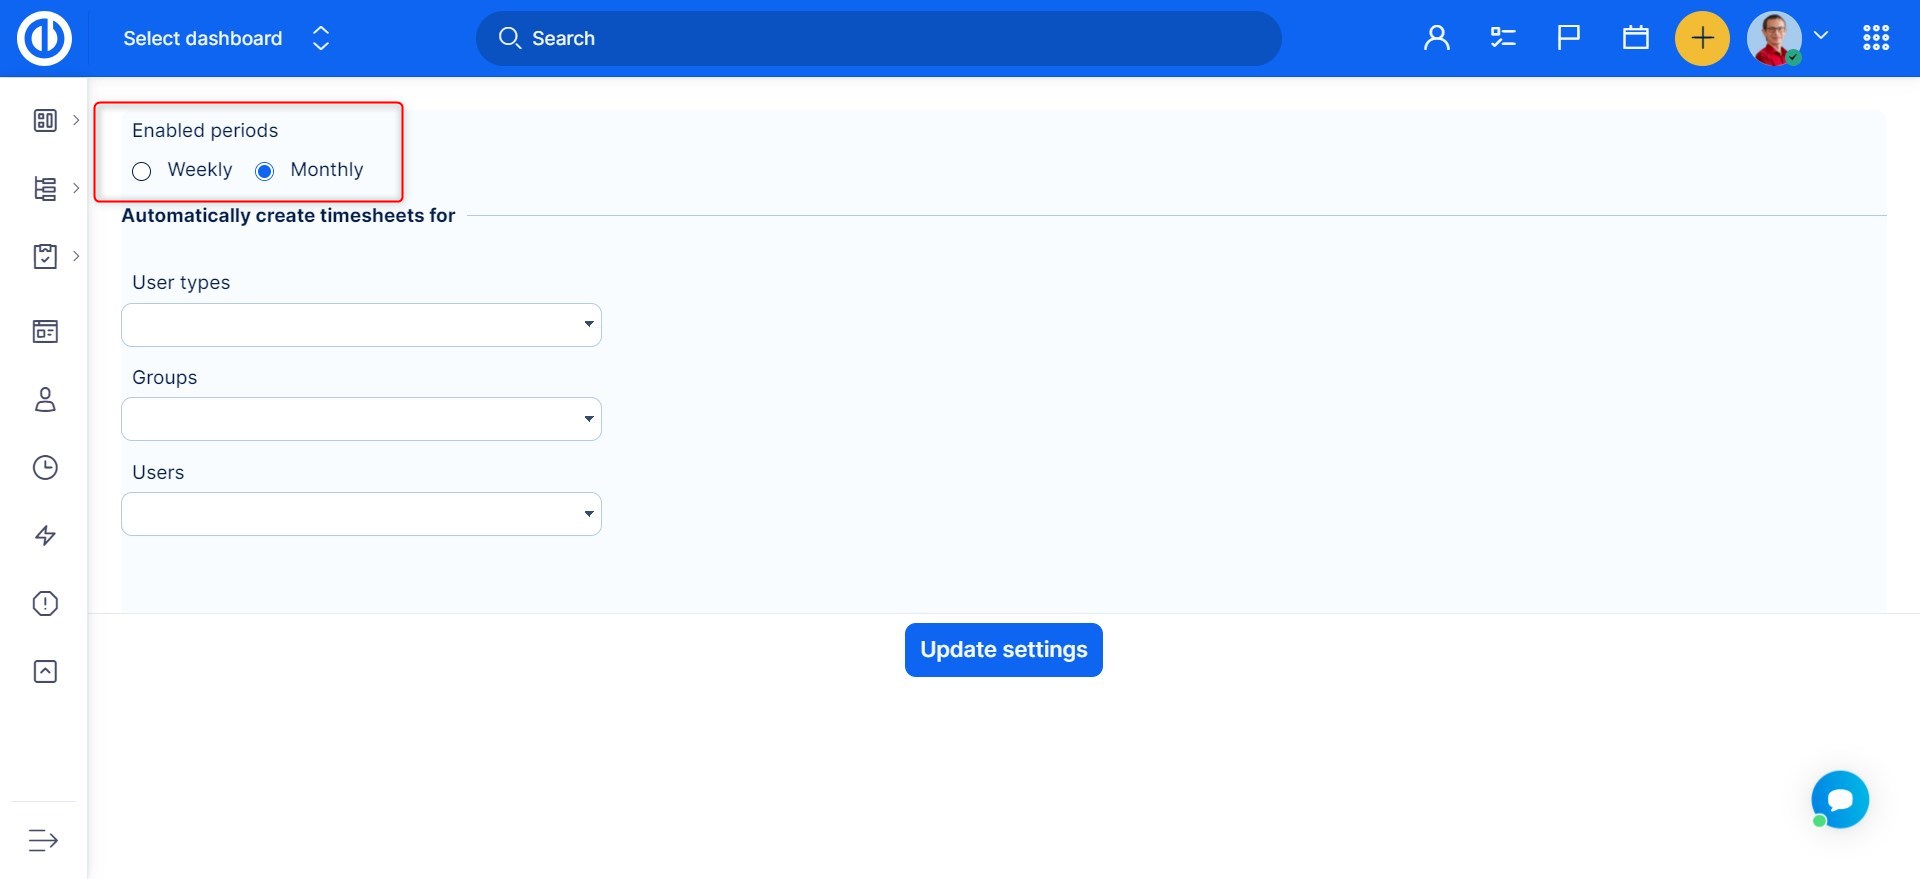
To enable weekly/monthly timesheets, go to Administration >> Plugins - Add-ons >> Timesheets - Configure - Enabled periods (select periods).
Weekly timesheets
Timesheets are designed for weekly reporting (one week is displayed). The start date is always set to the first working day of the week as per your working calendar (e.g. Monday) and the end date to the last day of the week (Sunday).
Timesheets work perfectly when you have a similar set of projects/tasks that you work on every week because this set of tasks can be copied from one week to another (more details below). Needless to say, it is not a big problem if the set of tasks is completely different every week.
Data in timesheet are saved online and, of course, you find them among the rest of spent time entries in the system. When a user adds spent time data for the particular week (of timesheet) in other parts of the application, they automatically appear in the timesheet. See exceptions below for weekly timesheets.
Spent time comment - weekly timesheets
When you enter the number of hours, a comment can be added. In case, a comment is set as a required field, the timesheets behave in a user-friendly way. A symbol “-“ is pre-filled in the comment field in order not to block the user from completing the timesheet.
Spent time comment - monthly timesheets
Comment can not be added to spent time data due to the optimization of the width of the table. In case, a comment is set as a required field, the timesheets behave in a user-friendly way. A symbol “-“ is added as a comment in order not to block the user from completing the timesheet. It can be seen in a list of spent time data.
In case you add a new row and enter the very same time entries that already exist in a different row, the two rows and time entries merge into a single row just after refreshing the page.
To delete data from timesheet:
- replace the number of hours with zero
- click on trash bin of on the right side of the row and select the desired behavior:
- delete row and all the data it contains
- remove the row only and keep the spent time data in the application
Monthly timesheets
Monthly timesheets are designed to show working and non-working days and allow users to insert data on any day (despite holiday settings in the user’s working calendar).
Visibility of spent time data for users
Keep in mind that any user (e.g. manager) can see spent time data ONLY from projects where he is a member and according to the permission of visibility of spent time. set for his ROLE in the project. That means that a manager MUST be a member of all user’s projects to be able to approve all users spent time data.
In case, the manager is not a member of all user’s projects and approves the timesheet, ALL spent time data from timesheet (including those invisible to the manager) will be set locked (approved). Organization chart settings do not impact the visibility of spent time data. So, to see another user’s spent time in a project, a user must be a member of the project.
Approval of time entries
Possibility of spent time approval must be selected in Administration >> Settings >> Spent time - Enable approvals of time entries. Option to reject a timesheet is described below.
Permission to approve spent time data is set in GLOBAL permissions of a role. That means that user with a role that allows approving a timesheet in one project can approve data from all projects that are visible to him. The action of approval (clicking on the button Approve) does not send any email to the superior.
What does approval mean?
- The timesheet is locked and no additional row can be added. No data can be added or edited (not even by an administrator)
- ALL spent time data from the timesheet (even those that the manager was not able to see as mentioned above) get an attribute “locked” and cannot be edited (not even by an administrator)
But! Spent time can still be logged outside the timesheet. E.g. in Spent time calendar, while updating a task etc.
This means that it is an important part of the configuration of an application and part of the approval process that a manager has a filter on own homepage (or another dashboard) for “unlocked” data from the past. He would need to check this filter regularly to make sure no spent time entries were added after the approval of the timesheet. To be able to add data on approval in filter Options, it is necessary to select a checkbox "Enable approvals of time entries" in Administration >> Settings- >> Spent time.
To edit or delete lock spent time entry, it has to be unlocked. To do this, use context menu options in a list of data.
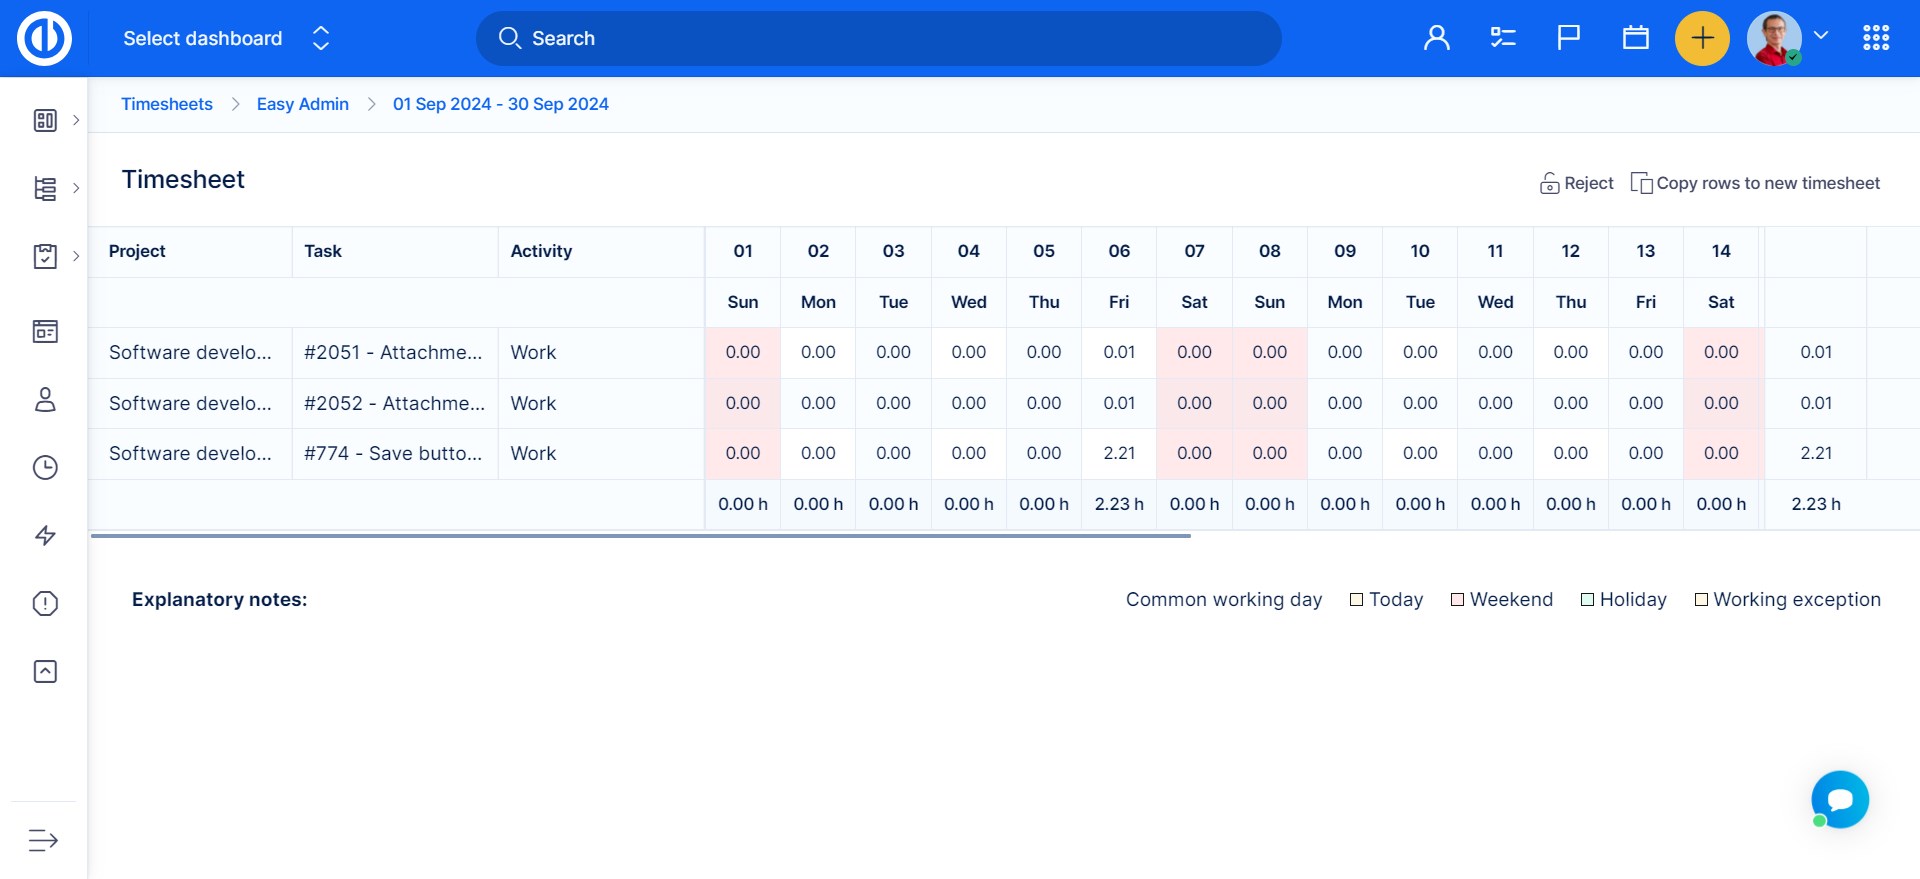
OR reject the timesheet. Rejection of a timesheet means that all spent time data in the timesheet are unlocked as well as the whole timesheet. Rejecting a timesheet = unlocking the timesheet itself and all spent time entries it contains. So, the name of the function "Reject" may be misleading.
To reject a timesheet, it has to be approved first. When you click on Approve button it converts into Reject option.
For a list of timesheets, you can set default/saved filter for columns: Title, User, Start date, End date, Approved by, Rejected by, Approved/Rejected (date), Total (number of hrs). For weekly timesheets, it is possible to select Reason approved/rejected, too.
At the moment of approval or rejection of a timesheet, a user can add a note (reason) of his action. This note can be visible only in a list of timesheets. (also in default filter settings). The comment cannot be edited. In case you approve a timesheet and add a note and later on, you reject the timesheet and add a note, only the last comment is visible in the list.
Corner situations
- In the spent time settings (Administration >> Settings >> Spent time), you have to take in mind possible restrictions that are set there:
- logging time to the future or the past
- allowing logging time on closed tasks
Solution: Make sure to allow sufficient time range for logging time for timesheet users and allow logging time on closed tasks - they may often be present in a current timesheet
- Required custom fields are not shown in timesheets - therefore, they can not be filled and time cannot be logged via timesheets
Solution: do not set custom fields on spent time as required if using timesheets. - No activity is preselected - some projects may have activities on tasks preselected (Project >> Settings >> Activities (spent time)), instead of having the user decide what activity to log time in. In such cases, it is possible that activities are left empty on existing tasks. As a result, you will not be able to log time into these tasks via timesheets
Solution: Go to the task, which doesn't allow to log time. Update it >> select an activity. - When you go to "Administration >> Settings >> Spent time" and tick the checkbox "When logging time, a comment must be filled", please note this setting does not apply to Timesheets. When logging time using Timesheets, there's no field you can enter your comment in, so the mandatory comment is automatically pre-filled with a dash. When you need to add/change a comment for any task, you have to do so via the standard task edit button and the comment will also be visible in timesheets.
- Sometimes, the "<p>" tag (or other HTML tags) is displayed in the "comment" field of a timesheet row after adding a comment via the "Easy time entries" page. This only happens when the option "Use an editor for comments on time logging?" is checked in global settings (Administration >> Settings >> Spent time) and, subsequently, a comment on time logging related to a specific task is first created via CKEditor (which supports HTML formatting tags) and then edited via Timesheet, which uses simple text field instead of CKEditor (thus does not support HTML formatting tags).
- Hours format setting on the user's profile does not apply to Timesheets as they always use the short format in order to avoid text overlapping with the long format.
- When you restrict not to accept an empty comment field on a timesheet, the field automatically fills with a dash (-) and the message (to fill the comment) appears only after you delete the dash. This behavior is intentional and necessary to allow the associated spent time record to be saved.

