Bagaimana cara membuat Tema Redmine Kustom

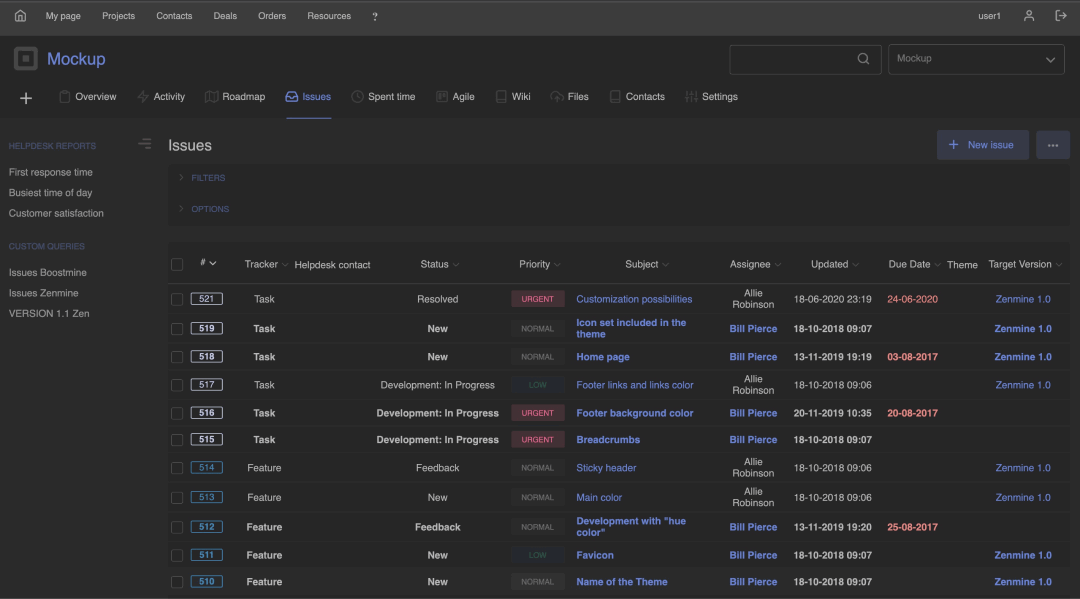
The advantage of a custom theme is that it is unique, and its design is exactly how you want it (this benefit is not available with most default themes). You have the flexibility to design a custom theme any way you like. Although creating a custom theme might take more effort as opposed to using a default one, the results are totally worth it. Read on to learn how to create a custom Redmine theme.
Creation of a new Redmine Theme
Redmine provides fundamental support for themes. These themes can add a few custom javascript and override stylesheets (application.css).
The first step is to create a new directory in public/themes. The name of the directory will be used as the name of the theme. For example: public /themes / my_theme.
Next, create custom application.css and save this in a subfolder called stylesheets:
Public / themes / my_theme / stylesheets / application.css
The following is a custom stylesheet example which only override a couple of settings:
/* load the default Redmine stylesheet */
@import url(../../../stylesheets/application.css);
/* add a logo in the header */
#header {
background: #507AAA url (../ images / logo.png) no-repeat 2px;
padding-left: 86px;
}
/* move the project menu to the right */
#main-menu {
left: auto;
right: 0px;
}
The aforementioned example makes the assumption that you have an image that is located at my_theme / images / logo.png.
You may download this theme (sample) as a beginning point for your own custom Redmine theme. Extract the theme in the public/themes directory.

Addition of Custom Javascript
Just include your javascript in javascript /theme.js and it will be loaded on every page automatically.
Setting Favicon
Insert your favicon in the favicon folder, and it will be loaded automatically rather than the default one on every page. The favicon file's name can be anything. (In case you do not know, a favicon is a tiny 16×16 pixel icon that serves the purpose of your website's branding. Its primary objective is to assist visitors in locating your page easier when they have several tabs open).
Applying the Custom Theme
- Step 1:
The first step is to download a new theme.
- Step 2:
Unzip the theme into ../public/themes/. The result of this would be a directory-path to application.css such as
../public/themes/redminecrm/stylesheets/application.css
- Step 3:
Head over to Administration -> Settings and from the "Theme" list (drop-down list), select the theme that you have newly created. After this, save your settings.
At this point, Redmine should now be shown using your customized theme.
If you are making use of Redmine < 1.1.0, you might have to restart the application so that it appears in the available themes list.

Themes' Directory Structure
A theme comprises these files:
- javascripts/theme.js (this is optional): customized JavaScript for the theme
- favicon / <favicon file> (this is optional): favicon for the Redmine theme
- stylesheets / application.css (this is necessary): CSS ( Cascading Style Sheets) for the theme
This is demonstrated below:
public/
+- themes/
+- <theme name>/
|
+- favicon/
| +- <favicon file> (e.g. favicon.ico, favicon.png)
|
+- javascripts/
| +- theme.js
|
+- stylesheets/
+- application.css
Creating a Redmine Theme by Using Default Theme
You can also create a Redmine theme by changing the colors in the CSS file of the default theme.
Say you want to change everything from a blue theme to a red one. You can do so with the CSS below.
- sh# cd / path / to / redmine
- sh# mkdir -p public / themes / redtheme / stylesheets
- sh# vi public / themes / redtheme / stylesheets / application.css (coding is shown below)
- Head over to the admin settings and then select redtheme
/* load the default Redmine stylesheet */
@import url(../../../stylesheets/application.css);
#top-menu {background: RGB(128,0,0);}
#header {background-color:RGB(192,0,0);}
#projects-index ul.projects div.root a.project { color:RGB(128,0,0); }
content h1, h2, h3, h4 {color:RGB(128,0,0);}
#main { color:RGB(128,0,0); }
a, a:link, a:visited{ color:RGB(128,0,0); }
a:hover, a:active{ color:RGB(128,0,0); }
How to Change the Theme’s Logo?
1st Step:
Put logo file to @./ public / themes/ redminecrm / images@
2nd Step
Substitute logo.png file with the new logo file with 43x30 size
...
#header > h1 {
background: url(../images/logo.png) no-repeat 10px 20%;
padding: 5px 60px; /* Modify this to set your own logo*/
}


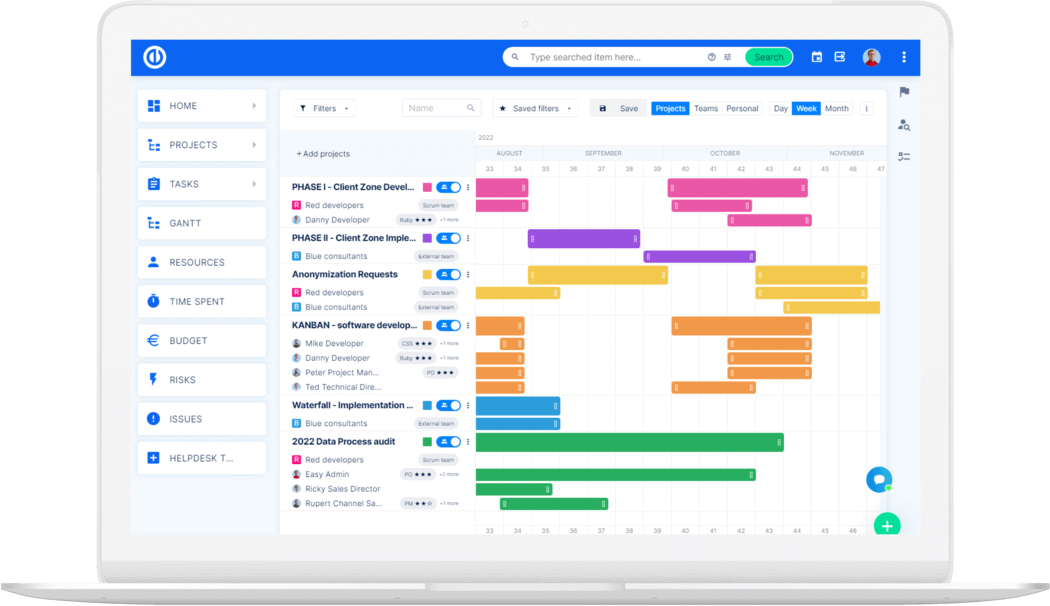
Upgrade Redmine yang paling mutakhir? Mudah.
Dapatkan semua alat yang kuat untuk perencanaan, pengelolaan, dan kontrol proyek yang sempurna dalam satu perangkat lunak.
