


How to Install Redmine on Amazon Web Services (AWS) – Ubuntu 18.04 LTS – Part 1
There are two main options to install Redmine on Amazon Web Services (AWS):
- Using a plain AWS Linux instance (EC2 or Lightsail) and manually install Redmine, or
- Using a preconfigured one-click-to-install Redmine Lightsail instance.
If we go for the first option, we will be in full control of every aspect of our Redmine deployment. On the other hand, the second option offers a quick and easy solution to have Redmine up and running in a matter of minutes, not getting involved with all the installation and configuration details.
The first part of this tutorial describes how to install Redmine on a plain AWS Linux instance.
Prerequisites
Before starting the process, make sure the following prerequisites are met:
- You have an Amazon Web Services Account with admin privileges.
- You have a domain name for your Redmain application such as redmine.mydomain.com.
- You have access to the DNS configuration for your domain.
Installing Redmine on a plain Linux EC2 or LightSail instance
For the purpose of this tutorial, we understand that you have already launched an AWS EC2 or Lightsail instance running Ubuntu 18.04 LTS.
We will install Redmine on this Linux instance using MySQL database, NGINX web server, and Phusion Passenger application server.
Configure the DNS Server
Before connecting to your instance, you need to configure your DNS. Create a DNS entry for your Redmine domain name (redmine.mydomain.com) pointing to the public IP address of your AWS Linux instance.
You can do this using the AWS Route 53 service.
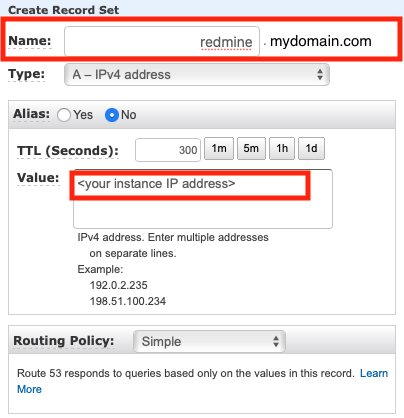
DNS Configuration Using AWS Route 53
The public IP of your Ubuntu 18.04 LTS instance can be found at your EC2 Management Console or at your Lightsail Console.
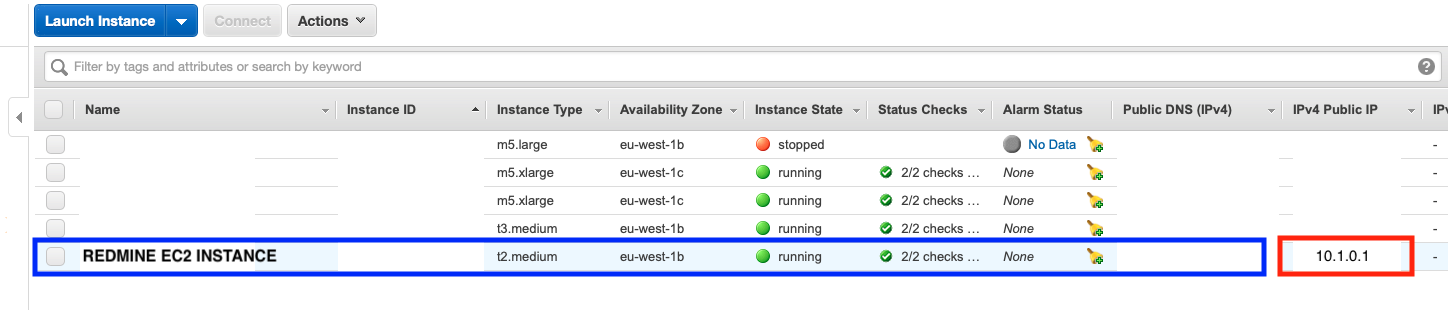
AWS EC2 Management Console
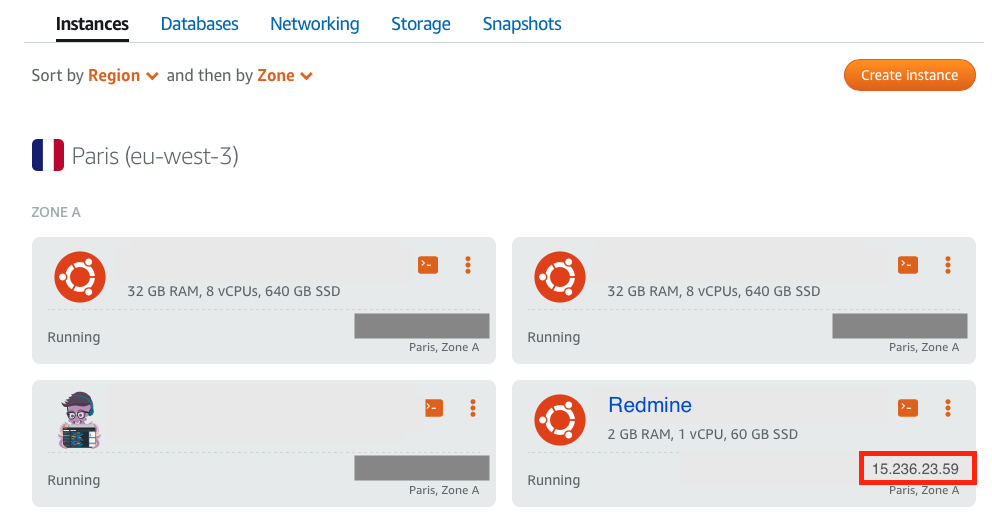
AWS Lightsail Console
Once your DNS entry is configured, connect to your Linux instance and complete the following steps.
Install and configure MySQL database
1. Install MySQL server:
sudo apt update
sudo apt install mysql-server mysql-client
2. Perform the initial MySQL server configuration:
sudo mysql_secure_installation
You will be prompted for:
- activating the VALIDATE PASSWORD PLUGIN (say yes and choose STRONG passwords)
- selecting the root user password.
- removing anonymous users (say yes).
- disallowing root remote login (say no if you are planning to connect to the database from outside your Ubuntu Linux instance, say yes otherwise).
3. Check that MySQL server is running:
sudo systemctl status mysql
(you should see active (running) as part of the command response)
4. Create a new database and a new database user for Redmine:
sudo mysql
mysql > CREATE DATABASE redminedb CHARACTER SET utf8mb4;
mysql > GRANT ALL ON redminedb.* TO 'redminedbusr'@'localhost' IDENTIFIED BY 'password';
mysql > flush priviledges;
mysql > EXIT
Install Ruby
Install the default Ruby version for your Linux distribution. If you need a different version, you can use RVM (Ruby Version Manager).
1. Install Ruby:
Install the latest version of Ruby by means of Rbenv or RVM.
RVM
1. install rvm, run it, add to autostart
curl -sSL https://get.rvm.io | sudo bash -s master
source /etc/profile.d/rvm.sh
echo '[[ -s "/etc/profile.d/rvm.sh" ]] && source "/etc/profile.d/rvm.sh"' >> ~/.bashrc
2. Create user "easy" (or you may name it as you wish, the point is, this user will work with your redmine application, not root user. It should be done for security reasons)
useradd -m -G rvm -s /bin/bash easy
Also you need to add user "easy" to sudoers group (we should allow to this user to run some commands from sudo)
usermod -a -G sudo easy
If you did this you may miss the next step, because after this command your user is in proper group already. Switch to this user
su - easy
3. add user to rvm group
usermod -a -G rvm easy
Also you need to add user "easy" to sudoers group (we should allow to this user to run some commands from sudo)
usermod -a -G sudo easy
Switch to user "easy"
su - easy
4. install ruby
rvm install 2.6 --patch railsexpress
5. install git
sudo apt-get install git
6. set ruby 2.6 as default
rvm use 2.6 --default
Part in italic is needed only if you are going to install ruby from non-root user. If you decide to leave it, you may replace user name "easy" to "redmine".
Rbenv
Please follow the instructions in this article.
Install NGINX and Passenger
NGINX is an open-source web server designed for maximum performance and stability. Passenger is an open-source application server that integrates with NGINX to run Ruby software, such as Redmine, over the web. In our case, we need to install both.
$ gem install passenger --no-ri --no-rdoc
$ passenger-install-nginx-module
sudo gem install bundler --no-rdoc --no-ri
Install and configure Redmine
Before continuing the installation, check for the latest Redmine version available. You can find it on the Redmine downloads page.
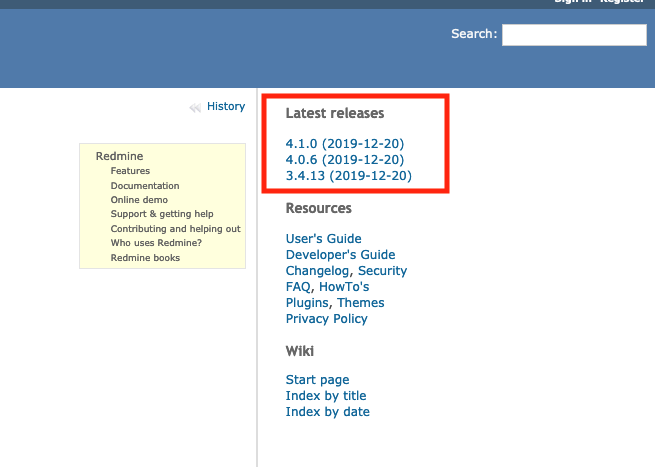
Redmine Downloads Page
Note down your target version and continue.
Note: It is better not to install and run Redmine from the root user.
1. Install the dependencies required to build Redmine:
sudo apt install build-essential libmysqlclient-dev imagemagick libmagickwand-dev
2. Download Redmine to your /tmp directory:
sudo curl -L http://www.redmine.org/releases/redmine-4.1.0.tar.gz -o /tmp/redmine.tar.gz
3. Extract the downloaded archive and copy the application files to the installation directory:
cd /tmp
sudo tar zxf /tmp/redmine.tar.gz
sudo mv /tmp/redmine-4.1.0 /var/www/html/redmine/
3. Configure Redmine database settings
3.1. Open the database configuration file (database.yml)
cd /var/www/html/redmine/config/
cp database.yml.example database.yml
sudo nano /var/www/html/redmine/config/database.yml
3.2. Apply the changes shown below to the production section of the file:
production:
adapter: mysql2
database: redminedb
host: localhost
username: redminedbusr
password: "password"
encoding: utf8mb4
3.3 Install the Ruby dependencies required to run Redmine:
cd /var/www/html/redmine/
sudo gem install bundler --no-rdoc --no-ri
sudo bundle install --without development test postgresql sqlite
3.4 Migrate the database and configure the running environment.
cd /var/www/html/redmine/
sudo bundle exec rake generate_secret_token
sudo RAILS_ENV=production bundle exec rake db:migrate
Configure NGINX
This is the last step of our tutorial. After completing your NGINX configuration you sho will have a fully operational Redmine server running on your Ubuntu 18.04 LTS box.
1. Create a virtual host for your Redmine application:
sudo nano /etc/nginx/sites-available/redmine.mydomain.com
2. Enter the following virtual host configuration and save your file:
server {
listen 80;
server_name redmine.mydomain.com;
root /var/www/html/redmine/public;
passenger_enabled on;
passenger_min_instances 1;
client_max_body_size 10m;
# redirect server error pages to the static page /50x.html
#
error_page 500 502 503 504 /50x.html;
location = /50x.html {
root html;
}
}
3. Enable your virtual host by linking the newly created configuration file into the sites-enabled directory:
sudo ln -s /etc/nginx/sites-available/redmine.mydomain.com /etc/nginx/sites-enabled/redmine.mydomain.com
4. Verify your NGINX configuration:
sudo nginx -t
COMMAND OUTPUT:
nginx: the configuration file /etc/nginx/nginx.conf syntax is ok
nginx: configuration file /etc/nginx/nginx.conf test is successful
5. Restart the NGINX server:
sudo systemctl restart nginx
Access Redmine
1. Open your web browser and type your Redmine domain name at the address bar. The Redmine login screen will show up.
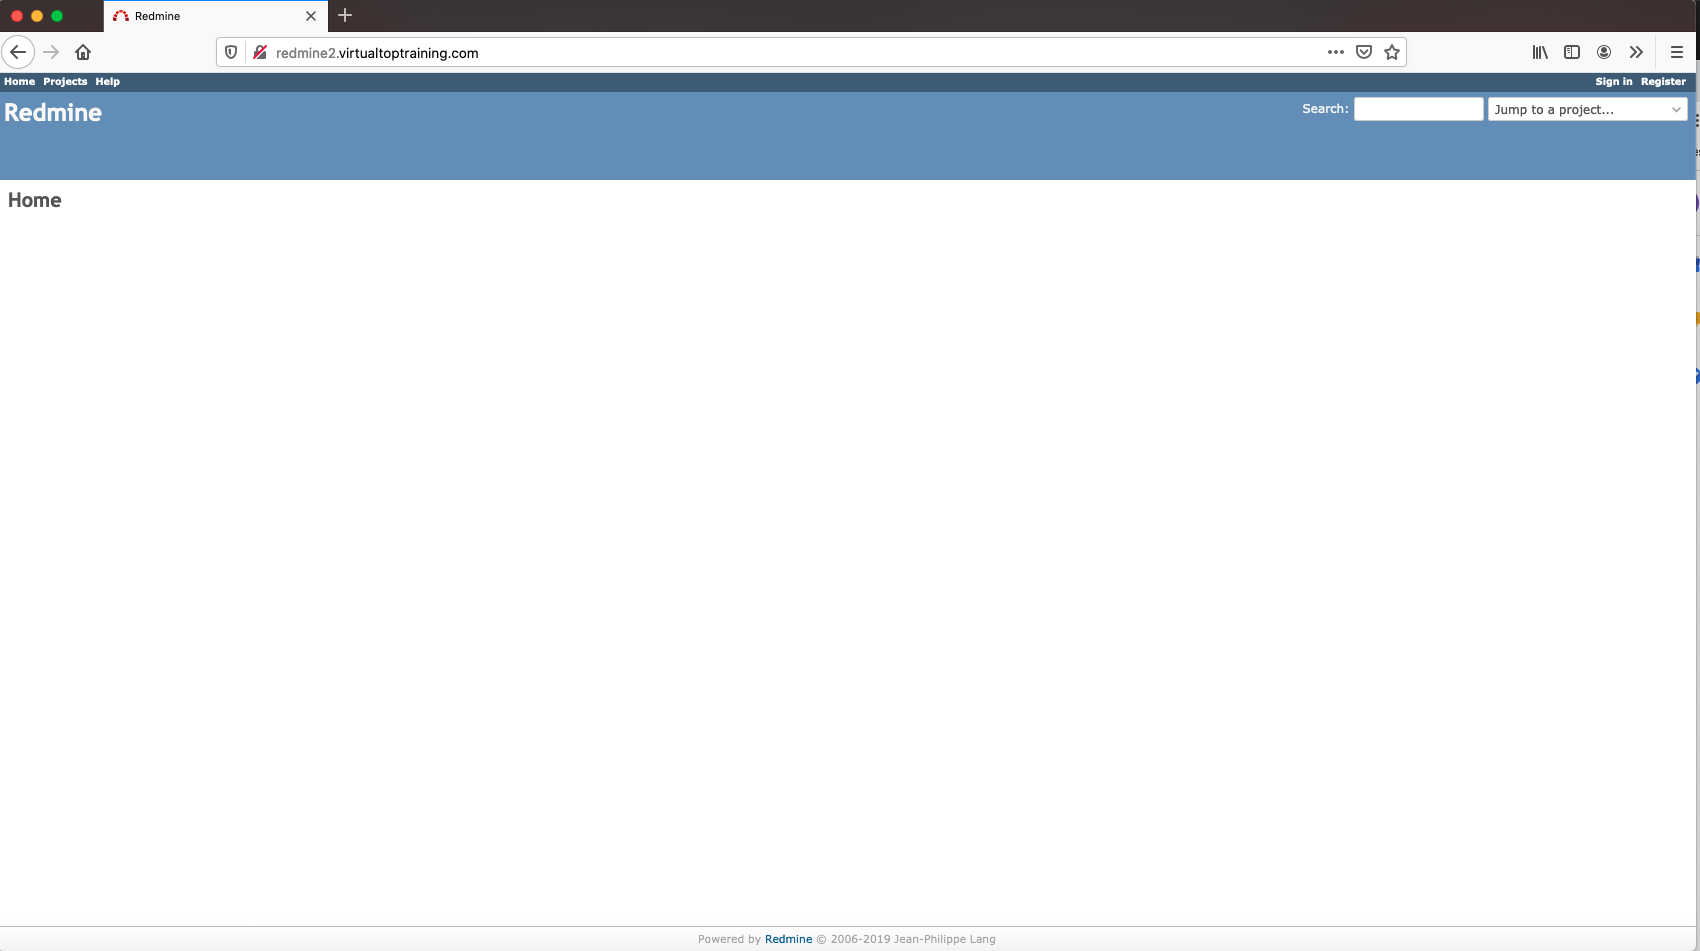
Redmine Initial Login Screen
2. Login in to your Redmine server using the default credentials (username: admin and password: admin) and, when prompted, set a new password for your admin account.
3. Finally, configure your admin account settings, including your email address and timezone.
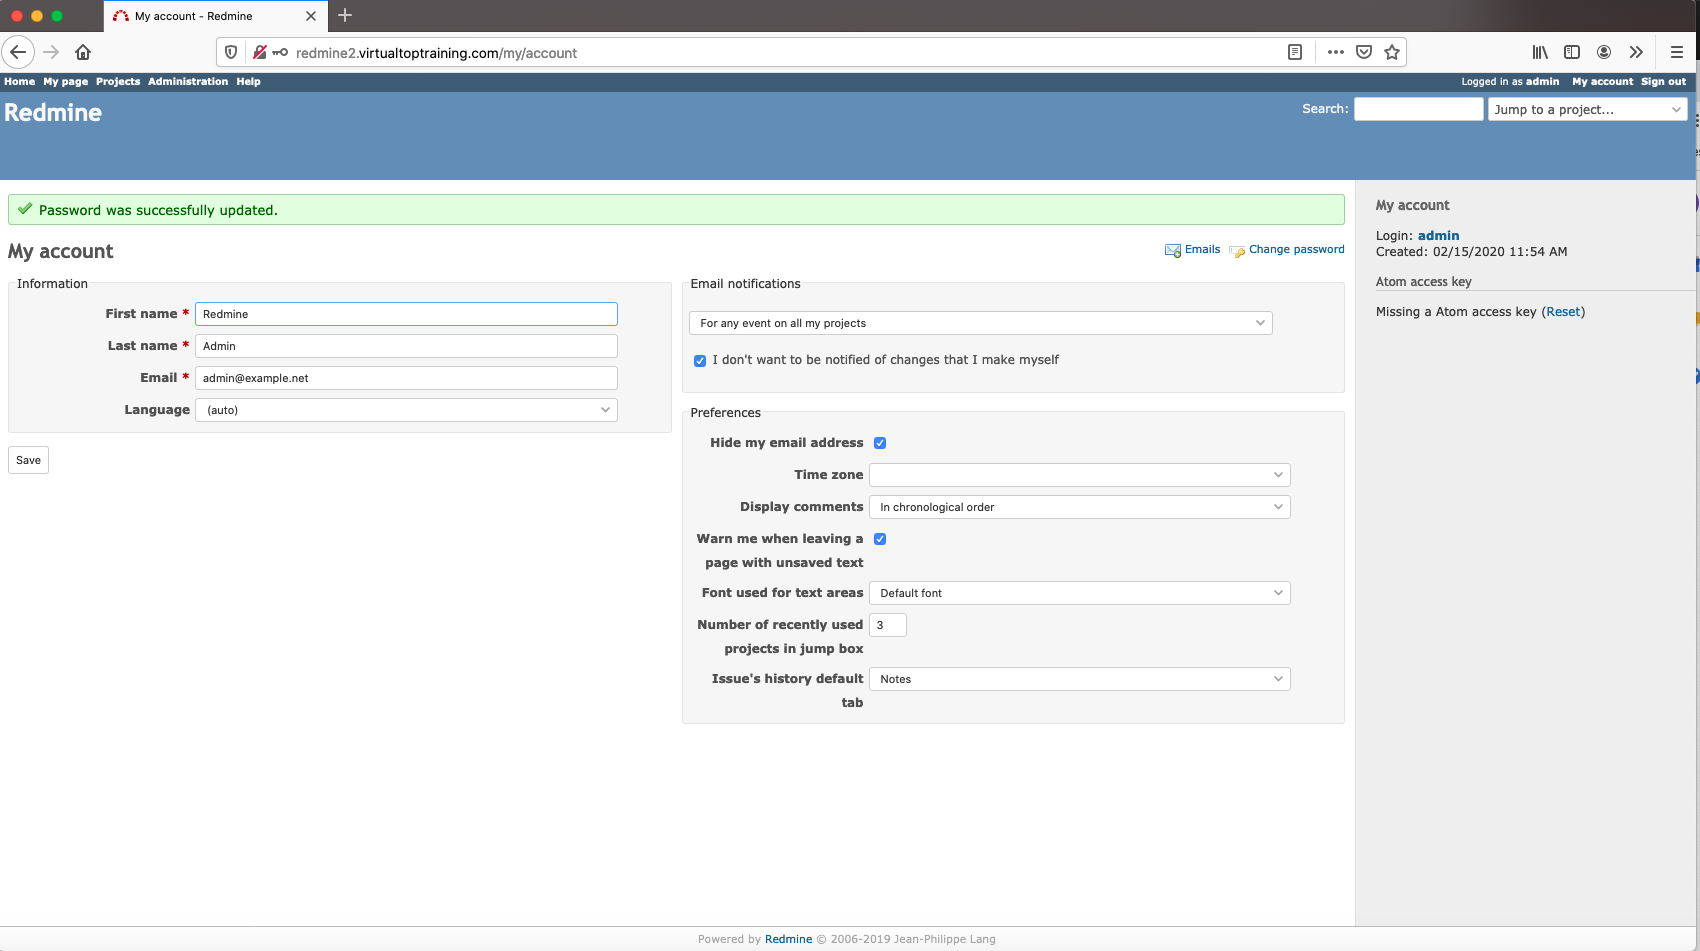
Congratulations! Your Redmine is ready!
If you want to discover other ways of deploying Redmine on Amazon Web Services (AWS), have a look at the second part of this tutorial.

The ultimate Redmine upgrade? Easy.
Get all powerful tools for perfect project planning, management, and control in one software.

